 Save
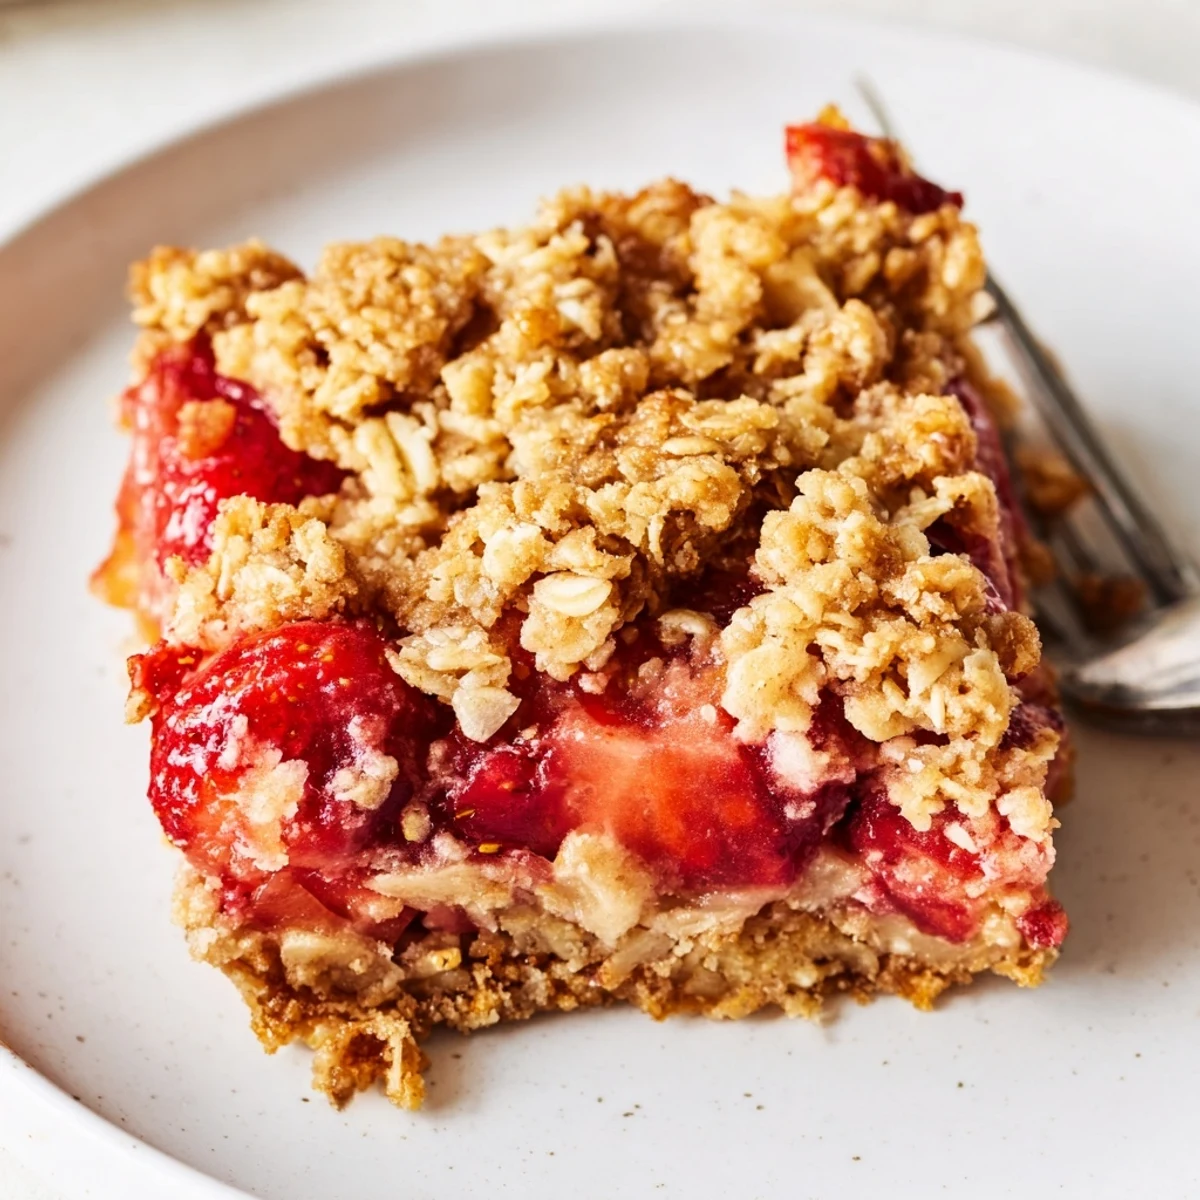
Save Combine rolled oats, flour, brown and granulated sugar, baking powder, salt and melted butter until crumbly. Press two-thirds of the mixture into an 8x8 pan for the crust and reserve one cup for the topping. Toss diced strawberries with lemon, cornstarch and sugar, spread over the crust, sprinkle remaining crumble and bake 35–38 minutes until golden and bubbling. Cool completely, lift from pan and cut into 12 bars. Swap berries or use a gluten-free flour blend and certified gluten-free oats as needed.
If you listen closely, you can hear the gentle sizzle from the oven as butter and sugar meld, hinting at dessert magic. The first time I assembled these Strawberry Oatmeal Crumble Bars, the air in my kitchen was thick with the scent of sweet berries and toasty oats—a sure sign something wonderful was happening. There was no grand occasion, just a craving for a not-too-fussy treat that would brighten a Tuesday afternoon. The strawberries, a little overripe in the fruit bowl, suddenly seemed destined for something special.
Once, I brought a tin of these bars to a friend who'd just moved apartments. Between unpacked boxes and the buzz of catching up, we ended up eating almost half the batch in bites between laughter and furniture rearranging—nothing fancy, just pure comfort in each square.
Ingredients
- Rolled oats: They create a hearty crumb and I’ve learned that using old fashioned oats gives the best chewy texture.
- All-purpose flour: Adds the structure that makes the base hold together even after slicing; don't skip sifting if you want an even bake.
- Light brown sugar: For depth of flavor and softness—the subtle molasses notes become more pronounced as the bars cool.
- Granulated sugar: A touch of extra sweetness that balances the berries' tartness.
- Baking powder: Lifts the crumble and prevents it from being too dense; just half a teaspoon can make a difference.
- Salt: Essential for enhancing every other flavor—it disappears if you forget it!
- Unsalted butter (melted): Melting the butter ensures every oat gets cloaked and golden in the oven.
- Fresh strawberries: Use the ripest you can find for vibrant color and intense berry flavor.
- Lemon juice: Brightens the filling and keeps the sweetness in check.
- Cornstarch: Thickens the fruit so you get neat, sliceable bars—no soupy mess.
Instructions
- Prep and Preheat:
- Start by setting your oven to 350°F (175°C), lining your baking pan with parchment, and adding a swipe of grease—it makes bar removal a breeze.
- Mix the Crumble:
- In your biggest bowl, pile in oats, flour, both sugars, baking powder, and salt, then pour the warm melted butter, stirring until everything turns clumpy and sand-like.
- Form the Crust:
- Scoop out a cup of this mixture for later and then press the rest firmly in the pan—don&apost; be shy about packing it down, fingertips are best.
- Make the Filling:
- In a separate bowl, toss strawberries with lemon juice, sugar, and cornstarch until each piece glistens—a light hand prevents the berries from getting mushy.
- Layer and Top:
- Spread the juicy berries evenly over your crust, then scatter the reserved crumble over, making sure you leave little pockets for the filling to bubble up.
- Bake to Golden:
- Slide the pan into the oven and let it go for 35–38 minutes, or until the top is golden brown and you can smell the fruit bubbling away.
- Cool and Slice:
- Once baked, let everything cool completely—patience!—before lifting out with the parchment and cutting into squares to share or squirrel away.
 Save
Save When my neighbor returned the baking pan after trying these, it came back with a thank you note and a tiny bouquet of wildflowers. It hit me then how a tray of homemade bars can turn into an unexpected exchange of gratitude and smiles.
Switch Up Your Berries
Some days I'll use up a mix of blueberries or raspberries, even frozen fruit works in a pinch—just remember to toss them with cornstarch so things don't get watery. Berry variations keep the recipe exciting every bake.
Make Ahead and Storage
I've found the bars taste even better the next day as the flavors meld while resting in the fridge. Store them in an airtight container, and they'll hold their shape and smile-inducing flavor for several days.
Troubleshooting Oatmeal Bars
If the crumble seems too dry, add another splash of melted butter—I've saved a batch this way more than once. If you're impatient and cut them warm, crumbs will fly but the gooey middle is a reward in itself. Remember to let your kitchen fill with that irresistible aroma before you think about peeking at the timer.
- Line the pan so clean-up is easy.
- Make sure not to overbake, or they'll lose their chewy charm.
- For sharper edges when slicing, refrigerate first.
 Save
Save Making these Strawberry Oatmeal Crumble Bars always reminds me how a baking pan and a handful of simple ingredients can create a bright spot in any day. I hope your kitchen smells as wonderful as mine always does while these are in the oven!
Recipe FAQ
- → Can I use frozen strawberries?
-
Yes. Thaw and drain excess liquid to avoid a soggy filling. Toss the thawed berries with the cornstarch and a little less added sugar if they release a lot of juice; you may need a slightly longer bake to thicken the filling.
- → How do I make this gluten-free?
-
Use certified gluten-free rolled oats and substitute a 1:1 gluten-free flour blend for the all-purpose flour. The texture will be similar; press the crust firmly and bake until the topping is golden to ensure structure.
- → What prevents a soggy bottom?
-
Press the crust tightly and evenly into the pan, drain excess berry juices, and use cornstarch to thicken the filling. Bake until the filling bubbles and the top is golden, then cool fully so the filling sets before cutting.
- → How should I store and reheat the bars?
-
Store cooled bars in an airtight container in the fridge for up to 3–4 days. For longer storage, freeze individual bars wrapped tightly for up to 2 months. Reheat briefly in a low oven or microwave for a warm serving; add a scoop of vanilla ice cream if desired.
- → Any tips for clean slices?
-
Cool the pan completely and chill briefly before slicing. Use a sharp knife warmed under hot water, wipe it dry between cuts, or press a thin spatula under each bar to lift cleanly from the parchment.
- → Can I substitute the butter?
-
Solid coconut oil or a plant-based butter substitute can work for a dairy-free option. Expect a slightly different flavor and texture—pressed and baked the same way, the bars will still hold together well.