 Save
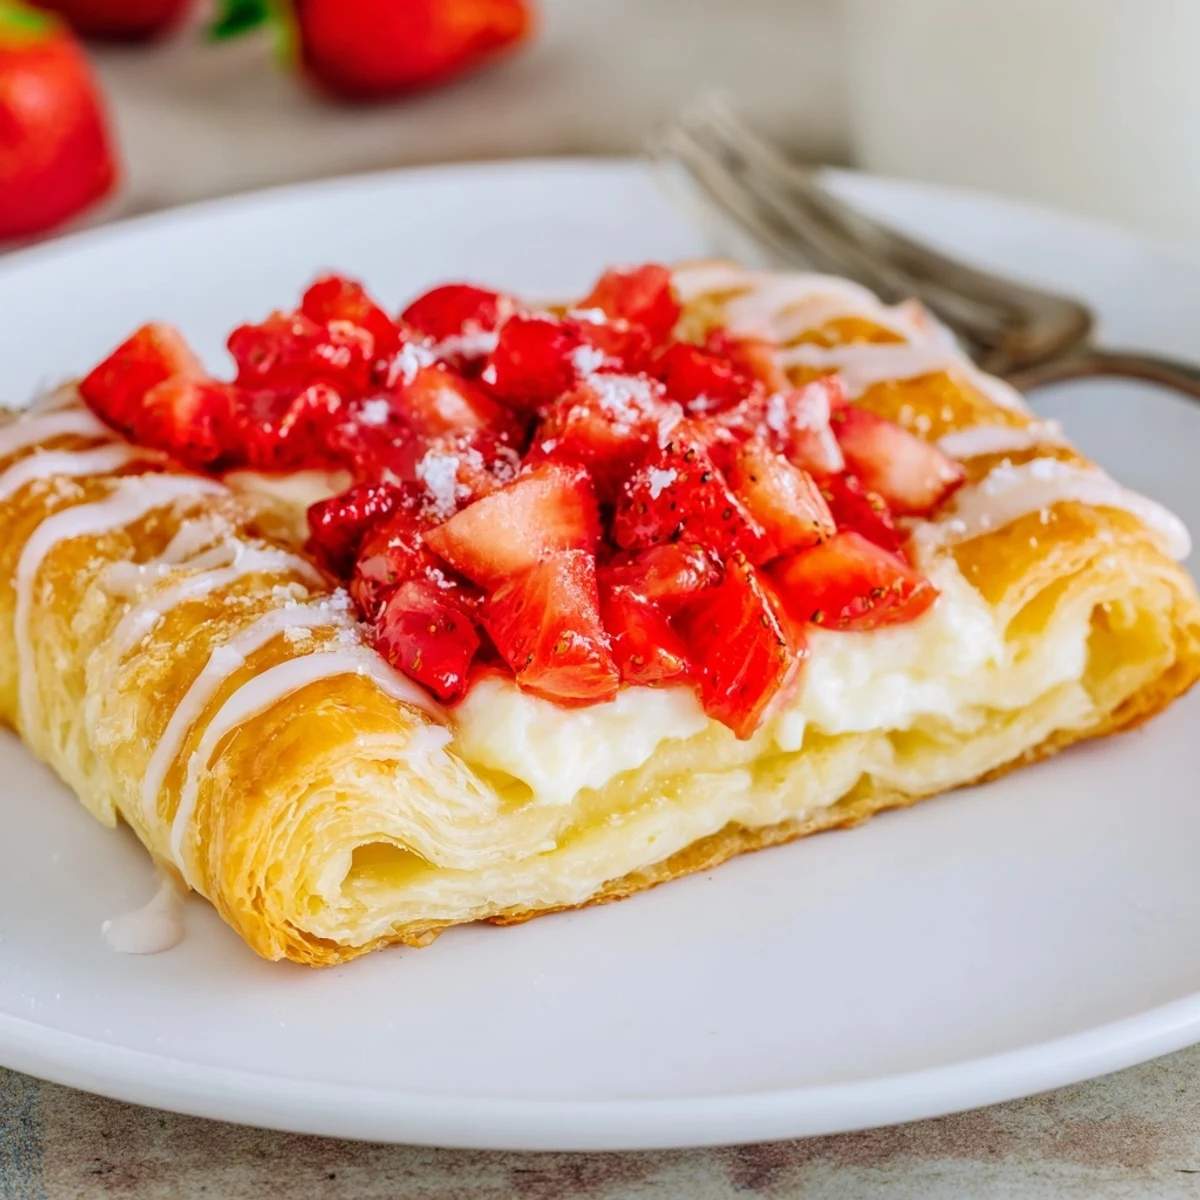
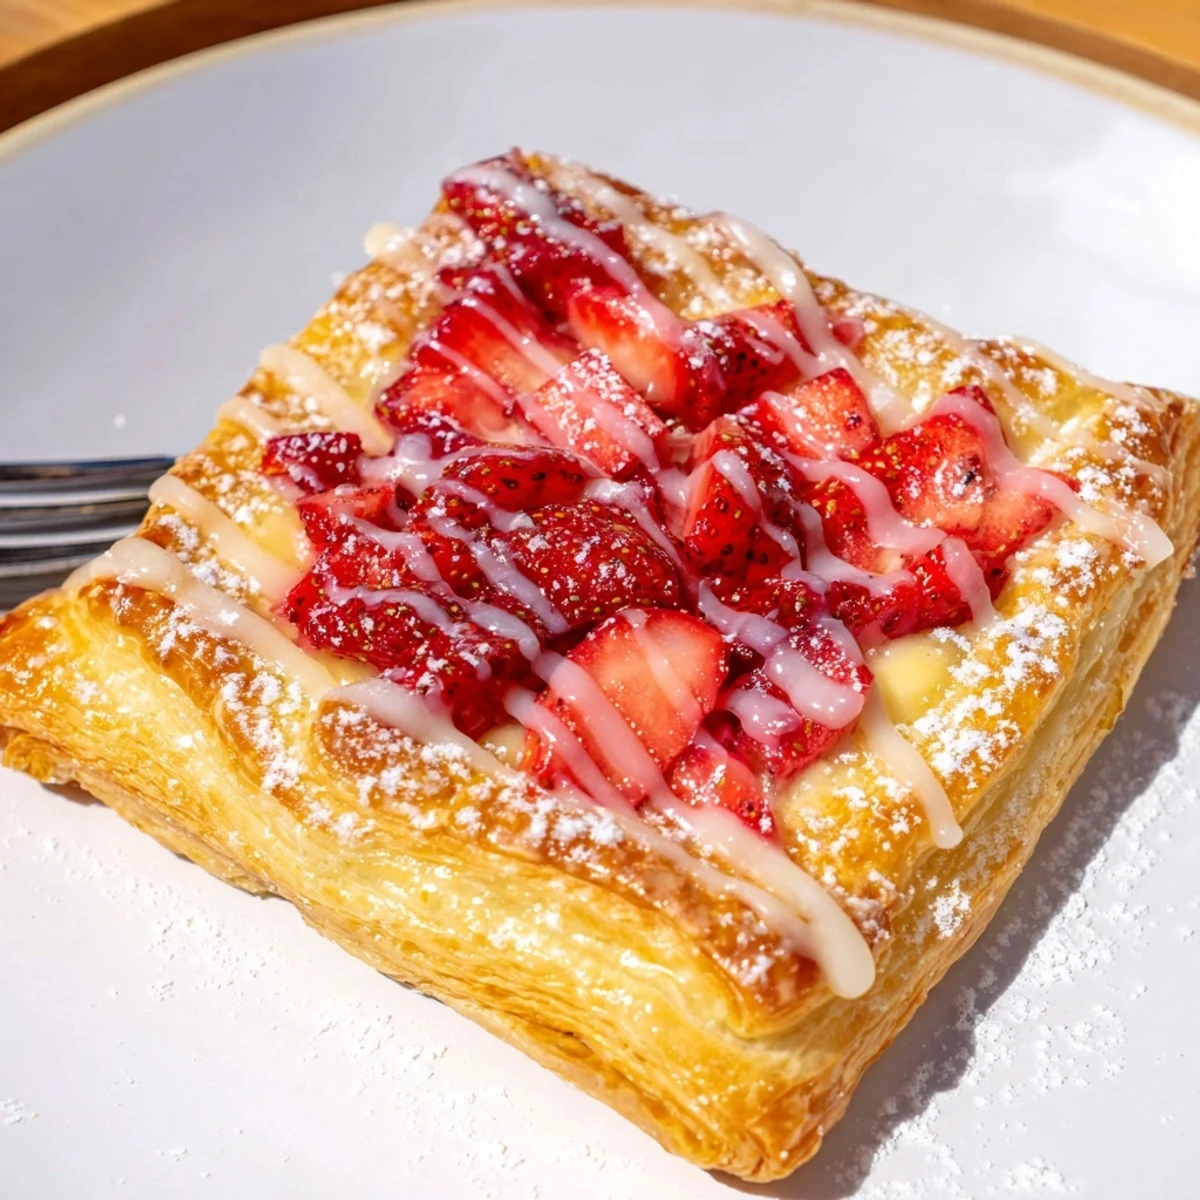
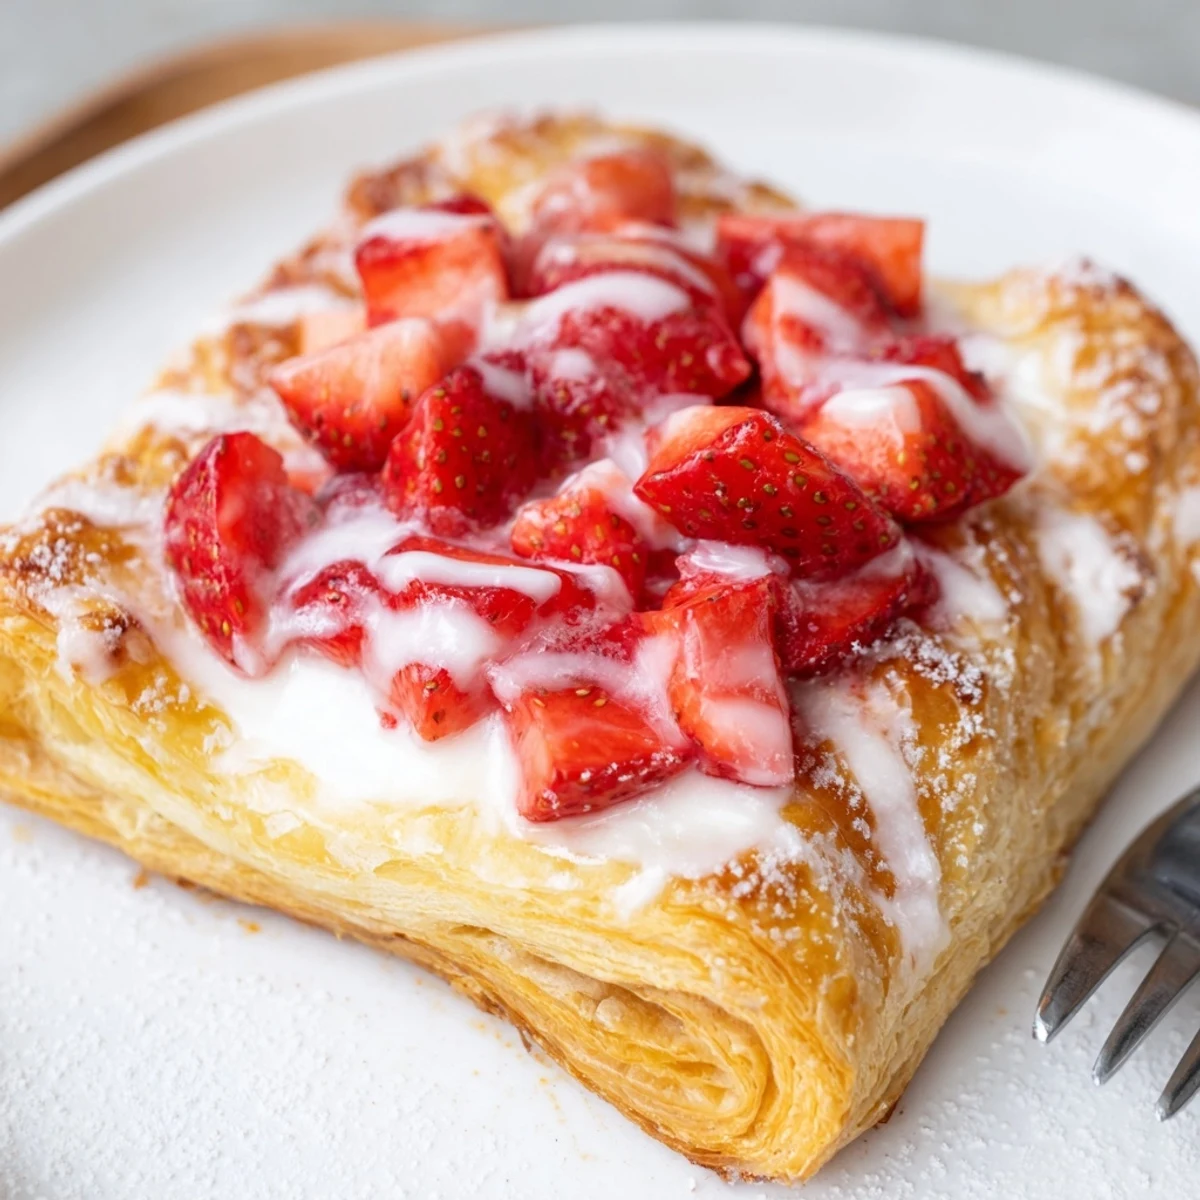
Save Flaky puff pastry squares are filled with a creamy, sweetened cream cheese and topped with macerated strawberries, then brushed with egg wash and baked until golden. Total time 45 minutes; yields 8 pastries. Use chilled pastry, drain excess berry juices to prevent soggy centers, and finish with a simple vanilla glaze for shine and extra sweetness.
The soft sound of rain tapping the kitchen window made me crave something a bit indulgent, and so the idea of Strawberry Danish took shape one gray Saturday morning. There&apo;s a sort of magic in the contrast between the cold outside and the promise of buttery pastry warming in the oven. As I worked the dough and smelled the sweet tang of strawberries, I realized how these small moments, filled with aromas and anticipation, can turn any ordinary day into an occasion. This recipe became my quiet rebellion against dreary weather—and a sweet victory at breakfast or dessert.
One evening, I brought a tray of these to a casual get-together with friends. As we sat around the table trading stories, someone confessed they couldn&apo;t resist the sweet smell wafting from the kitchen—and soon, laughter mixed with the quiet clatter of forks diving into Danishes. It&apo;s funny how a fresh pastry can draw everyone in, instantly elevating even the most relaxed gathering.
Ingredients
- Puff pastry: A single sheet saves time but delivers that shattering crunch; keep it cold until just before use for best puff.
- Cream cheese: Softened cream cheese makes the filling luscious, so let it sit out for easier mixing.
- Granulated sugar: Sprinkled in both fillings, it brings out the strawberries&apo; floral notes and balances the tang of the cheese.
- Vanilla extract: A splash in the cheese and glaze goes a long way—don&apo;t skip it.
- Lemon zest: Brightens the cream cheese and gives the whole Danish a fresh finish.
- Fresh strawberries: Their natural sweetness is perfect here, but if using frozen, be sure to drain off extra juice to prevent soggy pastry.
- Lemon juice: Just a splash to perk up the berries in the filling.
- Cornstarch: This thickens the fruit so it stays nestled in the center, not seeping over the pastry.
- Egg and milk: Brushed onto the pastry edges for an irresistible golden gloss.
- Powdered sugar (optional): Whisked into a quick glaze that delicately sweetens the finished pastries.
Instructions
- Prep the oven and tray:
- Switch on the oven to 200°C (400°F), and line your baking tray with parchment—the first whiff of toasting paper always feels promising.
- Mix the cheese filling:
- Cream together the softened cream cheese, sugar, vanilla, and lemon zest until you get a light, citrusy cloud. Taste a dab—it should taste fresh and slightly tangy.
- Prepare the strawberries:
- Toss the diced strawberries with sugar, lemon juice, and cornstarch. You&apo;ll notice the fruit starts glistening and smelling like summertime.
- Shape the pastry:
- Roll out the puff pastry and slice it into 8 squares; score a 1 cm border, taking care not to cut all the way through so the edges puff up prettily.
- Layer on the filling:
- Spoon a generous tablespoon of the cream cheese mixture in the center of each square and gently spread it out, staying inside the border.
- Add the strawberries:
- Pile a tablespoon of the strawberry mixture right in the center of the cheese—not too much, or it&apo;ll overflow as it bakes.
- Brush with egg wash:
- Beat the egg and milk, then coat the pastry borders. The glossy finish is one of those little details that makes all the difference.
- Bake:
- Slide the tray into the oven and bake for 18–22 minutes, or until the pastries are towering and bronzed. The kitchen will smell irresistible by minute twelve.
- Cool and glaze:
- Transfer the Danishes to a wire rack and let them cool a bit. If you love a sweet finish, drizzle with a simple glaze while still slightly warm.
 Save
Save The best compliment I ever got was from a kid who carefully saved the last bite just to ask for another, sticky hands and all. There&apo;s a quiet delight in seeing these pastries disappear, and knowing you gave someone their new favorite treat.
Changing Up the Fruits
I&apo;ve tried these Danishes with raspberries, blueberries, and even a rogue apricot or two when strawberries were out of season. The process becomes a gentle experiment—different fruits will alter the texture and sweetness, so taste and adjust the sugar as you go. No two batches have ever turned out exactly alike, and that&apo;s part of the fun.
Serving Suggestions for Maximum Enjoyment
If you&apo;re serving these for a morning gathering, a dusting of powdered sugar and a glass of chilled juice or Riesling makes everything feel special. They taste best the day they&apo;re made, when the pastry is at its crispest. For dessert, a small scoop of vanilla ice cream alongside pushes this treat firmly into showstopper status.
Little Fixes and Last Touches
Sometimes a few simple tweaks make all the difference with pastry—don&apo;t be afraid to play. If your kitchen is warm, working quickly keeps the dough workable, and an extra pinch of lemon zest never hurt anyone.
- Keep your baking tray chilled until ready to use for an even puff.
- Brush off excess flour from the puff pastry to avoid dry spots.
- Remember: the messier your first batch, the prouder you&apo;ll be of the last.
 Save
Save There&apo;s something supremely satisfying about pulling a tray of Strawberry Danish from the oven and realizing you created a bit of bakery magic at home. Share them warm, and don&apo;t be surprised when everyone asks for the recipe.
Recipe FAQ
- → Can I use frozen strawberries?
-
Yes. Thaw and drain frozen strawberries well, then toss with a little sugar and cornstarch to absorb excess liquid so the filling doesn't make the pastry soggy.
- → How do I prevent soggy bottoms?
-
Keep a defined border on each pastry square, use chilled puff pastry, and ensure berry filling is thickened with cornstarch and well drained before assembling.
- → What temperature and timing work best?
-
Bake at 200°C (400°F) for 18–22 minutes, until the pastry is puffed and deep golden. Oven times vary, so watch for color rather than relying solely on time.
- → Can I make these ahead and reheat?
-
Yes. Store cooled pastries in an airtight container for up to 24 hours. Reheat briefly in a 175°C (350°F) oven to restore flakiness; avoid microwaving which softens the pastry.
- → Any tips for shaping and filling?
-
Score a 1 cm border without cutting through to help the center stay flat. Keep fillings modest—about 1 tablespoon each—to maintain crisp edges and even baking.
- → What can I substitute for cream cheese?
-
For a lighter option, use mascarpone or a thick ricotta blend. Add a touch of sugar and vanilla to mimic the sweet, creamy profile.