 Save
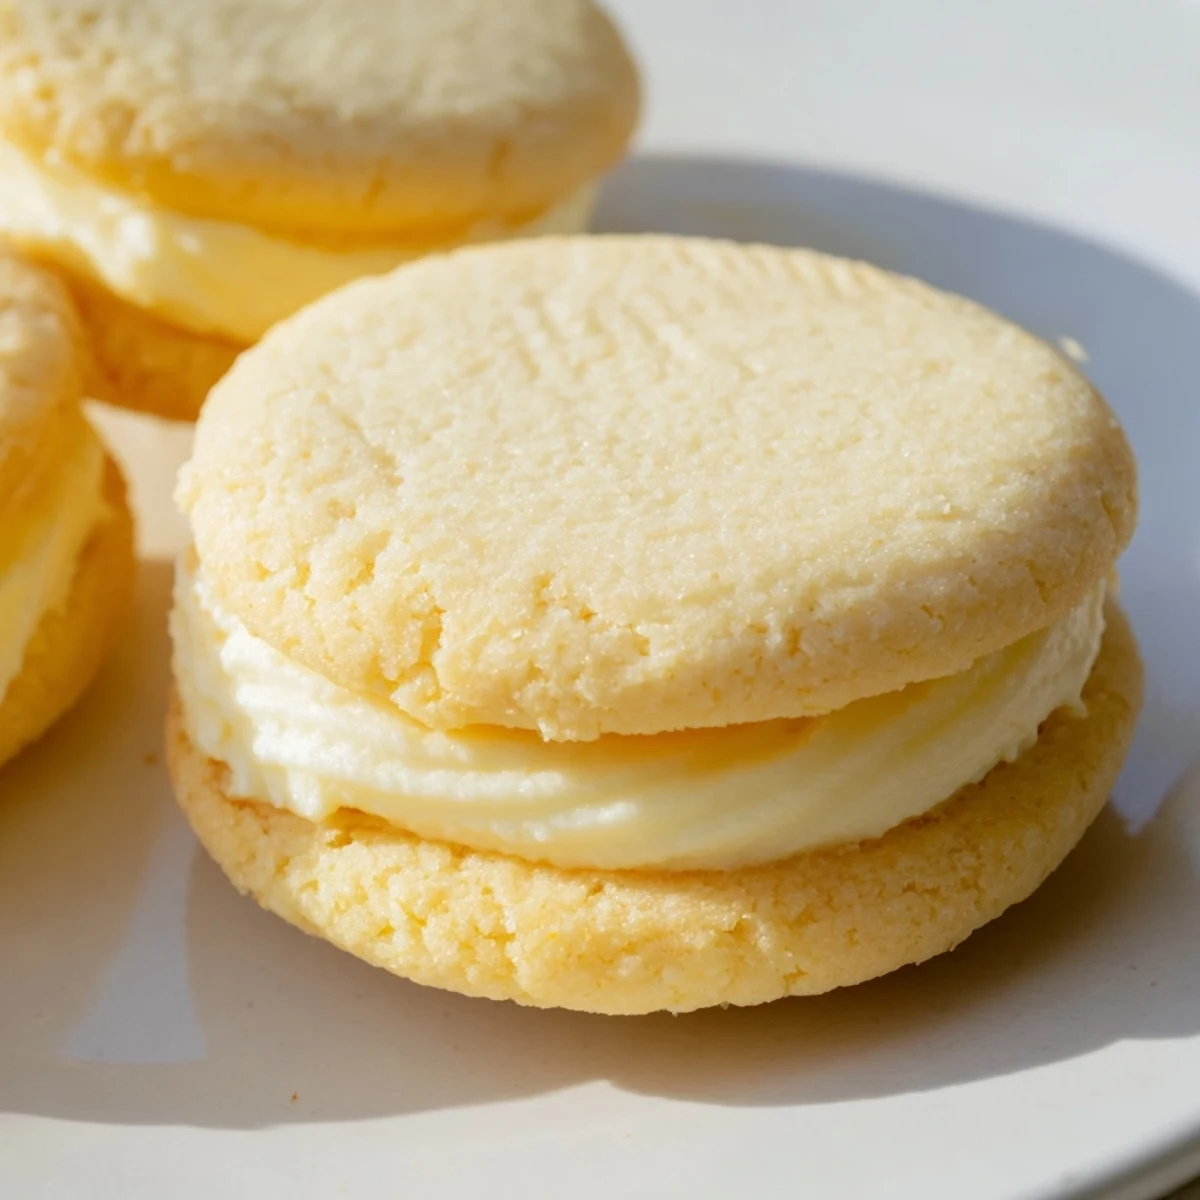
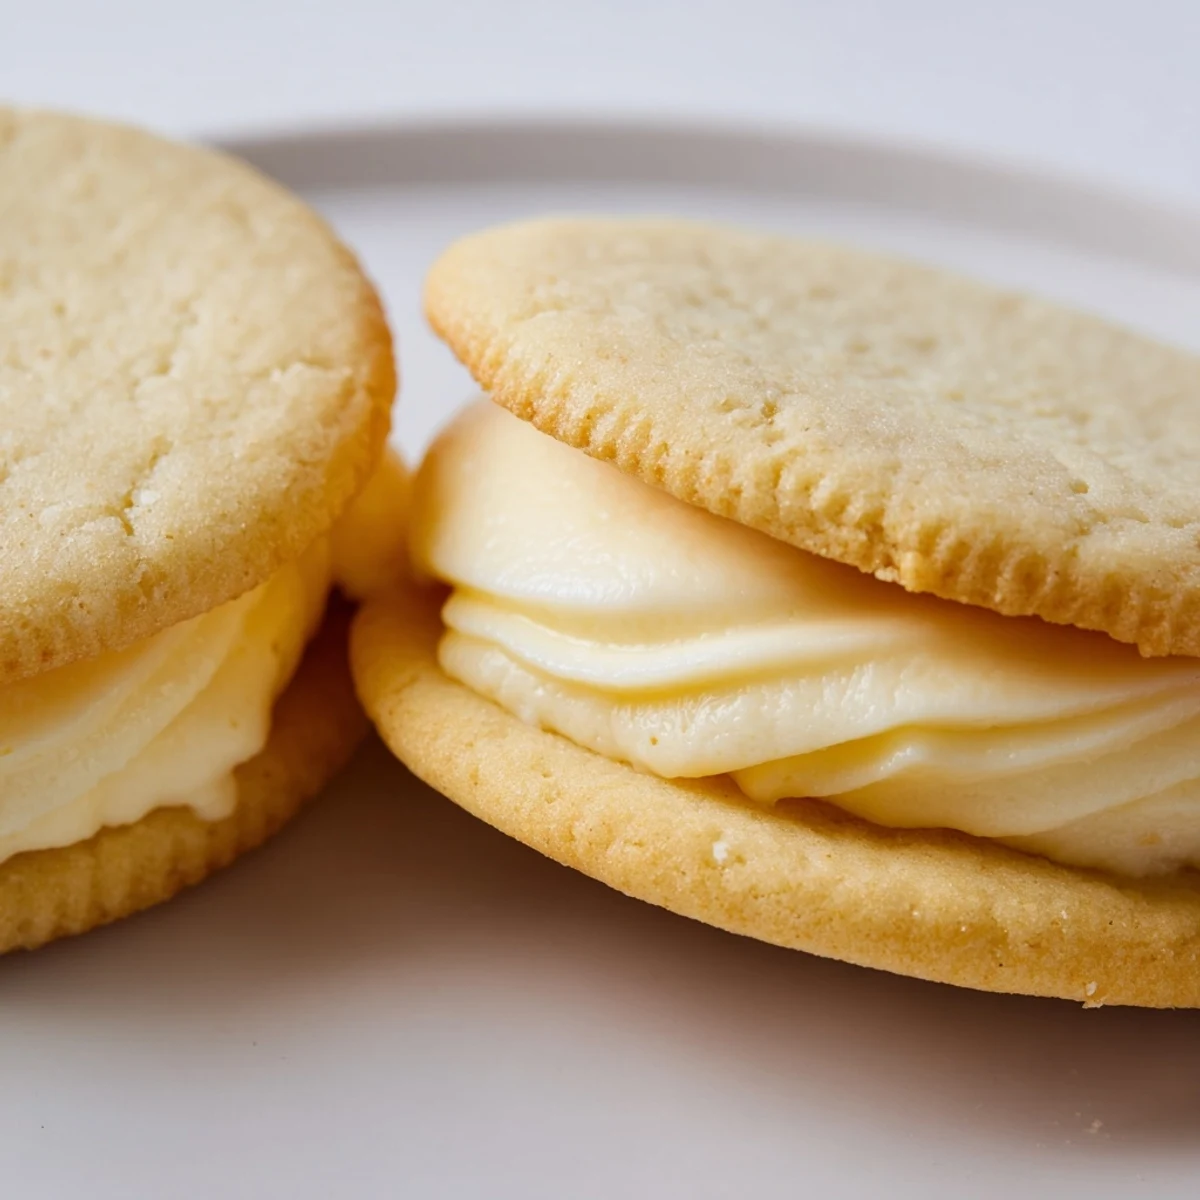
Save These delightful sandwich cookies feature tender, buttery sugar cookies paired with luscious pastel buttercream filling. The dough comes together quickly but requires chilling for proper handling, resulting in cookies that hold their shape beautifully while remaining soft and melt-in-your-mouth tender.
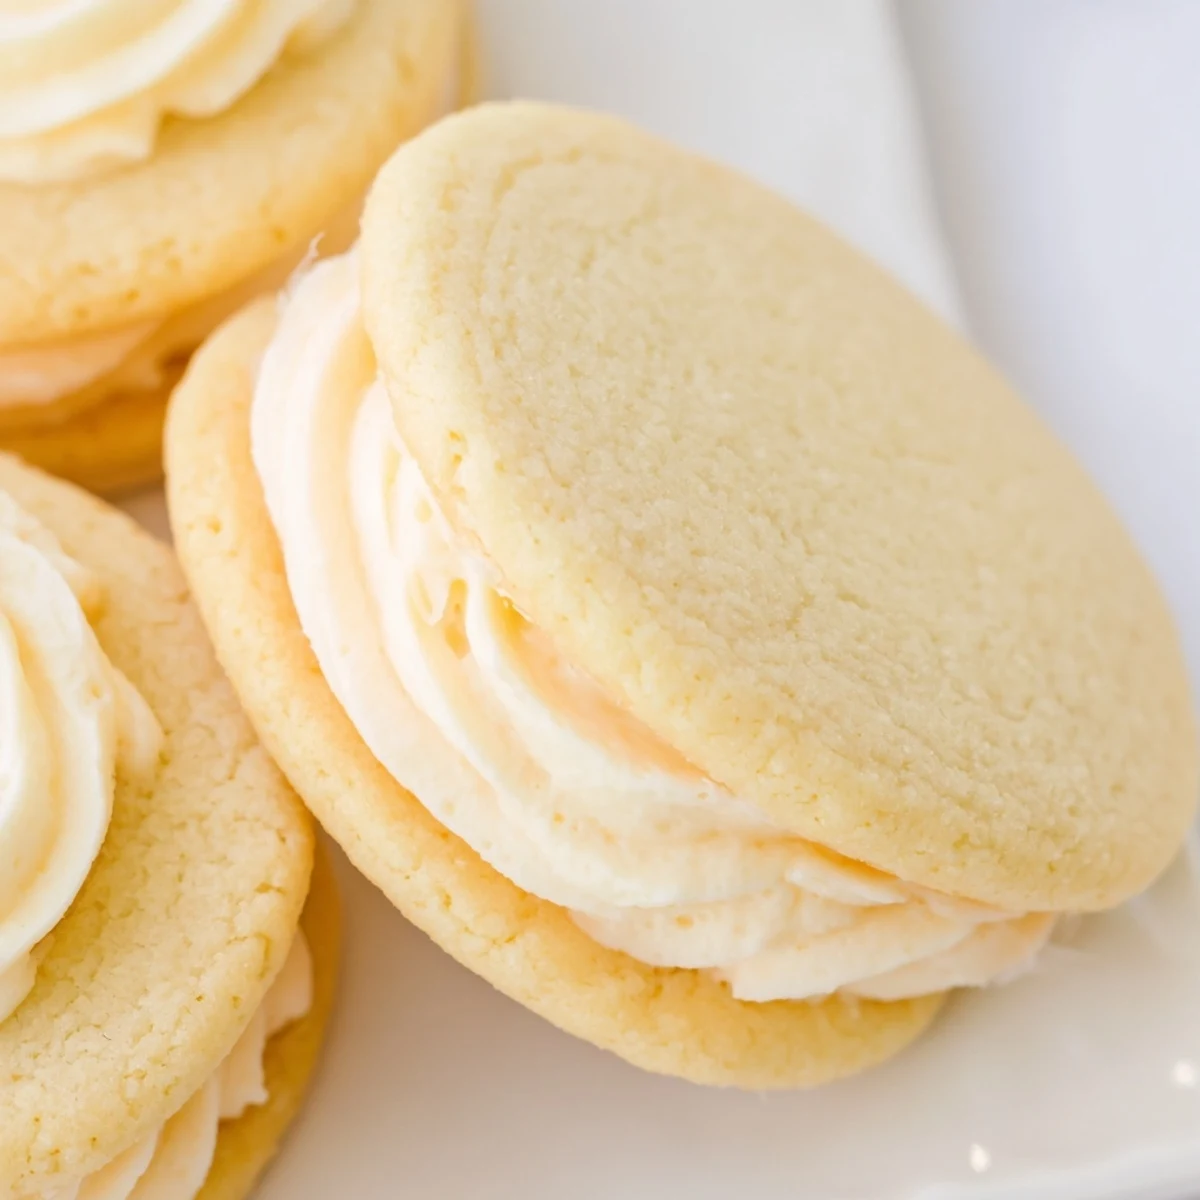
The pastel buttercream steals the show—vibrant yet sophisticated colors transform simple vanilla frosting into something magical. You can customize the shades to match any occasion, from soft pinks for spring to minty greens for holidays.
The assembly process is therapeutic: piping or spreading colorful filling onto cooled cookies, then pressing them together to create adorable sandwich treats. Roll the edges in sprinkles for extra flair, or keep them elegantly simple.
Store these beauties in an airtight container and they'll stay fresh for days—though they rarely last that long when family and friends discover them. Perfect for bake sales, birthday parties, or an indulgent afternoon treat with tea.
The kitchen counter looked like an art supply store had exploded, with tiny bowls of pink, yellow, and green buttercream arranged like a pastel rainbow. My daughter kept sneaking fingers into the bowls while I tried to roll out the dough, leaving colorful smears across her cheeks that she refused to wash off until after the photo session.
My mother-in-law once told me she judges a baker by their sugar cookies, which sent me into a spiral of recipe testing until I found this one. Now she asks for these specifically, and I always triple the batch because they vanish from the platter within twenty minutes at family gatherings.
Ingredients
- All-purpose flour: The foundation for tender cookies that hold their shape
- Baking powder: Just enough lift for a light, delicate crumb
- Salt: Enhances the buttery sweetness and balances flavors
- Unsalted butter: Room temperature butter is non-negotiable for proper creaming
- Granulated sugar: Creates the perfect crisp edges and sweet center
- Large egg: Adds structure and richness to the dough
- Pure vanilla extract: Use the good stuff here, it makes a difference
- Unsalted butter for filling: Creamy base that pipes beautifully
- Powdered sugar: Sift first to prevent lumps in your buttercream
- Milk: Adjust to reach your preferred spreading consistency
- Pastel gel food coloring: A little goes a long way for soft, dreamy colors
Instructions
- Whisk the dry ingredients:
- Combine the flour, baking powder, and salt in a medium bowl, then set aside
- Cream the butter and sugar:
- Beat them on medium speed until the mixture becomes light and fluffy, taking about 2 to 3 minutes
- Add the egg and vanilla:
- Mix everything until it comes together smoothly
- Incorporate the dry ingredients:
- Gradually add the flour mixture, mixing just until no streaks remain
- Chill the dough:
- Divide it in half, flatten into discs, wrap, and refrigerate for at least 30 minutes
- Preheat and prepare:
- Heat your oven to 350 degrees F and line baking sheets with parchment paper
- Roll and cut the cookies:
- On a floured surface, roll dough to quarter-inch thickness and cut into 2-inch rounds
- Bake to perfection:
- Cook for 8 to 10 minutes until edges just begin to turn golden
- Prepare the buttercream:
- Beat butter until creamy, then gradually add powdered sugar, milk, vanilla, and salt
- Create pastel colors:
- Divide the buttercream and tint each portion with gel food coloring
- Assemble the sandwiches:
- Spread or pipe buttercream onto half the cookies and top with remaining cookies
- Set before serving:
- Let the assembled cookies rest for 20 minutes so the filling firms up
 Save
Save Last spring, my niece and I spent a rainy Saturday afternoon making these for her birthday party. By the time we finished, we were covered in flour and food coloring, but she beamed with pride when she served them to her friends, announcing she had made them herself.
Getting The Perfect Pastel Shades
I learned the hard way that liquid food coloring makes buttercream too thin to hold its shape. Gel colors are concentrated and give you those soft, dreamy pastels without compromising the texture. Start with a tiny amount on a toothpick, you can always add more but you cannot take it back.
Making These Ahead
The cookie dough freezes beautifully for up to three months, so I often double the batch and stash half for unexpected baking emergencies. Thaw overnight in the refrigerator, then let it sit at room temperature for about ten minutes before rolling to prevent cracking.
Serving And Storing
These cookies actually improve after a day as the buttercream softens the cookie interiors just slightly. Store them in a single layer between wax paper in an airtight container at room temperature, where they will keep happily for three days, assuming they last that long.
- Roll the edges of assembled sandwiches in sprinkles for extra whimsy
- Try almond or lemon extract for a sophisticated flavor twist
- Package individually in cellophane bags for charming party favors
 Save
Save There is something magical about biting into these delicate cookies and getting that burst of sweet buttercream. They remind me that the prettiest desserts are often the simplest to make.
Recipe FAQ
- → How far in advance can I make the dough?
-
The dough can be prepared up to 3 days ahead and stored wrapped tightly in the refrigerator. For longer storage, freeze the dough discs for up to 3 months. Thaw overnight in the refrigerator before rolling and baking.
- → Can I use liquid food coloring instead of gel?
-
Gel coloring is highly recommended as it provides vibrant pastel shades without adding excess liquid to your buttercream. Liquid food coloring may cause the frosting to become too thin and affect the texture. If you only have liquid, add it drop by drop and compensate with additional powdered sugar if needed.
- → What's the best way to achieve uniform cookie sizes?
-
Roll your dough to an even ¼-inch thickness using rolling pin rings or wooden dowels as guides. Use a consistent 2-inch round cutter and press straight down without twisting. Chill the cut shapes for 5-10 minutes before baking to help them hold their shape perfectly in the oven.
- → How should I store the finished sandwiches?
-
Once assembled and set, store the sandwiches in an airtight container at room temperature for up to 3 days. Place parchment paper between layers to prevent sticking. Avoid refrigerating as this can cause the buttercream to harden and the cookies to lose their tender texture.
- → Can I make these into different shapes?
-
Absolutely! While round cookies create classic sandwiches, you can use any shape cutter you prefer. Hearts, stars, flowers, or seasonal shapes work wonderfully. Just ensure you pair matching shapes when assembling, and consider adjusting the baking time slightly for smaller or larger shapes.
- → Why did my cookies spread too much during baking?
-
Excess spreading usually happens when the dough is too warm before baking. Always chill your dough discs for at least 30 minutes, and chill the cut shapes again for 5-10 minutes on the baking sheet before popping them in the oven. Also ensure your butter is at room temperature (not melted) when creaming with the sugar.