 Save
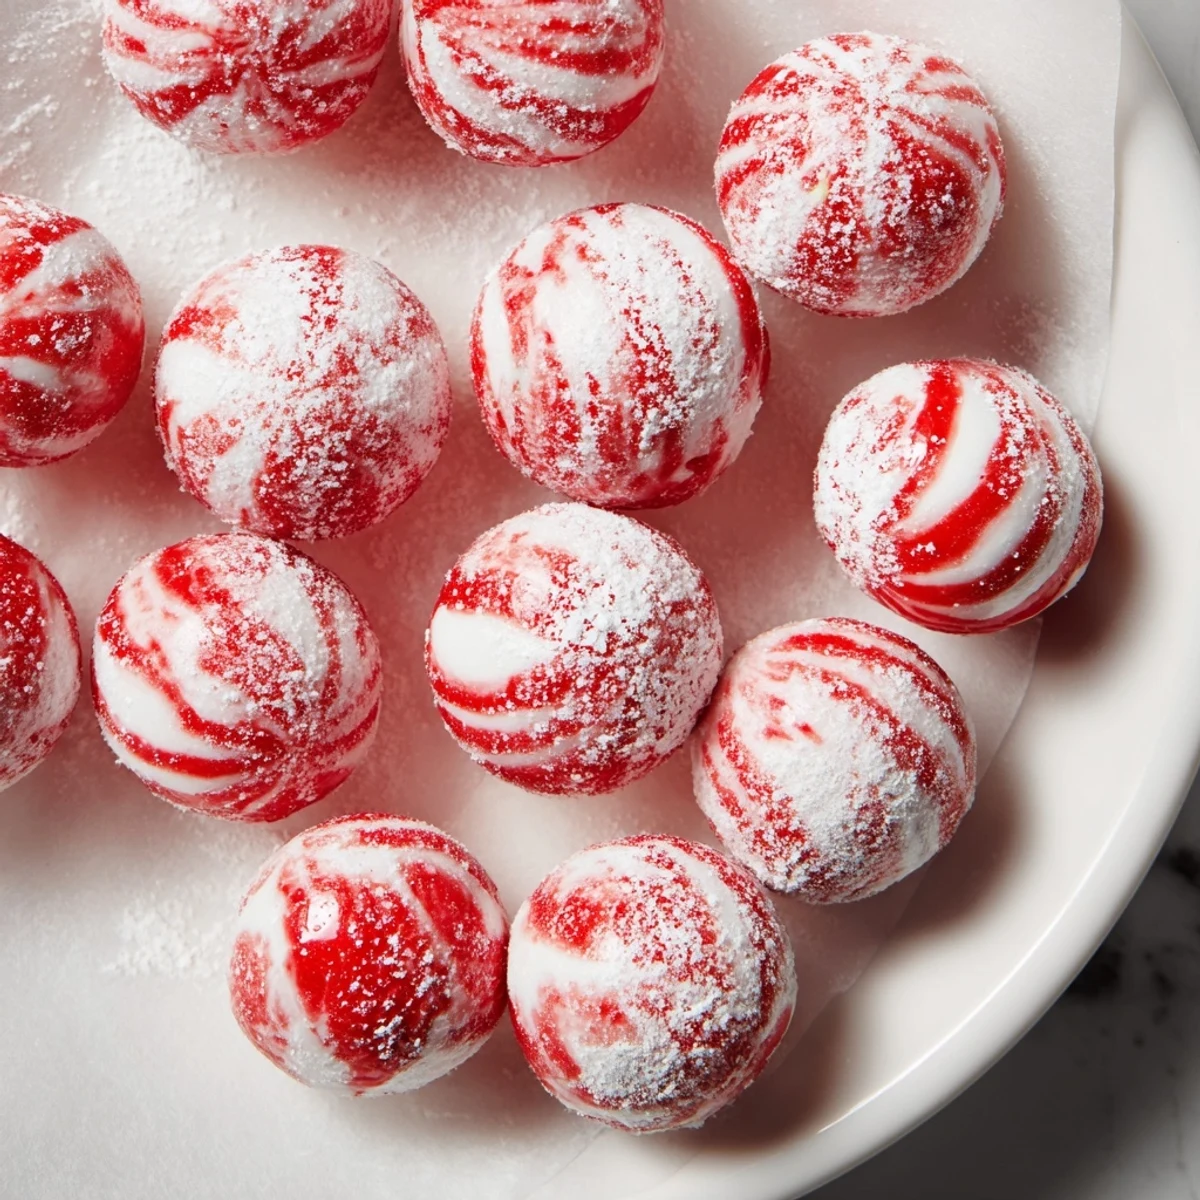
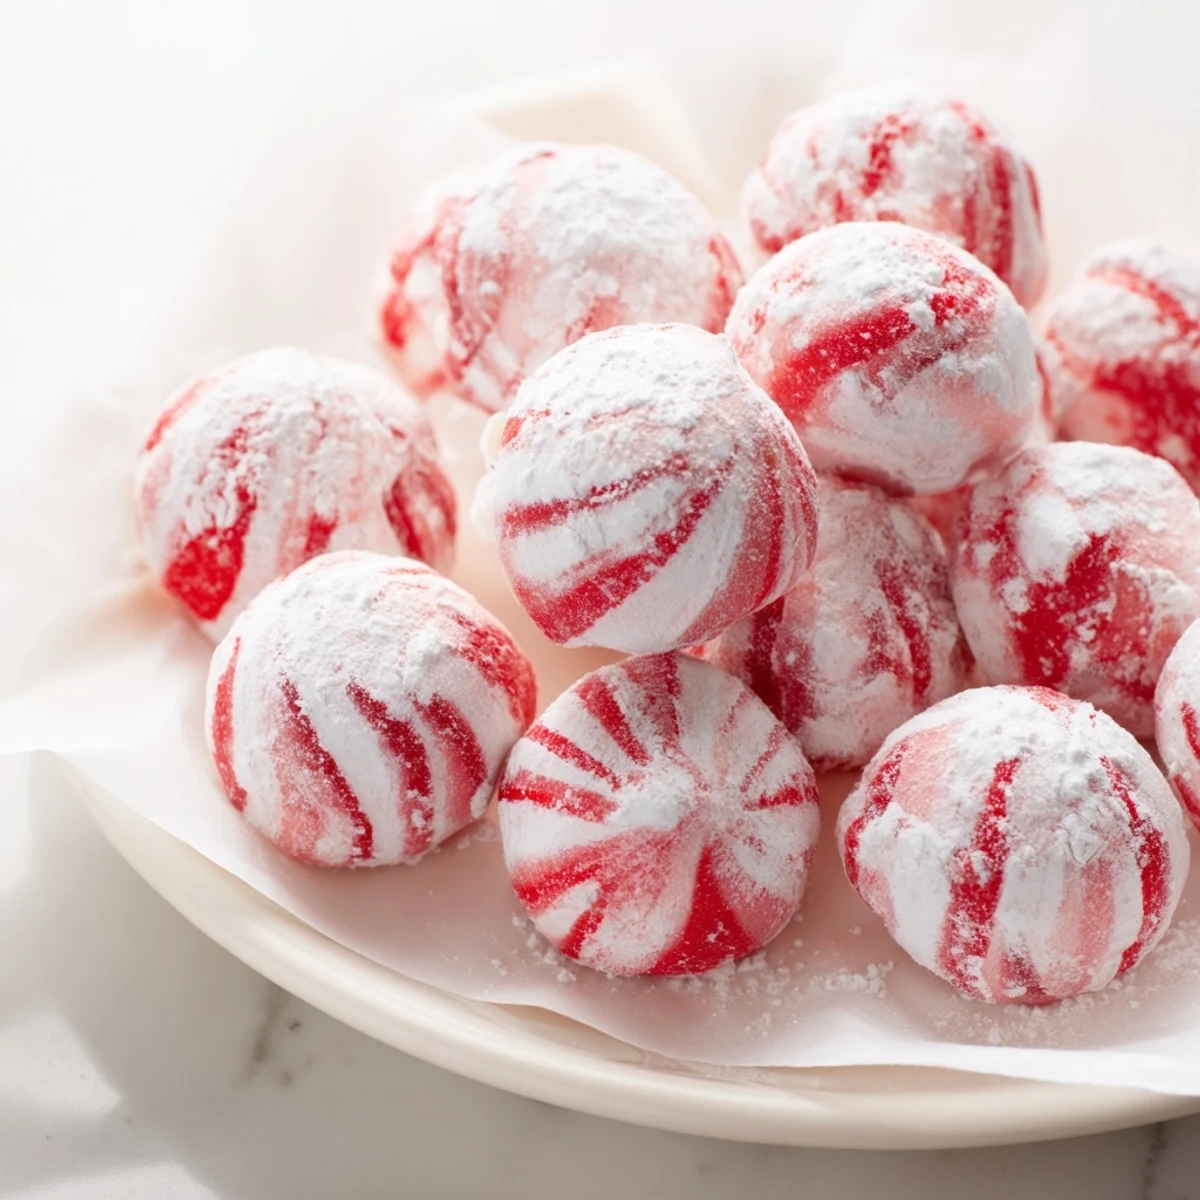
Save These classic peppermint candies offer a delightful melt-in-mouth experience with a refreshing peppermint flavor. Crafted from a simple sugar syrup heated to the hard crack stage and infused with peppermint extract, they cool into smooth, glossy mounds. Lightly dusted with powdered sugar to prevent sticking, they make an ideal sweet treat or gift. Optional red food coloring adds a festive touch, and you can experiment with other extracts for variety. Preparation involves careful boiling, molding, and cooling, resulting in about 50 gluten-free, vegetarian candies.
The first time I made peppermint drops, I was standing in my kitchen on a gray November afternoon, watching the sugar syrup bubble and twist into something clear and dangerous-looking. My mom had mentioned offhand that store-bought candy seemed tired, and I found myself suddenly determined to prove that homemade could taste like winter felt—crisp, bright, almost sharp. What started as a quiet experiment became this addictive little ritual, and now I can't imagine the season without the smell of peppermint oil hitting the kitchen like an unexpected hug.
I remember my partner walking into the kitchen mid-batch, drawn by the sharp mint scent, and I let him taste one still slightly warm from the pan. His face lit up in that way it does when something unexpected tastes exactly right. We ended up making four batches that weekend, and suddenly these little drops became our version of a love language—something we'd press into people's hands with a grin, no explanation needed.
Ingredients
- Granulated sugar (2 cups): This is your base, and quality matters more than you'd think—fine crystals dissolve into that silky syrup faster.
- Water (1/2 cup): Seems simple, but it's the bridge between sugar and that hard-crack stage; don't skip it or rush it.
- Light corn syrup (1/4 cup): This ingredient prevents crystallization and keeps your candies smooth instead of grainy, which is the whole magic.
- Peppermint extract (1/2 teaspoon): Use pure extract, not imitation, or the flavor tastes like plastic instead of fresh winter air.
- Red food coloring (2-3 drops, optional): A whisper is all you need; too much and they look artificial.
- Powdered sugar (1/4 cup): This dusting keeps them from sticking together and adds a subtle sweetness to the finish.
Instructions
- Set your stage:
- Line a baking sheet with parchment and dust it lightly with powdered sugar—this prevents sticking and makes your life easier when they cool.
- Start the syrup:
- In a medium saucepan, combine the granulated sugar, water, and corn syrup over medium heat, stirring gently until the sugar dissolves completely and the mixture looks clear.
- Push to hard crack:
- Turn up the heat and let it boil without stirring—this is crucial, as stirring can cause crystallization. Watch your candy thermometer like a hawk until it hits 300°F (150°C).
- The moment of truth:
- Pull it off heat immediately and stir in the peppermint extract and coloring if using. Work quickly; the mixture is molten and dangerous, so move with intention.
- Drop and scatter:
- Using a small teaspoon or cookie scoop, drop bite-sized mounds onto your prepared sheet, leaving space between each one—they'll stay separate as they cool.
- Let them set:
- Step back and let them cool completely, at least 30 minutes to an hour; patience is not optional here.
- The finish:
- Once cooled, toss the candies in powdered sugar to coat them lightly and prevent sticking, then store in an airtight container where they'll keep for weeks.
 Save
Save These candies became especially meaningful one winter when I made them as gifts for the neighbors who'd helped us through a rough few months. Something about handing someone a small jar of homemade peppermint drops felt like saying thank you in a language deeper than words. They still mention it, and I still make a batch every year just for them.
Flavor Adventures Worth Taking
While peppermint is the classic, this candy base is endlessly forgiving. I've experimented with lemon extract for brightness, orange for warmth, and even a hint of cinnamon oil for something deeper. Each version carries the same melt-in-your-mouth magic—the syrup process is what matters, not the flavoring. My favorite discovery was a swirl of red coloring that I didn't fully mix in, creating these gorgeous striped candies that looked like little art pieces.
The Real Talk About Texture
The hardest part of candy making isn't the heat or the thermometer—it's trusting the process. The first time I made these, I second-guessed myself at 295°F and pulled them too early, ending up with candies that stuck together like a clump. The next batch, I let it go to 305°F out of nervousness, and they shattered when I bit into them. Now I know 300°F is the sweet spot, and I watch for it with calm patience instead of panic. It took maybe three batches for my confidence to catch up with the chemistry, and now it's automatic.
Gifting and Gathering
These candies feel special enough to wrap up and share, but humble enough that you can also leave a bowl on the coffee table for yourself. I've found that people often assume homemade candy is complicated, so when they taste how simple and delicious this is, they light up. During the holidays, a mason jar of peppermint drops tied with twine has become my go-to gift—it shows effort without looking fussy, and it disappears faster than anything store-bought.
- Pack them in layers with parchment paper to keep them from sticking in the jar.
- If you're giving them away, make a label that mentions the flavor and what makes them special.
- Keep a few batches in the freezer during the season so you always have something ready to gift.
 Save
Save Making peppermint drops has taught me that some of the best things in life come from paying attention—to temperature, to timing, to the small satisfaction of watching molten sugar become something you can hold in your hand. It's worth doing right.
Recipe FAQ
- → What temperature should the sugar syrup reach?
-
The syrup needs to reach 300°F (150°C), known as the hard crack stage, to achieve the proper candy texture.
- → Can I use different flavors instead of peppermint?
-
Yes, lemon or orange extracts can be substituted to create different flavor variations.
- → How do I prevent candies from sticking together?
-
After cooling, toss the candies lightly in powdered sugar, which helps keep them separate and prevents sticking.
- → Is a candy thermometer necessary?
-
A candy thermometer ensures the syrup reaches the correct temperature for hard crack stage, essential for proper texture.
- → Can I shape the candies differently?
-
Yes, silicone molds can be used to create uniform candy shapes instead of freeform drops.