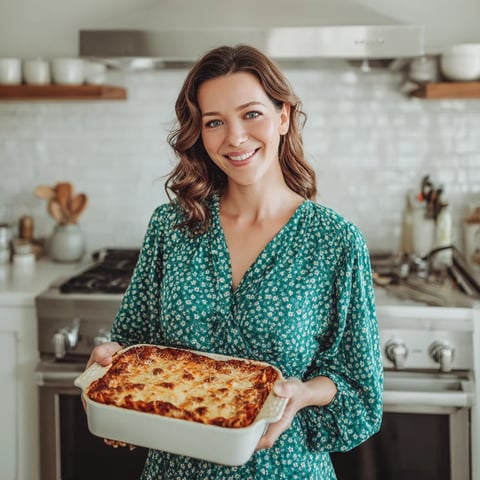
 Save
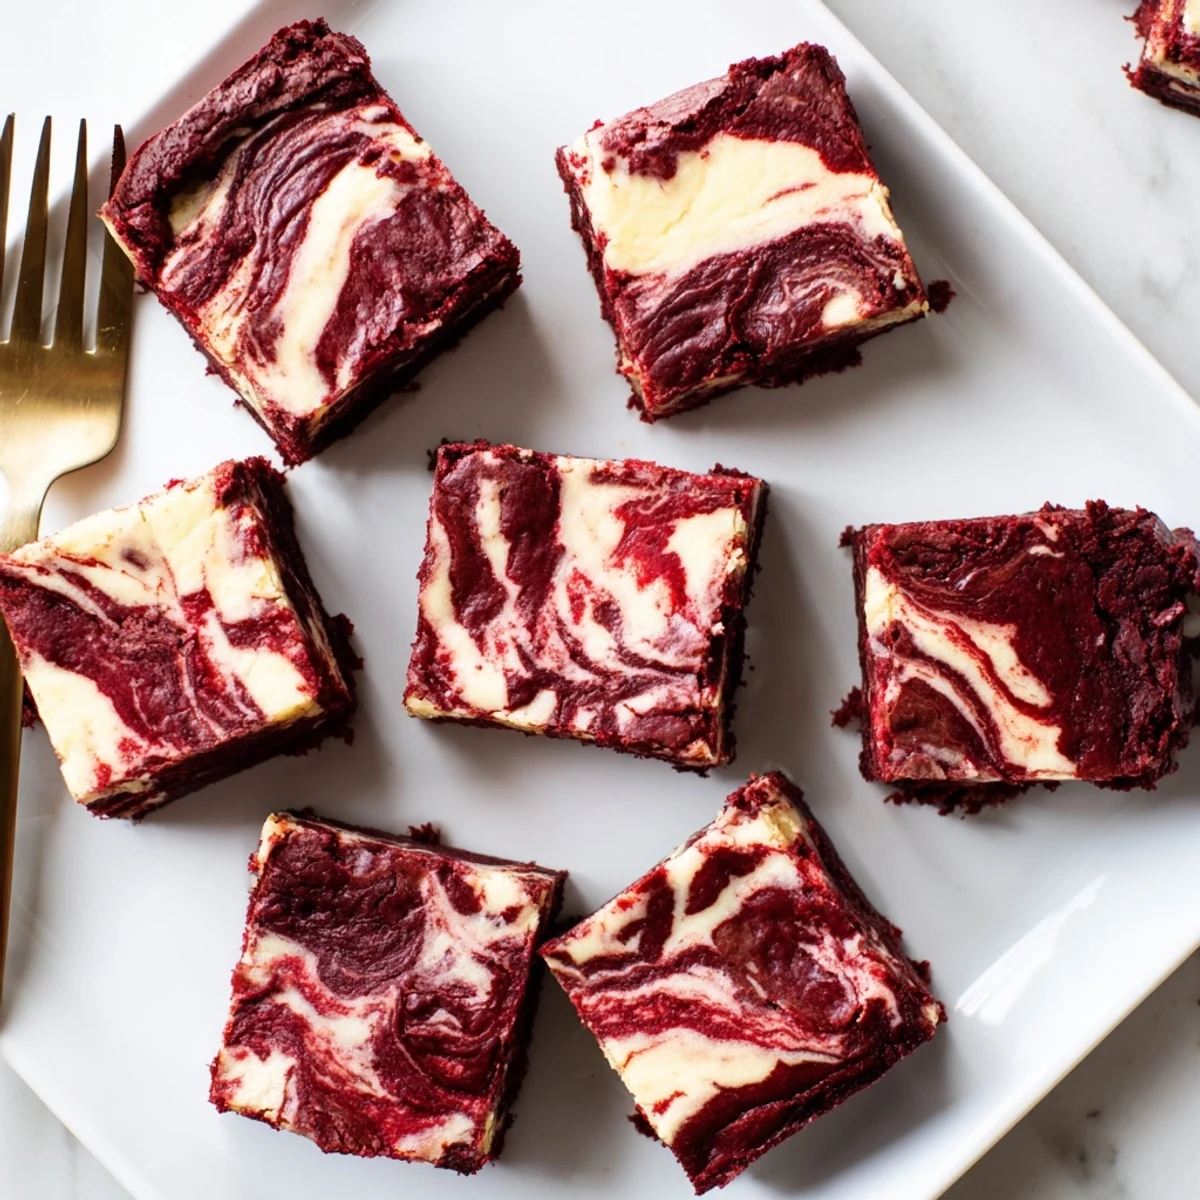
Save These rich red velvet brownies feature a fudgy cocoa base swirled with tangy cream cheese filling. The striking marbled appearance makes them perfect for gatherings, while the combination of chocolate and cheesecake flavors satisfies every craving. Serve chilled for firm texture or at room temperature for softer bites.
The first time I made these red velvet cheesecake brownies was actually on a complete whim for a friend's birthday. I had cream cheese sitting in my fridge that needed using and a sudden craving for something dramatically red and chocolatey. The moment I pulled them from the oven, that marbled pattern looked almost too pretty to cut into. But we did, and oh my, that first bite of tangy cheesecake cutting through fudgy red velvet was absolutely unforgettable.
I brought these to a potluck last winter and watched them disappear within minutes. Three different people asked for the recipe, and one friend confessed she normally skips red velvet anything but could not stop eating these. Something about that creamy cheesecake ribbon cutting through the dense fudgy brownie just makes people's eyes light up every single time.
Ingredients
- 1/2 cup unsalted butter melted: Use real butter here because margarine will not give you that rich fudgy texture we are after
- 1 cup granulated sugar: This amount creates the perfect crackly top on your brownie layer
- 2 large eggs: Room temperature eggs incorporate better and prevent any weird curdling
- 1 teaspoon vanilla extract: Do not skimp on quality here since vanilla shines through the cheesecake layer
- 1 tablespoon red food coloring: Gel coloring works best but liquid will do just add it slowly
- 2/3 cup all-purpose flour: Spoon and level your flour instead of scooping directly to avoid dense dry brownies
- 2 tablespoons unsweetened cocoa powder: Dutch process cocoa gives a deeper red color but natural cocoa works fine
- 1/4 teaspoon salt: This tiny amount makes all the difference in balancing the sweetness
- 8 oz cream cheese softened: I learned the hard way that cold cream cheese creates lumps so give it time
- 1/4 cup granulated sugar: Just enough sweetness for the cheesecake without overpowering the brownie
- 1 large egg: This single egg gives the cheesecake layer its structure and creamy texture
- 1/2 teaspoon vanilla extract: A little extra vanilla here because the cheesecake needs to stand up to that chocolate
Instructions
- Getting your oven and pan ready:
- Preheat your oven to 350°F and line an 8x8 inch pan with parchment paper leaving those overhangs on two sides.
- Making the red velvet batter:
- Whisk your melted butter and sugar until smooth then add eggs vanilla and red food coloring whisking until completely combined.
- Folding in the dry ingredients:
- Sift in flour cocoa powder and salt then fold gently with a spatula just until combined being careful not to overmix.
- Prepping for the swirl:
- Reserve 1/4 cup of your red velvet batter in a small bowl then spread the remaining batter evenly in your prepared pan.
- Making the cheesecake layer:
- Beat softened cream cheese with sugar until smooth then add egg and vanilla mixing until completely creamy and lump free.
- Layering it up:
- Pour that gorgeous cheesecake mixture right over your brownie batter and smooth it into an even layer.
- Creating the marble effect:
- Drop spoonfuls of reserved red velvet batter on top then use a knife or skewer to gently swirl the two layers together.
- Baking to perfection:
- Bake for 33 to 36 minutes until the center is just set and a toothpick comes out with those perfect moist crumbs.
- The hardest part waiting:
- Cool completely in the pan on a wire rack before lifting out and cutting into squares.
 Save
Save My sister normally claims she does not like desserts that are too fussy or fancy but these brownies changed her mind completely. She texted me the next day saying she kept sneaking back to the fridge for just one more square until they were gone.
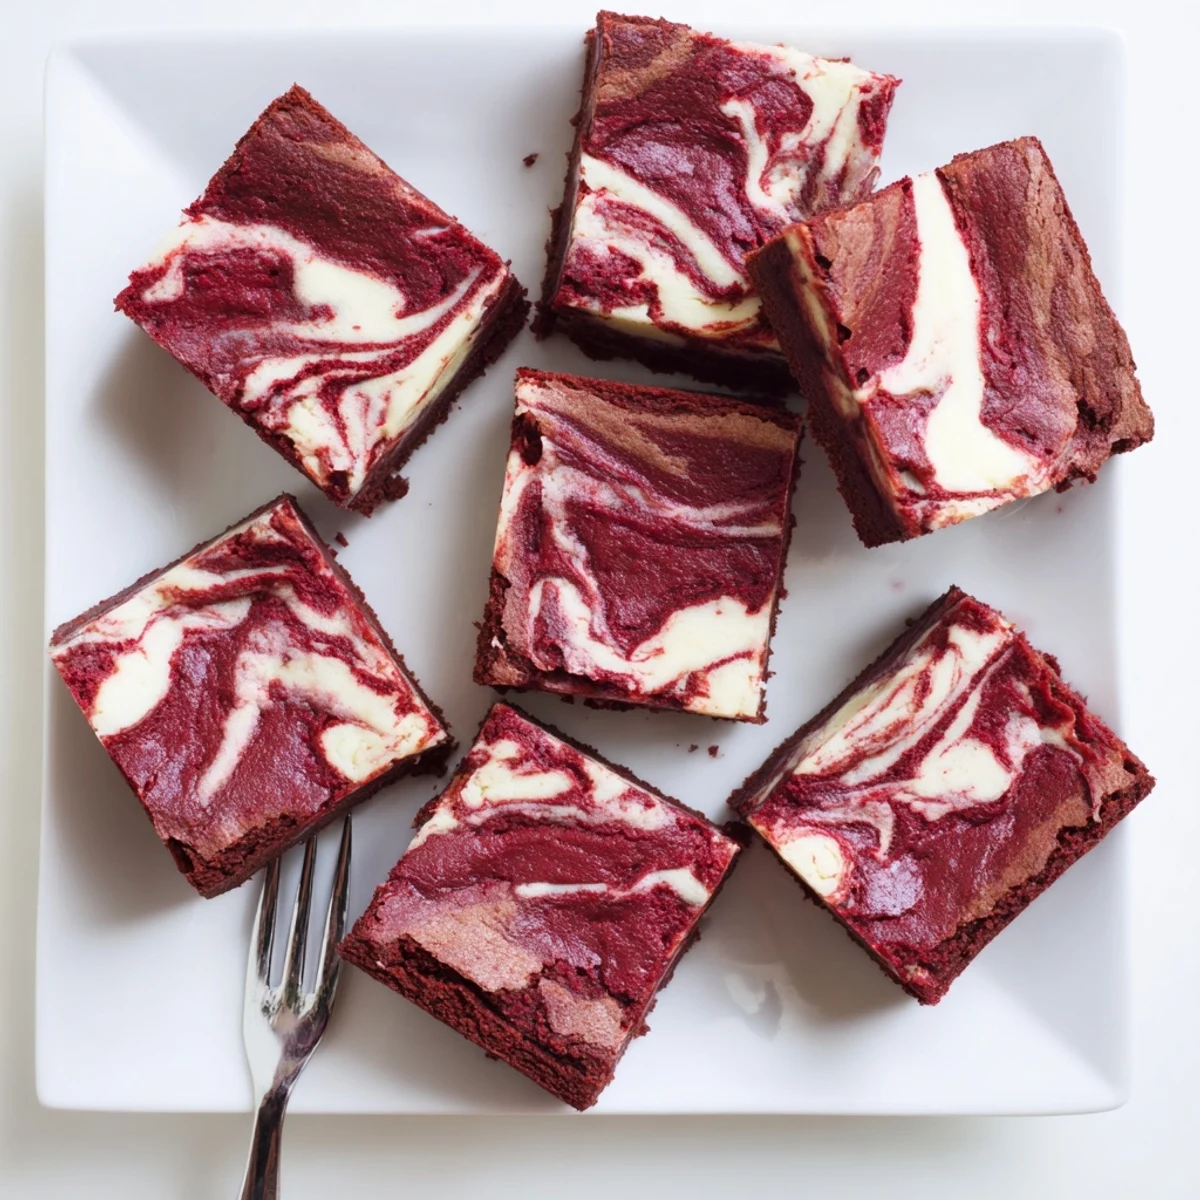
Getting That Perfect Swirl
I used to go crazy with the swirling until one day I realized less is actually more. Just a few gentle figure eight motions with your knife or skewer creates that beautiful marble pattern without over mixing the layers. The key is barely dragging through the batter rather than actually stirring it together.
Storage Secrets
These brownies have become my go to make ahead dessert because they honestly taste better on day two. The cheesecake layer firms up beautifully in the fridge and the flavors have time to meld into something even more incredible. I wrap the whole uncut slab in plastic and foil then cut them right before serving.
Serving Suggestions
These brownies feel decadent enough on their own but I love serving them with something to cut through the richness. A dollop of freshly whipped cream or a scoop of vanilla bean ice cream takes them over the top.
- Dust the tops with a little powdered sugar right before serving for that bakery finish
- Try warming individual squares in the microwave for about 15 seconds before eating
- These freeze beautifully wrapped individually for those emergency dessert cravings
 Save
Save Every time I make these I am reminded why red velvet will always have that special place in my heart. That swirl alone creates something almost too beautiful to eat but trust me you will not be able to resist.
Recipe FAQ
- → How do I know when the brownies are done baking?
-
Insert a toothpick into the center—it should come out with a few moist crumbs but not wet batter. The edges should be slightly set while the center remains slightly soft.
- → Can I make these ahead of time?
-
Yes, these actually improve after chilling. Store in the refrigerator for up to 5 days. The flavors meld together beautifully and the texture becomes firmer when cold.
- → Why did my cheesecake swirl sink into the batter?
-
This happens if the brownie batter is too thin or the cream cheese layer is too heavy. Make sure your cream cheese is softened but not melted, and avoid overmixing the brownie batter.
- → Can I use natural red food coloring?
-
Beet juice or pomegranate juice can work as natural alternatives, though the color may be less vibrant. You'll need about 2-3 tablespoons of natural coloring to achieve similar results.
- → What's the best way to cut clean squares?
-
Chill the brownies completely before cutting. Use a sharp knife wiped clean between cuts, or dip the knife in hot water and dry between slices for perfect edges.
- → Can I freeze these brownies?
-
Absolutely! Wrap individual squares in plastic wrap and place in a freezer-safe container for up to 3 months. Thaw overnight in the refrigerator before serving.