 Save
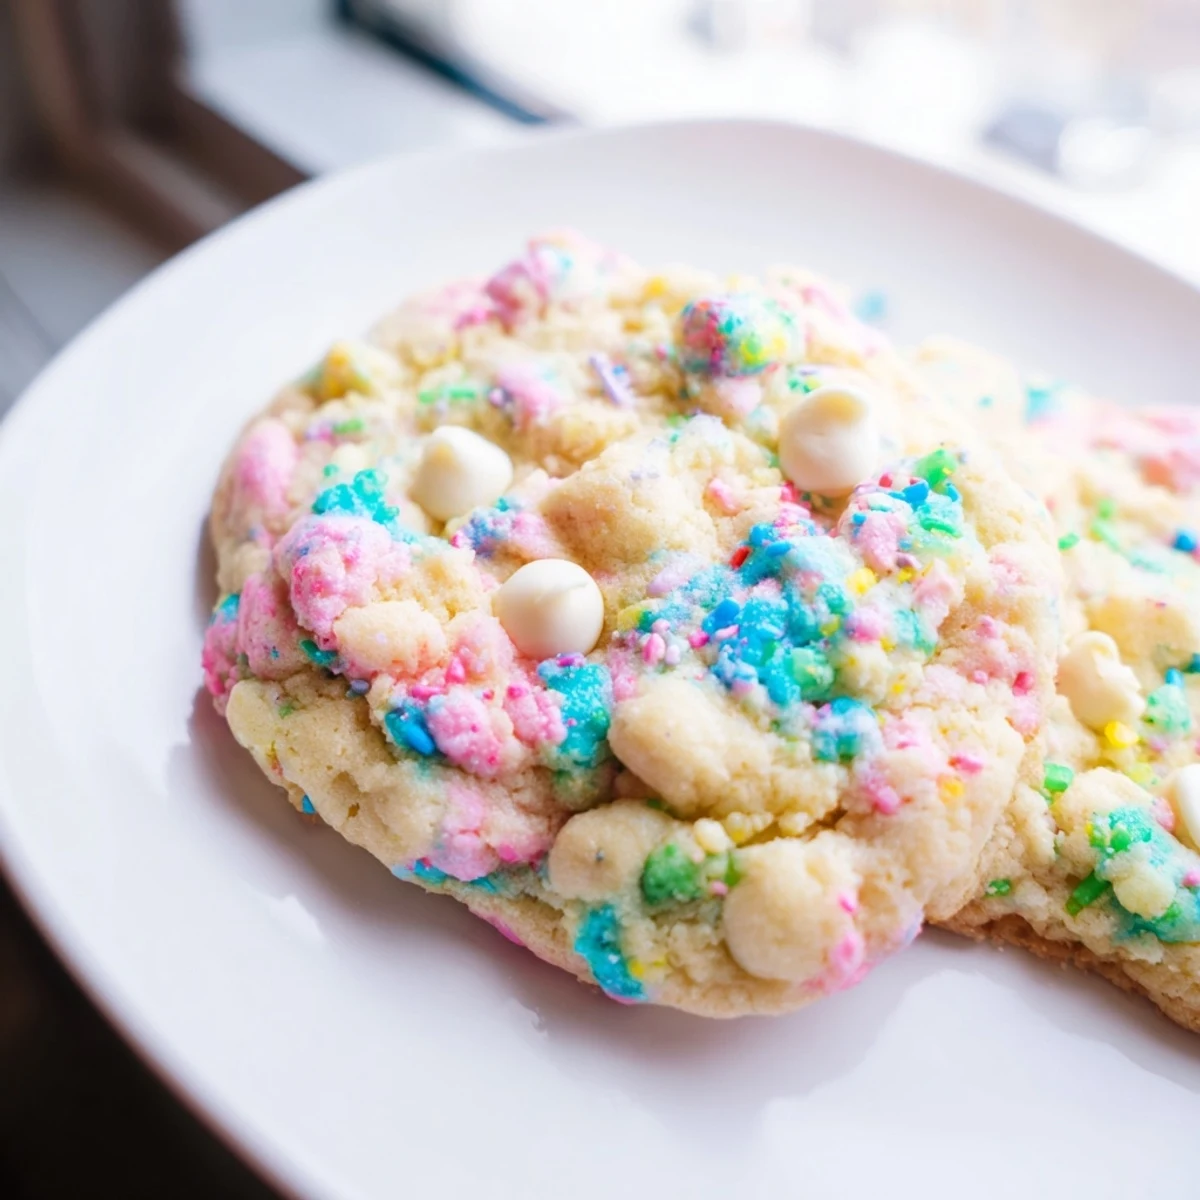
Save These soft, buttery Easter treats feature pastel sprinkles throughout the dough and on top. The dough comes together quickly with creamed butter and sugars, then gets studded with jimmies and optional white chocolate chips. Bake until edges are set but centers remain slightly soft for that perfect chewy texture. Press extra sprinkles on top before baking for maximum festive flair.
The first time I made these funfetti cookies, my kitchen looked like a rainbow had exploded everywhere. My daughter stood on a stool, absolutely mesmerized as I folded those pastel sprinkles into the buttery dough, and I swear her eyes got bigger with every colorful addition. Now they are the official kickoff to our Easter weekend every single year.
Last spring I brought a batch to a neighborhood potluck, and within minutes the plate was completely empty. Three different moms messaged me that evening begging for the recipe, and one admitted she had eaten three cookies before even saying hello to anyone.
Ingredients
- All-purpose flour: The foundation that gives these cookies their perfect tender crumb and structure
- Baking soda: Helps the cookies puff up just right while creating those lovely crackly edges
- Salt: Absolutely essential for balancing all that sweetness and making the flavors pop
- Unsalted butter: Softened to room temperature so it creams beautifully with the sugars for maximum fluffiness
- Granulated sugar: Creates the crisp edges and that irresistible golden color we all love
- Light brown sugar: The secret ingredient for keeping these cookies soft and chewy for days
- Eggs: Bind everything together while adding richness and structure to the dough
- Pure vanilla extract: Do not even think about using imitation here, the real stuff makes all the difference
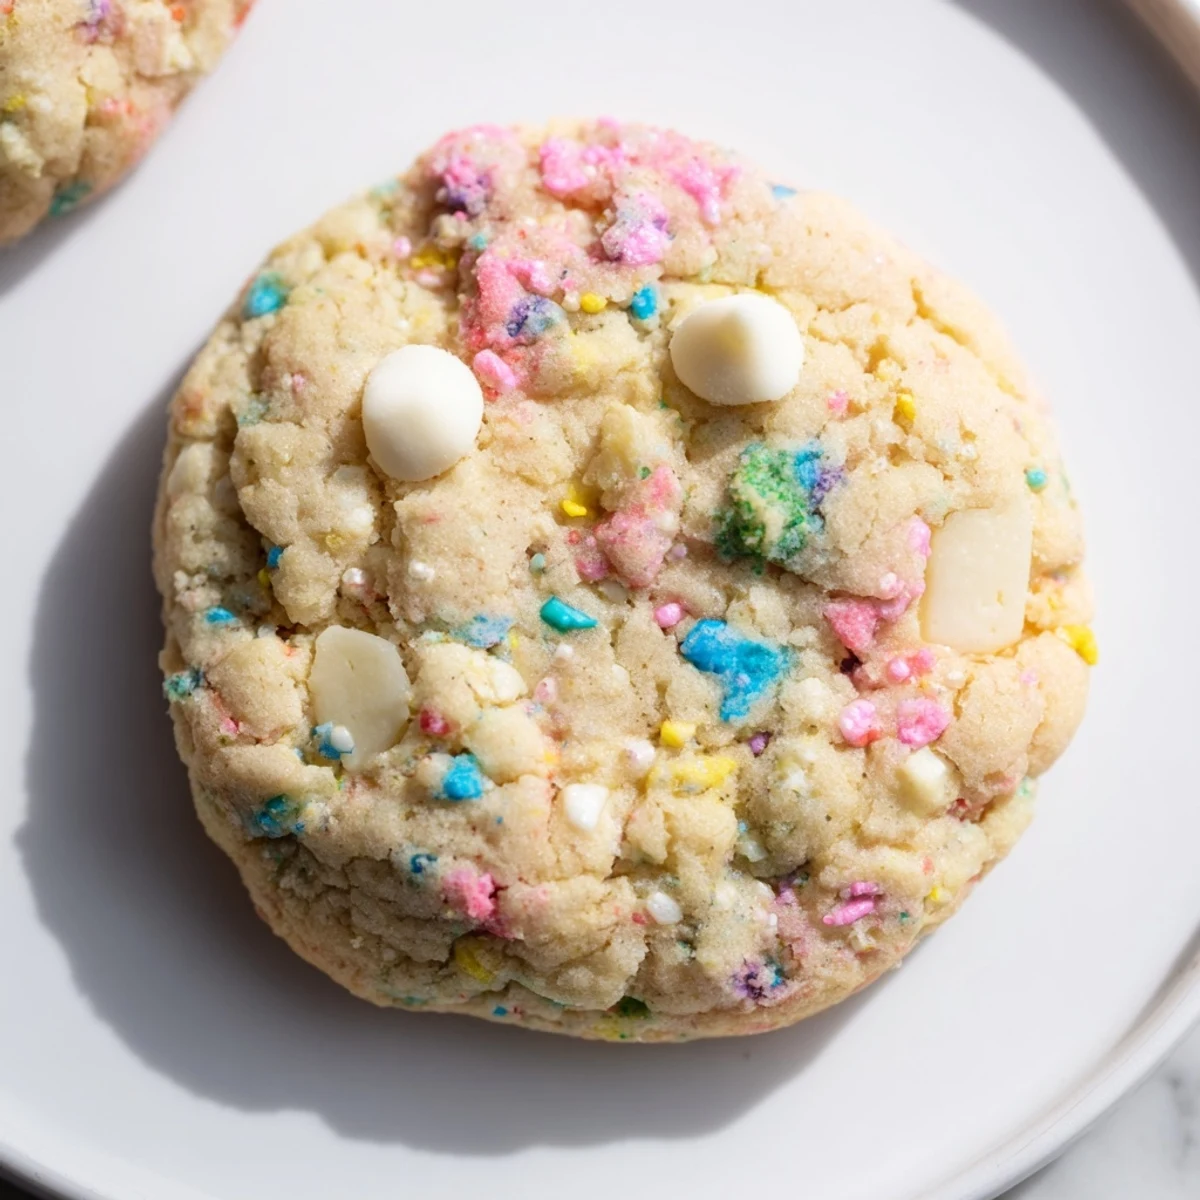
- Pastel sprinkles: Use jimmies specifically because nonpareils will bleed into your dough and look muddy
- White chocolate chips: Optional but highly recommended for those creamy pockets throughout each bite
Instructions
- Get your oven ready:
- Preheat to 350°F and line two baking sheets with parchment paper so nothing sticks later.
- Whisk the dry team:
- Combine flour, baking soda, and salt in a medium bowl, then set it aside while you work on the butter.
- Cream the butter and sugars:
- Beat softened butter with both sugars for 2 to 3 minutes until the mixture looks pale and fluffy, almost like frosting.
- Add the eggs and vanilla:
- Drop in eggs one at a time, really beating after each addition, then pour in that glorious vanilla extract.
- Combine everything:
- Gradually mix in your dry ingredients just until you cannot see flour anymore, being careful not to overwork the dough.
- Fold in the fun stuff:
- Gently fold in those beautiful pastel sprinkles and white chocolate chips until they are evenly distributed throughout.
- Scoop and space:
- Drop tablespoon-sized balls onto your prepared sheets, leaving about 2 inches between each for spreading room.
- Bake to perfection:
- Slide them in for 9 to 11 minutes until edges look set but centers still seem slightly underdone.
- Cool completely:
- Let them rest on the hot sheets for 5 minutes, then move to a wire rack to finish cooling and set that texture.
 Save
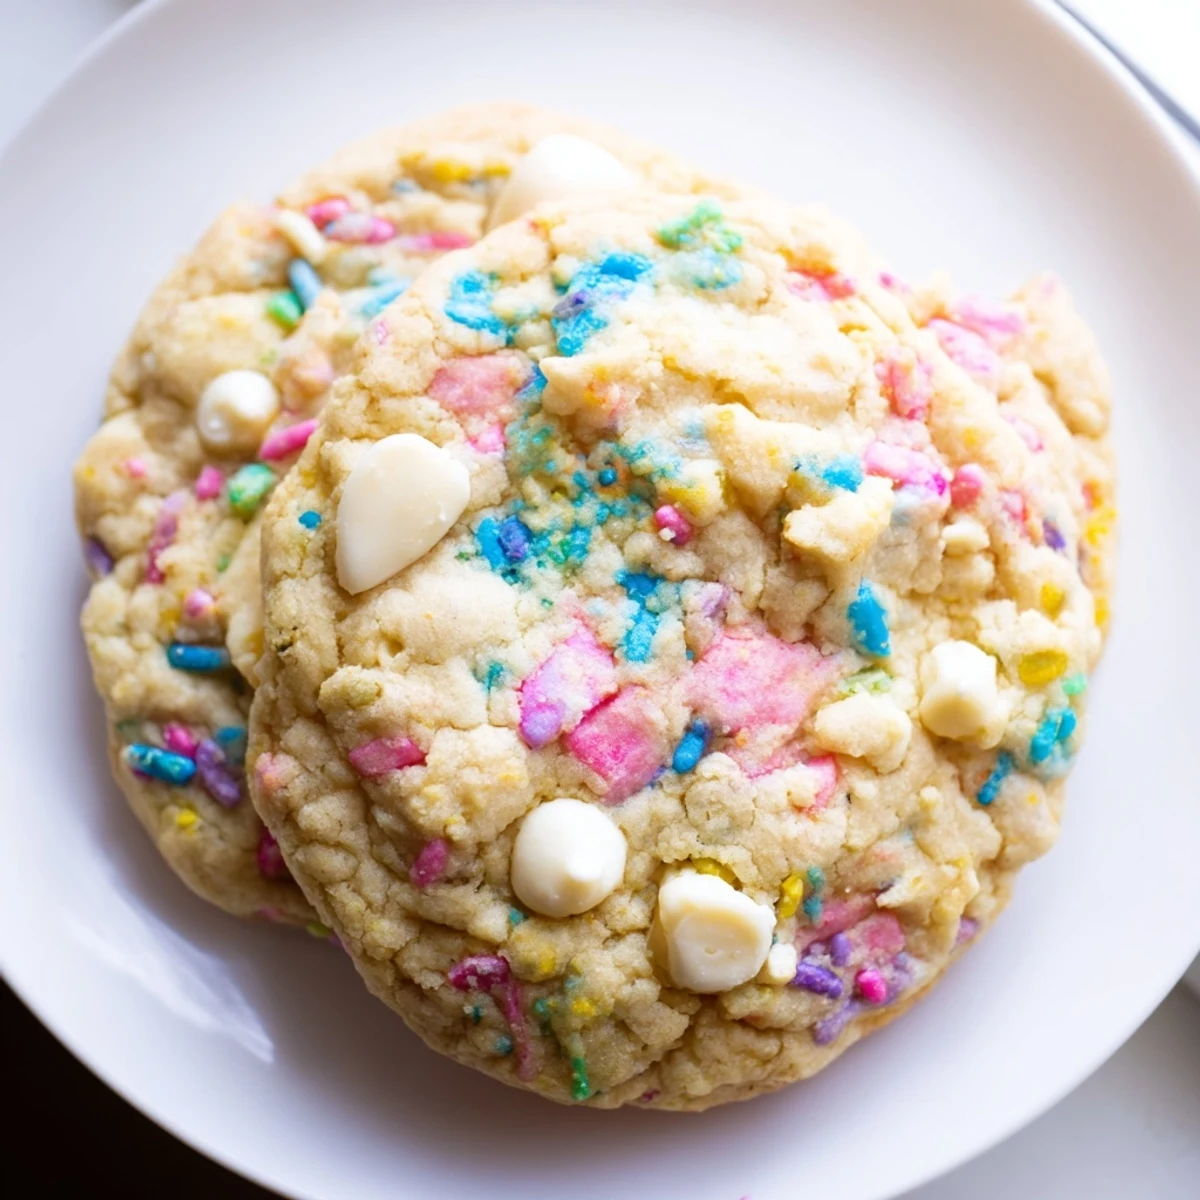
Save My grandmother walked in while I was pressing extra sprinkles on top of each dough ball and laughed, calling me overly ambitious. But when she took that first warm cookie from the oven and saw the little bursts of color, she admitted the extra effort was absolutely worth it.
Making Them Ahead
You can scoop the dough balls onto a baking sheet, freeze them until solid, then transfer to a freezer bag for up to three months. Bake from frozen for just an extra minute or two, and you will have freshly baked funfetti cookies whenever the craving strikes.
Customization Ideas
Sometimes I swap pastel M and Ms for half the white chocolate chips when I want even more color variety. You could also use different colored sprinkles throughout the year, making these perfect for birthday parties, Christmas, or even Valentine Day with pink and red hues.
Storage Secrets
These cookies stay soft and chewy for four days when stored in an airtight container at room temperature. I like to place a piece of white bread in with them, which somehow keeps them tasting freshly baked even on day four.
- Never store warm cookies or they will create condensation and turn soggy
- If they start to harden, pop one in the microwave for 10 seconds to refresh it
- These freeze beautifully baked too, just wrap each one individually in plastic wrap
 Save
Save May your kitchen be filled with rainbow specks and the smell of buttery happiness this Easter. Happy baking, friends.
Recipe FAQ
- → What type of sprinkles work best?
-
Use jimmies (the long, cylindrical sprinkles) rather than nonpareils (the tiny ball sprinkles). Jimmies hold their shape better during baking and won't bleed into the dough excessively.
- → Can I make the dough ahead of time?
-
Yes, scoop the dough into balls and refrigerate for up to 2 days before baking. You can also freeze the scooped dough for up to 3 months—just add 1-2 minutes to the baking time if baking from frozen.
- → Why do the centers look underbaked?
-
The centers should look slightly underbaked when you remove them from the oven. This ensures they stay soft and chewy as they cool. They'll continue cooking on the hot baking sheet during those 5 minutes of resting time.
- → Can I substitute the sprinkles?
-
Try pastel M&Ms, mini egg-shaped candies, or chopped white chocolate instead of or alongside the sprinkles. Just keep the total add-in amount around 1 ½ cups to maintain the proper texture.
- → How should I store these?
-
Keep in an airtight container at room temperature for up to 4 days. Place parchment paper between layers if stacking to prevent sticking. For longer storage, freeze baked cookies for up to 3 months.