 Save
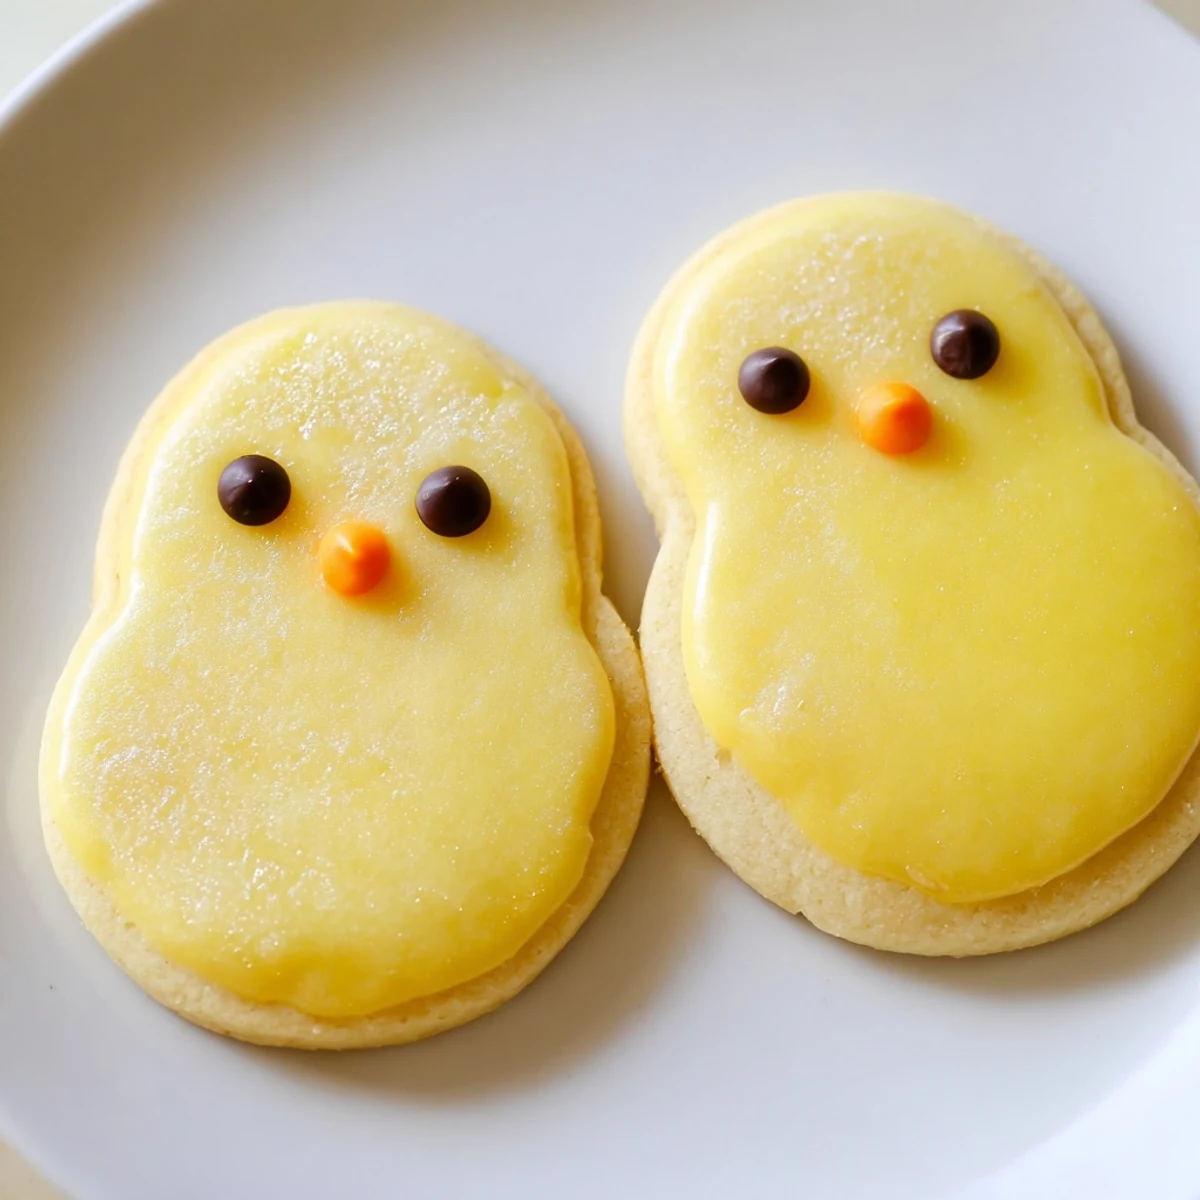
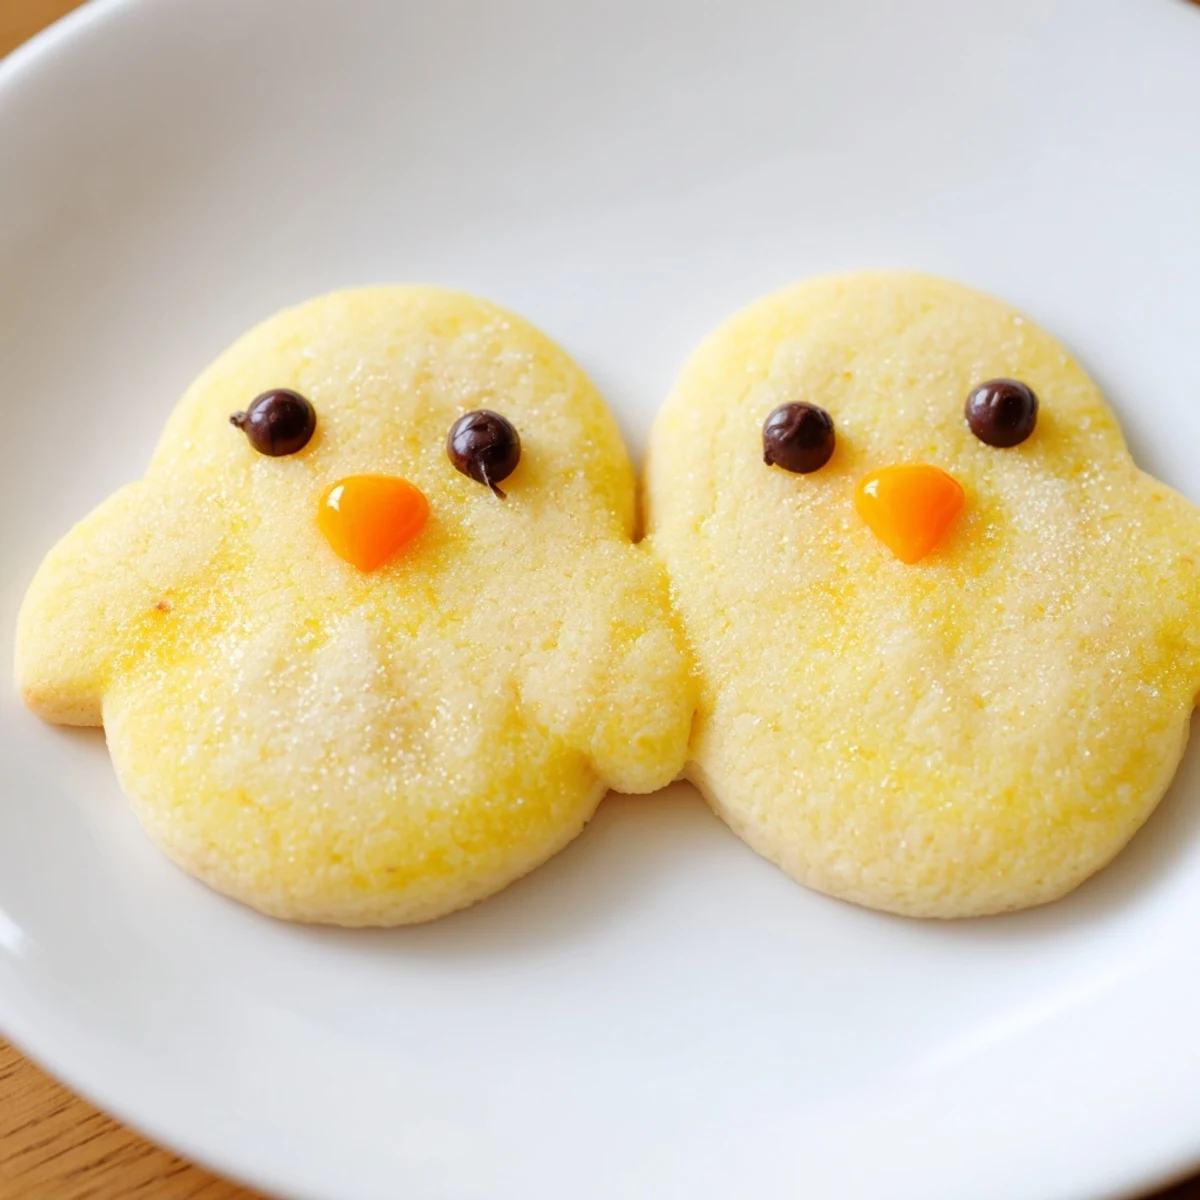
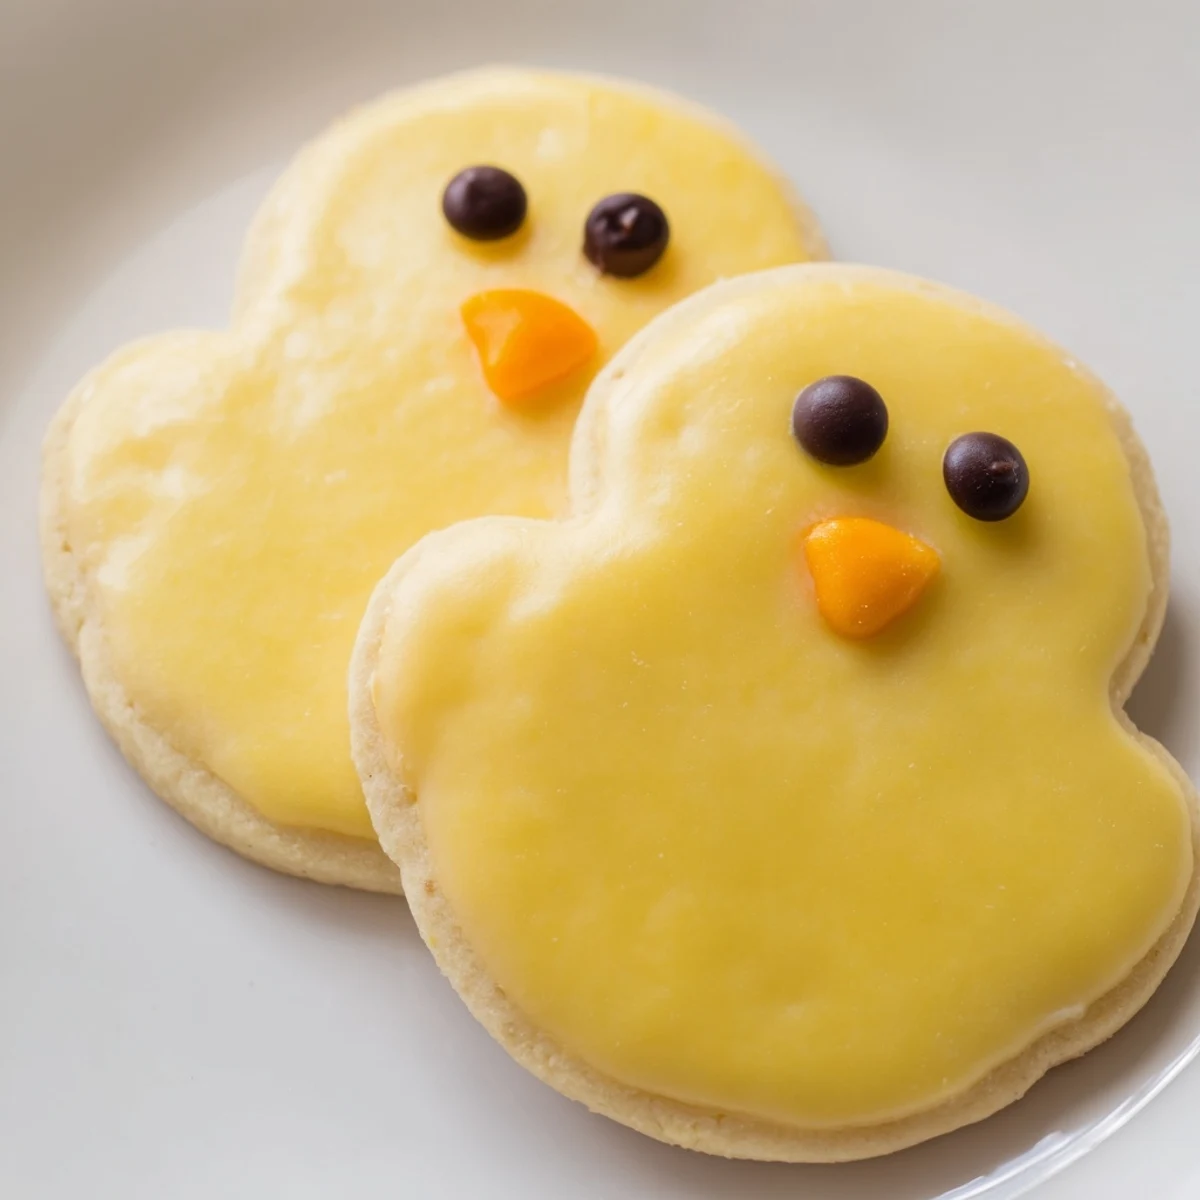
Save These charming chick-shaped sugar cookies bring whimsical charm to any spring celebration. The buttery vanilla dough gets a vibrant yellow hue, then transforms into irresistible little birds with playful faces. Kids love helping shape the two-ball bodies—press one smaller sphere atop a larger base to create that classic chick silhouette.
A quick vanilla glaze adds professional shine, while simple black dots and orange beaks bring each cookie to life. The dough handles beautifully, and chilling briefly makes shaping effortless. Perfect for Easter baskets, classroom treats, or garden parties where cute desserts steal the show.
My daughter begged me to make something 'springy' for her class party, and I spotted these chick cookies in an old cookbook at my mom house. The dough was surprisingly forgiving, which is good because my kitchen helper accidentally dumped double the yellow food coloring in our first batch.
Last Easter, my niece decided every chick needed a unique personality, so she gave some rosy cheeks with pink sprinkles and tiny eyebrows with leftover chocolate. The kids fought over the 'grumpy chick' cookies, which I honestly didnt expect.
Ingredients
- All-purpose flour: The foundation that gives these cookies their tender crumb, and measuring it properly really does make a difference
- Unsalted butter: Room temperature butter creates that perfect creamed texture with the sugar, so dont rush this step or your cookies wont spread right
- Yellow food coloring: Gel coloring works better than liquid drops for that vibrant chick color without making your dough too sticky
- Powdered sugar glaze: This adds a lovely sheen and helps the decorations stick, plus it makes the cookies look professionally finished
- Black and orange decorating gels: These bring your chicks to life, though mini chocolate chips work perfectly for eyes if you dont have the gel on hand
Instructions
- Prep your oven and pans:
- Preheat oven to 350°F and line two baking sheets with parchment paper so your chicks dont stick
- Mix the dry ingredients:
- Whisk together the flour, baking powder, and salt in a medium bowl until well combined
- Cream the butter and sugar:
- Beat the butter and sugar until light and fluffy, then add the egg and vanilla until everything is smoothly incorporated
- Combine everything:
- Gradually mix in the dry ingredients until a smooth dough forms, then knead in a few drops of yellow food coloring until evenly colored
- Shape your chicks:
- Roll dough into 1-inch balls, placing one ball for the body and a slightly smaller one on top for the head, pressing gently together
- Bake to perfection:
- Place cookies 2 inches apart on baking sheets and bake for 8 to 10 minutes until edges are just barely golden, then cool completely
- Add the finishing touches:
- Mix powdered sugar with milk for a thin glaze and brush over cooled cookies, then add black gel or chocolate chips for eyes and orange gel for beaks
 Save
Save My neighbor texted me the next day asking for the recipe because her son wouldnt stop talking about the 'baby cookie birds' at school. Now theyre a spring tradition in both our houses.
Making Ahead
Ive learned through many late nights that you can make the dough up to 3 days ahead and store it in the fridge, actually letting the flavors develop deeper. Just let it soften for 20 minutes before shaping or your hands will get tired fighting cold dough.
Decoration Tips
After years of messy decorating sessions, I set up little bowls of decorations and give each kid a toothpick for precise gel application. The powdered sugar glaze is optional but gives them that bakery finish that makes people think you worked much harder than you actually did.
Serving Suggestions
These disappear fastest at parties when displayed on a platter with edible 'grass' made from shredded coconut tinted green. Pack them in single clear bags tied with yellow ribbon for classroom treats.
- Pair with lemonade or fruit punch for a complete spring party spread
- Make a double batch because they go faster than you expect
- Store in an airtight container with wax paper between layers to prevent smudging
 Save
Save These little chicks have become my go-to contribution for any spring gathering, and I love watching adults get just as excited about them as the kids do.
Recipe FAQ
- → Can I make the chick cookie dough ahead of time?
-
Absolutely. The dough refrigerates well for up to 3 days when wrapped tightly. You can also freeze the dough balls for up to 3 months—just thaw slightly before baking and shaping. The yellow coloring might deepen slightly during storage, but the flavor remains unchanged.
- → What's the best way to get consistent chick shapes?
-
Use a kitchen scale to weigh each dough ball—aim for 25 grams for bodies and 15 grams for heads. A small cookie scoop also works perfectly. Press gently but firmly when attaching the head to the body; the slight merging during baking creates a natural chick silhouette without visible seams.
- → Can I skip the food coloring for these cookies?
-
Of course. These taste delicious as traditional vanilla sugar cookies without yellow coloring. You could also tint them pink, blue, or pastel lavender for different spring themes. The buttery vanilla flavor shines regardless of hue—though the classic yellow chick look is especially charming.
- → How should I store decorated chick cookies?
-
Keep them in an airtight container at room temperature for up to 5 days. Layer between wax paper to prevent the gel decorations from smudging. The glaze adds moisture, so avoid refrigeration which can make the cookies stale. These freeze beautifully undecorated for up to 3 months.
- → What alternatives work for the chick face decorations?
-
Mini chocolate chips make easy eyes, while small orange candy melts or cut-up orange fruit snacks create perfect beaks. For a natural approach, use poppy seeds for eyes and a tiny piece of dried apricot for beaks. Even simple dots of colored frosting work wonderfully if you don't have decorating gels on hand.
- → Can I double this chick cookie recipe?
-
Yes, the recipe scales perfectly. Double all ingredients for 48 cookies. You may need to mix in batches depending on your mixer size. The baking time remains the same—just ensure adequate spacing between cookies on the baking sheets to prevent spreading together during baking.