 Save
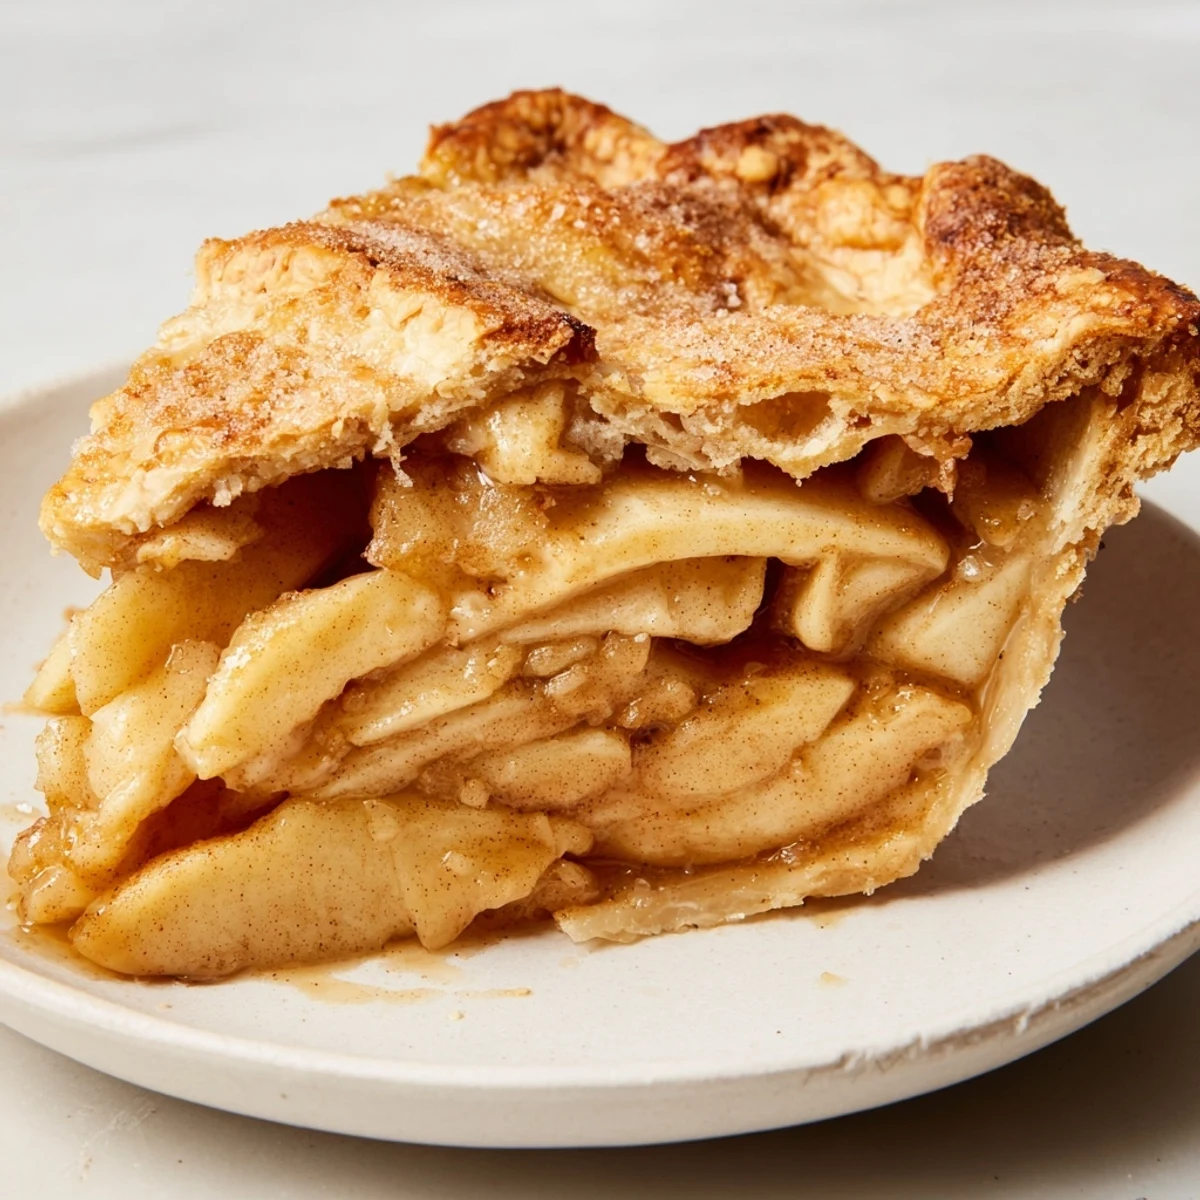
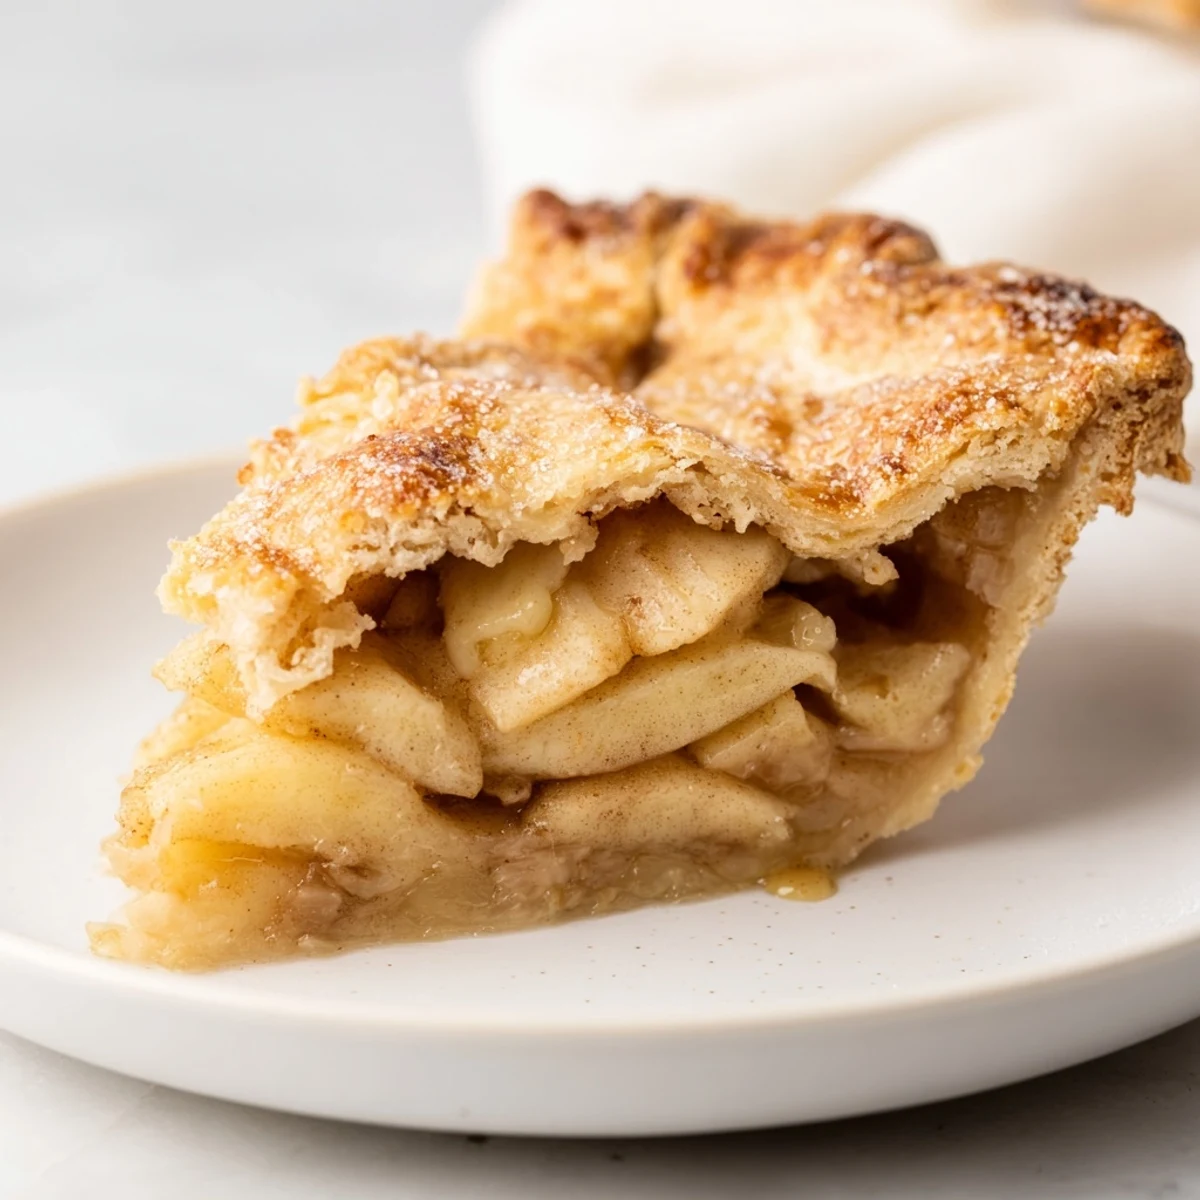
Save This classic American dessert highlights tart apples enveloped in a flaky, buttery crust. The filling is delicately spiced with cinnamon and nutmeg, bringing warmth and depth to each bite. Preparation includes chilling the dough for a crisp texture and layering with a blend of sugars and lemon juice to balance sweetness and tartness. Baking in two stages allows the crust to turn golden while the filling bubbles perfectly. For extra indulgence, serve chilled slices with vanilla ice cream or whipped cream.
My grandmother's kitchen always smelled like cinnamon and butter on Saturday afternoons, and I'd watch her roll out pie dough with the kind of confidence that only comes from making the same dessert a hundred times. One afternoon, I finally asked her to teach me, and she laughed, saying the secret was in knowing when to stop mixing the dough—when it looks just barely held together, like it might fall apart but doesn't. That first pie I made wasn't perfect, but it was mine, and somehow that made it taste better than any of hers.
I baked this pie for my partner on a rainy Sunday when we were both stressed about work, and watching them take that first bite and just close their eyes—that's when I realized homemade pie isn't really about the dessert. It's about saying you were worth the two hours of my Saturday, the flour dust in my hair, and the risk of a soggy bottom.
Ingredients
- All-purpose flour (2 1/2 cups): The foundation of a tender crust—use a light hand and don't overwork it or you'll end up with tough dough that fights back when you try to roll it.
- Unsalted butter (1 cup, cold and cubed): Cold butter creates those little pockets of steam that make the crust shatter when you bite it; let it sit on the counter for exactly three minutes before cutting in if your kitchen is warm.
- Ice water (6–8 tbsp): The secret weapon that brings dough together without making it tough; I always add it one tablespoon at a time so I don't accidentally turn everything into a sticky mess.
- Salt (1 tsp): Amplifies sweetness and prevents the crust from tasting like nothing.
- Granulated sugar (1 tbsp for crust, 3/4 cup for filling): A tiny bit sweetens the dough, while the rest balances the tartness of the apples.
- Tart apples like Granny Smith (6 cups, sliced): Their firmness means they won't turn to mush, and their bite cuts through the sweetness of the sugar and spices.
- Brown sugar (1/4 cup): Adds molasses depth that makes the filling taste less one-dimensional.
- All-purpose flour for filling (2 tbsp): Thickens the juices so your pie doesn't become a soupy mess in the bottom of the crust.
- Lemon juice (1 tbsp): Brightens the apple flavor and prevents browning while the filling sits.
- Ground cinnamon and nutmeg (1 tsp and 1/4 tsp): These spices are what make apple pie taste like home; don't skip the nutmeg just because it seems small.
- Unsalted butter pieces (2 tbsp): Dot these across the filling right before adding the top crust so they melt into the juices.
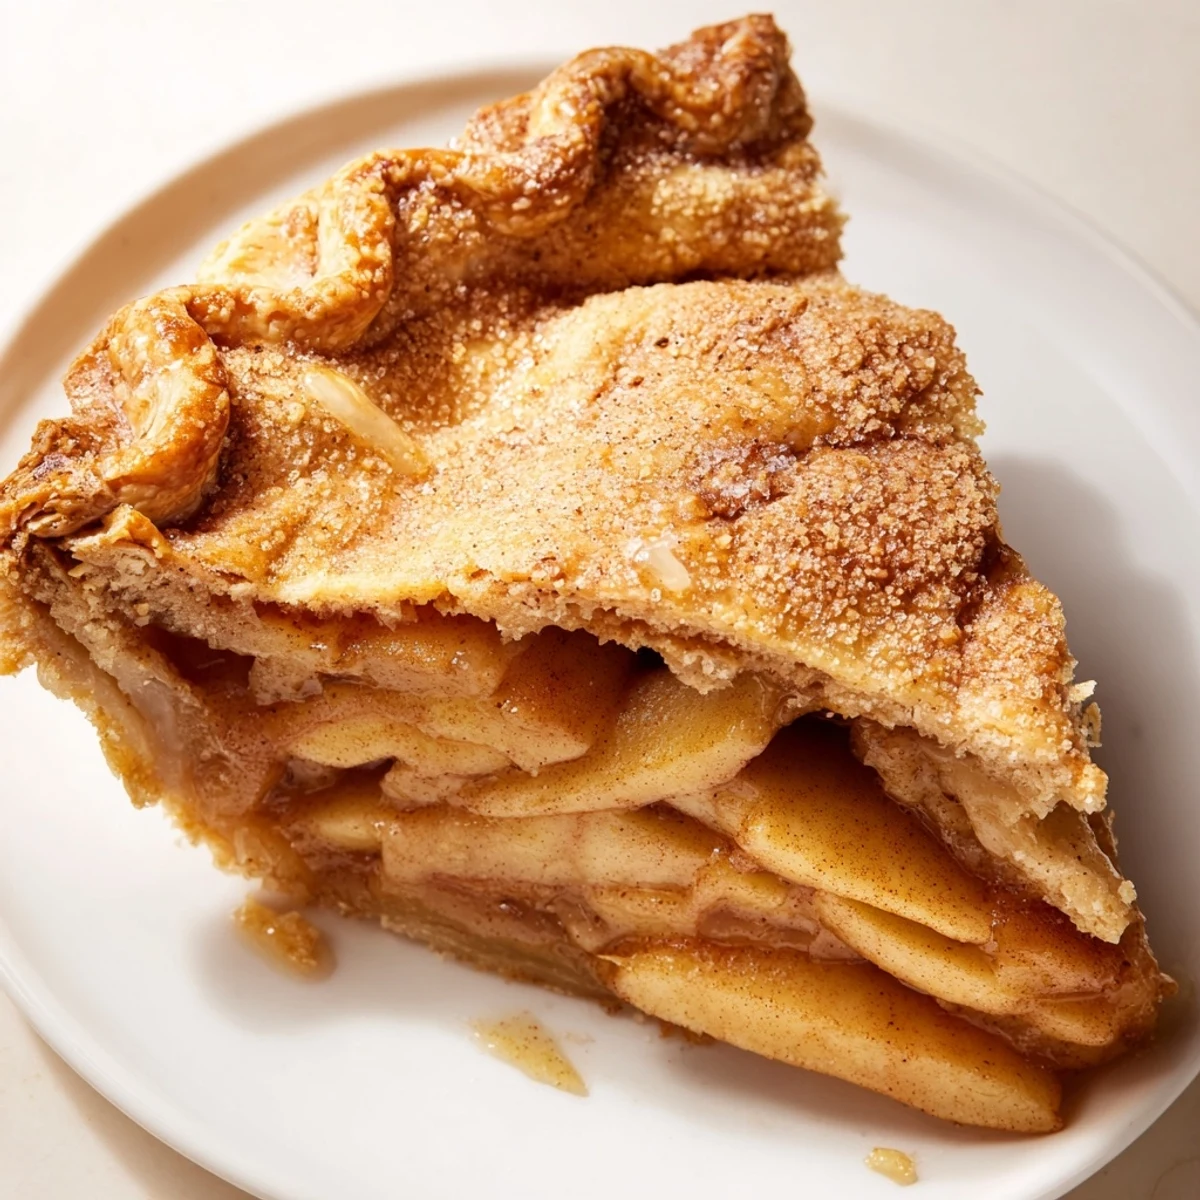
- Egg wash (1 egg beaten with 1 tbsp milk): Creates that glossy golden finish that makes people stop and stare.
- Coarse sugar (1 tbsp, optional): Adds a gentle crunch that makes each bite feel a little bit fancier.
Instructions
- Make the crust dough:
- Combine flour, salt, and sugar in a large bowl, then add your cold butter cubes and use a pastry blender or fork to break them down until the mixture looks like coarse breadcrumbs with a few pea-sized pieces of butter still visible. This texture is your target—don't rush it.
- Bring the dough together:
- Sprinkle ice water over the flour mixture one tablespoon at a time, gently tossing with a fork after each addition until the dough just starts to clump together. You want it to feel like it's barely holding on; it should look shaggy and almost reluctant to come together. Stop the moment it does, divide it in half, shape each half into a disk, wrap them in plastic wrap, and chill for at least an hour—or even overnight if you have the time.
- Prepare the apple filling:
- Toss your sliced apples with both sugars, flour, lemon juice, cinnamon, nutmeg, and salt in a large bowl, stirring gently so you don't bruise the apples. Let the filling sit while you roll out the dough so the apples release their juices and the flavors meld together.
- Heat your oven and roll the bottom crust:
- Preheat your oven to 400°F. On a lightly floured surface, roll one disk of dough from the center outward until it's about 1/8 inch thick and roughly 11 inches across—big enough to line your 9-inch pie plate with a little overhang.
- Line the pie plate:
- Carefully transfer the rolled dough to your pie plate by rolling it around your rolling pin, then unrolling it over the plate. Let the excess hang over the edge for now—you'll trim it later with the top crust.
- Fill the pie:
- Dump the apple mixture into the crust, mounding it slightly in the center, then scatter the butter pieces across the top so they'll melt into the filling as it bakes.
- Add the top crust and seal:
- Roll out the second dough disk the same way, then drape it over the apples. Trim the overhang to about 1 inch all around, fold the edges under, and crimp them with your fingers or a fork to seal—this is as much for looks as it is to keep the filling inside where it belongs. Cut three or four small slits in the top to let steam escape so you don't end up with a pie that explodes in your oven.
- Brush and finish:
- Whisk your egg with milk and brush the entire top crust with the mixture until it's evenly coated and gleaming. If you're using coarse sugar, sprinkle it on now while the egg wash is still wet so it sticks.
- Bake in two stages:
- Bake at 400°F for 20 minutes until the crust starts to set and turn light golden, then lower the oven to 350°F and bake for 35–40 minutes more until the crust is deep golden brown and you can see the filling bubbling gently through the slits. If the edges brown too quickly, loosely tent them with foil.
- Cool completely:
- Set the pie on a wire rack and let it cool for at least two hours before slicing—this gives the filling time to set so it doesn't ooze everywhere when you cut into it. I know the wait is excruciating, but trust me on this one.
 Save
Save The moment my mother tasted this pie, she told me it was better than the one she'd been making for thirty years, and I could see she meant it because she got a little quiet. That's when I understood that cooking for people you love isn't about perfection—it's about showing up with flour under your fingernails and something warm still steaming on the counter.
The Secret to a Flaky Crust
After years of struggling with tough, dense pie crusts, I finally understood what my grandmother meant about cold butter and ice water. The cold butter creates tiny pockets throughout the dough, and when the pie bakes, the water in those pockets turns to steam and creates layers that make the crust shatter when you bite it. If your kitchen is warm or your hands tend to be warm, chill your mixing bowl and even your pastry blender or fork beforehand—every degree of coldness matters. Don't be afraid to refit your dough back in the fridge if it starts feeling warm and soft while you're rolling it out; there's no shame in stopping to let it chill for ten minutes.
Why Granny Smith Apples Matter
I once made this pie with mostly Red Delicious apples because the farmer's market had run out of Granny Smiths, and the filling turned out sweet and a little bit mushy. That's when I learned that apple variety isn't just a suggestion—Granny Smiths have a tartness and firmness that keeps the filling from becoming applesauce in a pie shell. They hold their shape through the long bake and their acidity cuts through the sugar and spices in a way that makes the whole thing taste more interesting. You can mix in a few sweeter varieties if you want complexity, but let Granny Smith be your anchor.
Serving and Storing Your Pie
Warm pie is wonderful with a scoop of vanilla ice cream that melts into the filling, but cold pie is also deeply satisfying the next morning with a cup of coffee. A properly cooled pie will keep, covered loosely, for about two days at room temperature before the crust starts to lose its crispness; after that, refrigerate it and reheat individual slices if you want them warm again. If you want to make the pie ahead, you can assemble it completely, cover it with plastic wrap, and freeze it for up to a month—just add five or ten minutes to the baking time if baking from frozen.
- Serve with vanilla ice cream, whipped cream, or crème fraîche if you want to be a little fancy.
- A small sprinkle of fleur de sel on top of the ice cream brings out all the spice and caramel notes in the filling.
- The pie tastes just as good cold from the fridge the next morning as it does warm—don't feel obligated to eat it all today.
 Save
Save This pie has become my go-to when I want to feel like I've done something real in the kitchen, something that takes time and patience but rewards you with something warm and golden and unmistakably homemade. Every time I make it, I think about my grandmother and her quiet confidence, and I understand now that it wasn't about never making mistakes—it was about making something with intention and love, every single time.