 Save
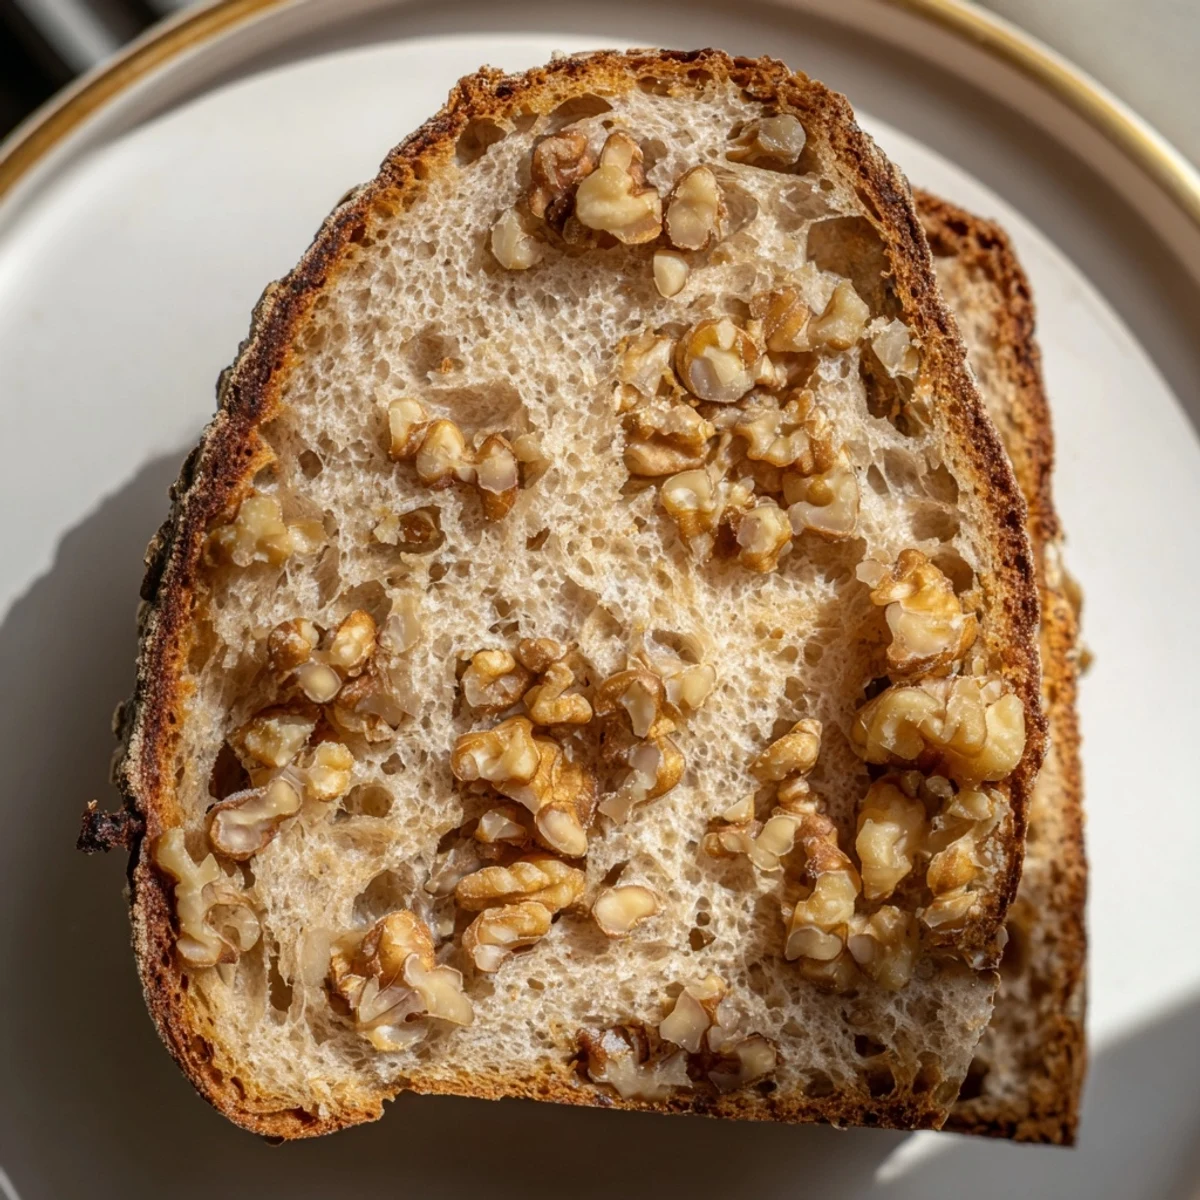
Save This rustic loaf boasts a satisfyingly crunchy walnut texture and a delicate nutty scent. Combining bread flour, yeast, and warm water, the dough rises to a soft yet sturdy form. Chopped walnuts kneaded throughout add bursts of flavor and texture. Perfectly baked to a golden crust, this bread complements breakfast spreads or cheese boards beautifully, inviting you to enjoy its wholesome, slightly sweet character any time of day.
I'll never forget the first time I baked walnut bread from scratch. It was a crisp autumn morning, and my grandmother's kitchen filled with that intoxicating aroma of toasted nuts and yeast as the dough rose on the windowsill. She told me that bread made with walnuts wasn't just sustenance—it was a way of slowing down, of honoring the simple ingredients that had nourished families for generations. That first loaf, with its golden crust and tender crumb studded with nutty pieces, became my gateway to understanding that homemade bread could be both approachable and magical.
I remember bringing a warm loaf to my neighbor when she was under the weather, and she later told me it was the first thing that made her feel like healing was possible. That's when I understood that walnut bread isn't just about feeding people—it's about showing you care in the most genuine way possible.
Ingredients
- Bread flour (3 ½ cups / 440 g): This high-protein flour gives your loaf structure and helps develop that beautiful chewy texture. I learned early on that all-purpose flour works in a pinch, but bread flour really is worth seeking out for the superior rise and crumb
- Active dry yeast (1 packet / 7 g): Make sure yours is fresh—check that expiration date. I once used yeast that was past its prime and ended up with a brick masquerading as bread, a lesson I've never forgotten
- Fine sea salt (1 ½ teaspoons): Salt does so much more than add saltiness; it strengthens the gluten network and deepens the overall flavor in ways that feel almost magical
- Brown sugar (2 tablespoons): This feeds the yeast and adds subtle sweetness that lets the walnut flavor shine without making the bread dessert-like
- Warm water (1 ¼ cups / 300 ml at 105°F/40°C): Temperature matters more than you'd think—too hot kills the yeast, too cold and it stays sluggish. I use my wrist as a thermometer these days, aiming for that comfortable bath temperature
- Olive oil (2 tablespoons): This adds tender richness to the crumb and helps the dough come together beautifully without toughening it
- Walnuts, roughly chopped (1 ½ cups / 150 g): The star of the show. I've discovered that chopping them yourself, rather than buying pre-chopped, makes a real difference in flavor and texture—the pieces toast slightly as you work with them
Instructions
- Gather and combine the dry ingredients:
- In a large bowl, whisk together the bread flour, yeast, salt, and brown sugar. This step is where you're building the foundation—take a moment to make sure everything is evenly distributed. The salt and yeast should never touch directly, so mixing them thoroughly prevents any hot spots
- Bring it together with warmth and oil:
- Create a well in the center of your dry ingredients, then pour in that warm water and olive oil. Using your hands or a wooden spoon, begin pulling the flour into the liquid, mixing until you have a shaggy, somewhat sticky dough. You'll know you're there when no dry flour remains at the bottom of the bowl
- Knead with intention:
- Dust your work surface lightly with flour and turn out the dough. For the next 8 to 10 minutes, knead with a steady rhythm—fold it toward you, push with the heel of your hand, turn it a quarter turn, and repeat. You'll feel the transformation under your hands as the dough goes from sticky and rough to smooth and elastic. When you can stretch a small piece thin enough to see light through it without it tearing, you're done
- Incorporate the walnuts gradually:
- Begin working the chopped walnuts into the dough a handful at a time. This patience ensures they distribute evenly rather than clumping. The dough may feel a bit slack after you add them, but continue kneading gently until they're fully incorporated and the texture is even throughout
- Let time do the work:
- Place your dough in a lightly oiled bowl, cover it with a damp kitchen towel or plastic wrap, and set it in a warm, draft-free spot. Over the next 1 to 1.5 hours, it will slowly double in size. I like to mark the bowl with a piece of tape at what I estimate is double, so I know exactly when it's ready. Don't rush this—good bread can't be hurried
- Shape with confidence:
- Once the dough has risen beautifully, punch it down with a satisfying push of your fist to release the large gas bubbles. Turn it out onto a lightly floured surface and shape it into either a round boule or an oval loaf, tucking the edges underneath to create tension on the surface. Place it on a parchment-lined baking sheet or in a greased loaf pan
- Give it a second rise:
- Cover your shaped dough and let it rest for 30 to 40 minutes until it looks puffy and springs back slowly when you gently press it with your finger. This second rise is where it develops its final volume and the crust begins to set
- Prepare your oven:
- While the dough rises its second time, preheat your oven to 400°F (200°C). A hot oven is your friend here—it gives you that beautiful golden crust and helps the bread spring up one last time from the oven's heat
- Score with purpose:
- Using a sharp knife or lame, make 2 or 3 confident slashes across the top of your loaf. This isn't just decoration—it controls where the bread expands, creating an ear and allowing steam to escape in a controlled way
- Bake until golden:
- Slide your loaf into the hot oven and bake for 30 to 35 minutes until the crust is deep golden brown. You'll know it's truly done when you tap the bottom and it sounds hollow—a sound that never fails to make me smile
- Cool with patience:
- Transfer your hot loaf to a wire rack. I know it smells incredible and you're tempted to slice into it immediately, but resist. Cooling for at least 30 minutes allows the interior to set properly, ensuring clean slices rather than a gummy crumb
 Save
Save There was an afternoon when three generations of us sat around the kitchen table, each of us biting into thick slices of warm walnut bread spread with soft butter and drizzled with honey. My daughter asked why this bread tasted like home, and I realized that food isn't memorable because of perfection—it's memorable because of moments.
Toasting Your Walnuts for Extra Depth
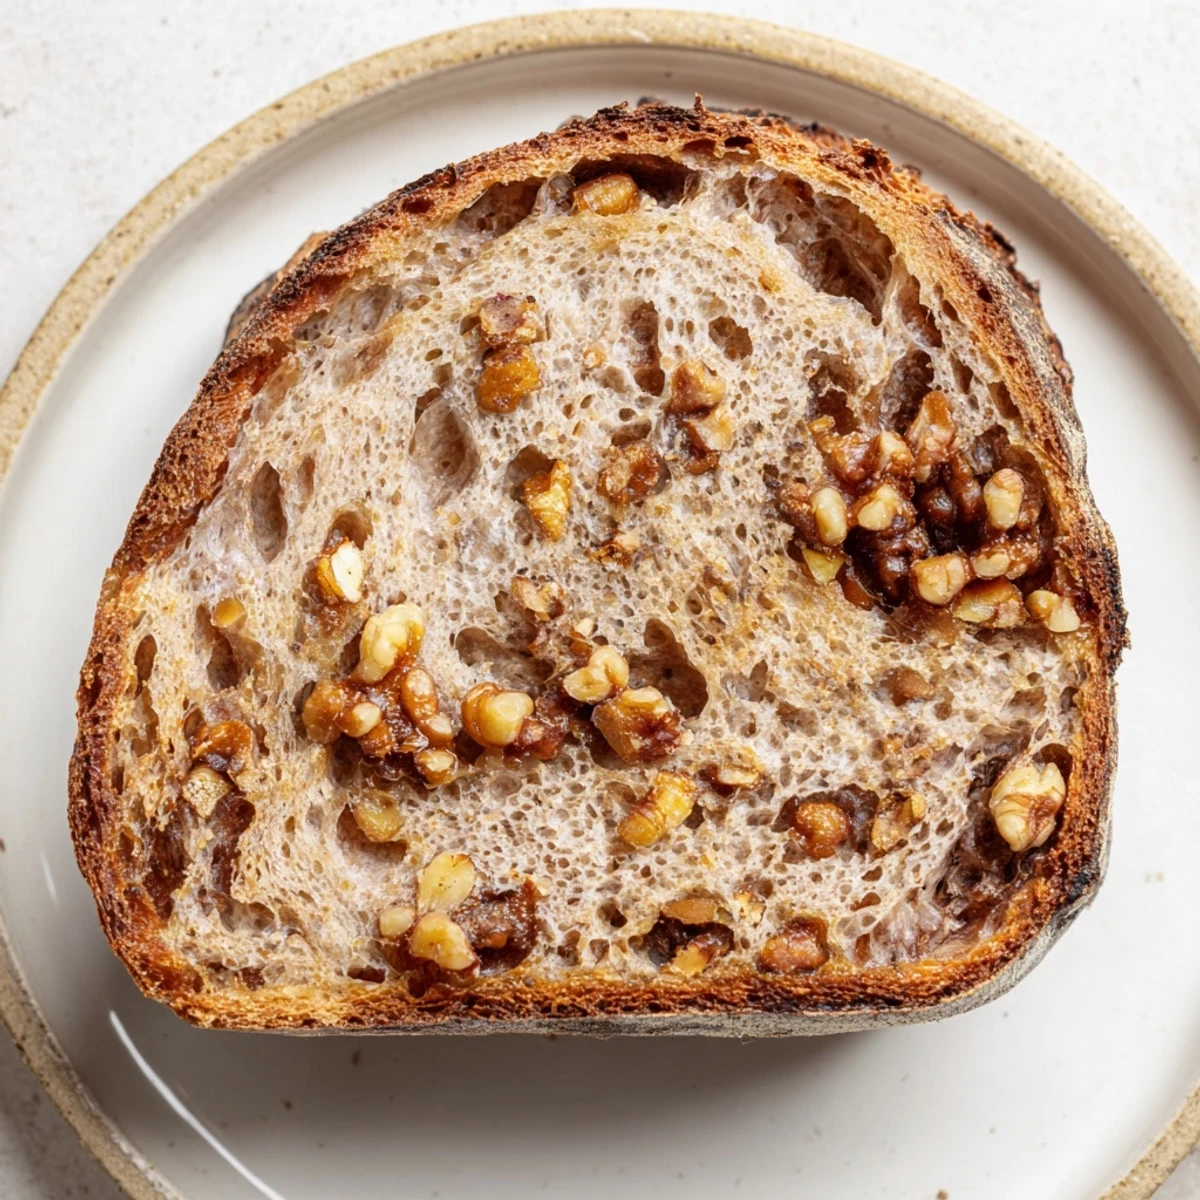
If you have even five extra minutes, lightly toast your walnuts in a dry skillet over medium heat, stirring constantly until fragrant. This simple step deepens their flavor so noticeably that you'll wonder why you ever skipped it. The walnuts will release oils and their natural sweetness, adding a richness to every slice that untoasted nuts simply can't match. I've made this bread both ways countless times, and the toasted version always gets more compliments.
Perfect Pairings and Storage
This bread is chameleon-like in its versatility. For breakfast, it's perfect alongside scrambled eggs and a strong cup of coffee. For entertaining, it becomes the unexpected star of a cheese board, holding its own next to sharp cheddar, creamy goat cheese, or pungent blue cheese. The walnuts add an earthiness that bridges sweet and savory perfectly. Beyond serving fresh, I've found that this bread freezes beautifully for up to three months—slice it first, then wrap the slices in parchment and place them in a freezer bag for easy single servings whenever the craving strikes.
Variations and Customizations
Once you've made this recipe a time or two and understand how it works, you can start playing with it. I've experimented with everything from substituting half the bread flour with whole wheat flour for a heartier, more rustic loaf, to adding dried figs or a touch of honey to the dough for subtle sweetness. One of my favorite discoveries was mixing in a teaspoon of cinnamon along with the walnuts—it creates an almost spiced cake-like quality that's wonderful toasted with butter. The foundation of this recipe is solid enough to handle your creativity. Here are three directions I'd recommend exploring:
- Try substituting half the bread flour with whole wheat flour for a heartier, earthier loaf with more nutritional complexity
- Add a teaspoon of cinnamon to the dough along with the walnuts for a subtly spiced variation that's lovely toasted
- Toast your walnuts first and consider adding dried figs or cranberries for surprising sweetness that complements the nuttiness beautifully
 Save
Save Walnut bread reminds me that some of the best things in life require patience and a few humble ingredients. There's something deeply satisfying about pulling a loaf you made with your own hands from the oven, knowing exactly what went into it.
Recipe FAQ
- → How should walnuts be prepared before adding?
-
Lightly toasting walnuts enhances their flavor and crunch before incorporating them into the dough.
- → What is the best way to shape the dough?
-
After the first rise, gently punch down and shape the dough into a round or oval loaf for even baking.
- → Can I substitute part of the flour?
-
Yes, replacing half the bread flour with whole wheat flour adds a heartier texture and deeper flavor.
- → How do I know when the bread is fully baked?
-
The loaf should have a golden brown crust and sound hollow when tapped on the bottom.
- → What are ideal serving suggestions?
-
This bread pairs beautifully with blue or goat cheese and honey, making it great for charcuterie boards.