 Save
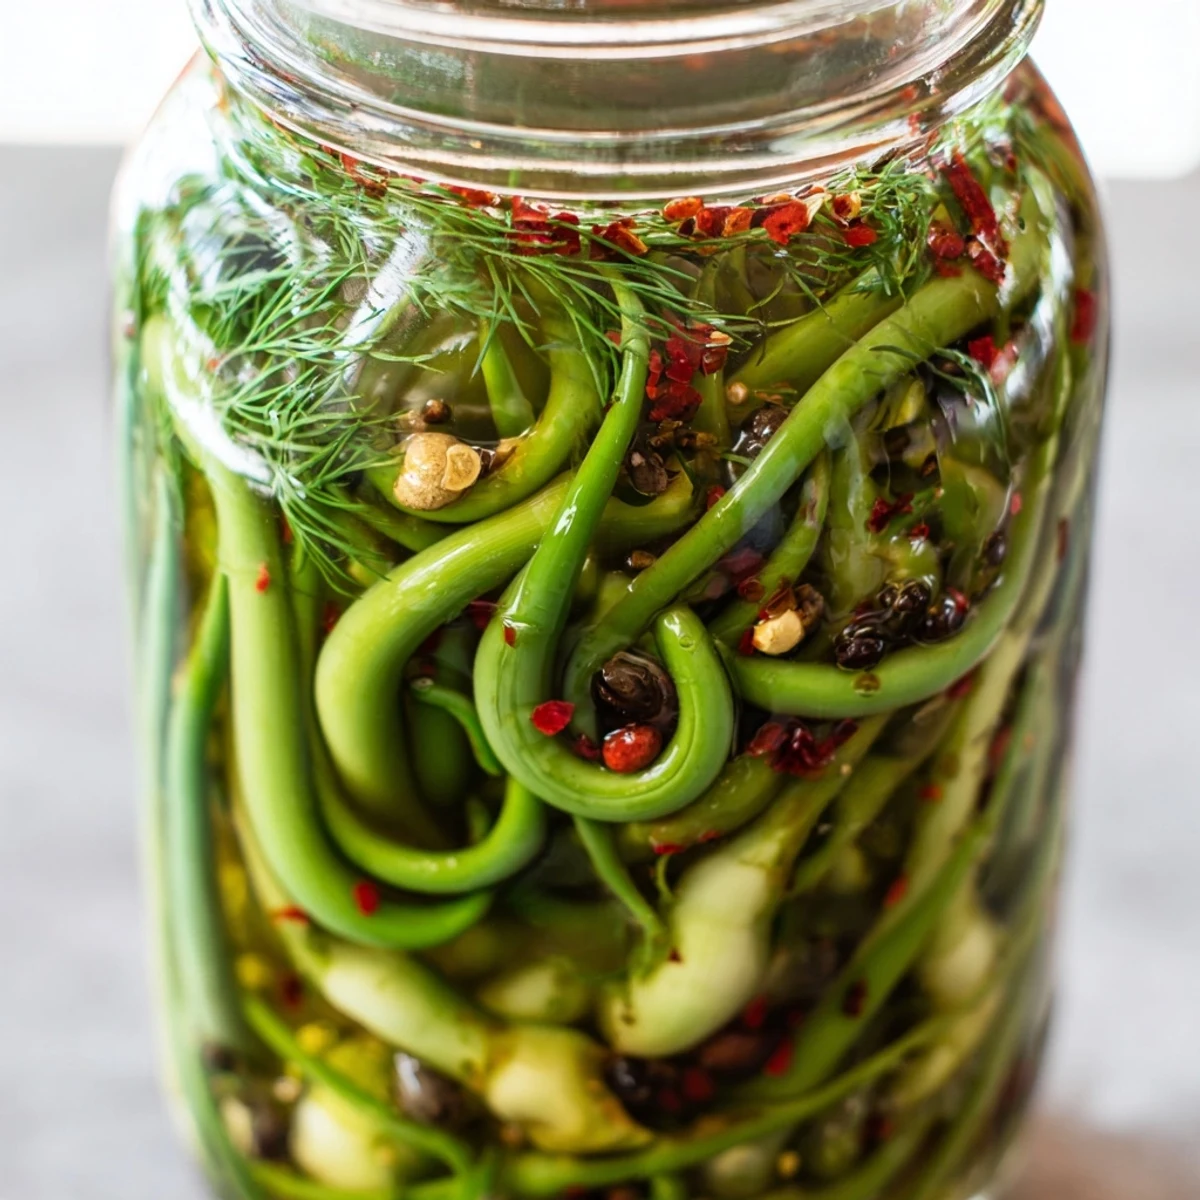
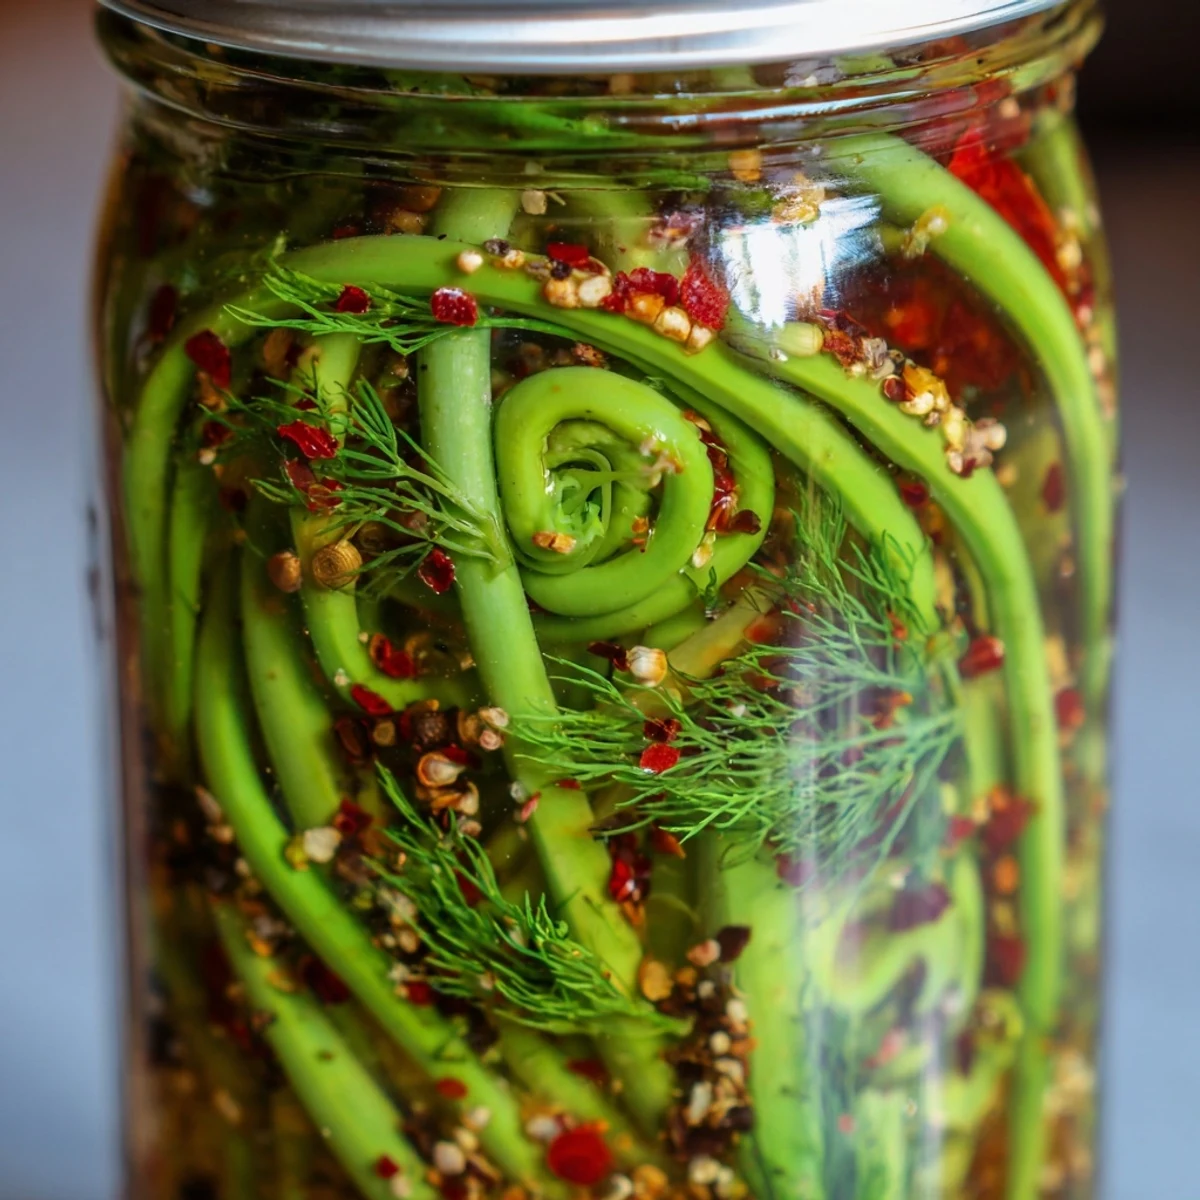
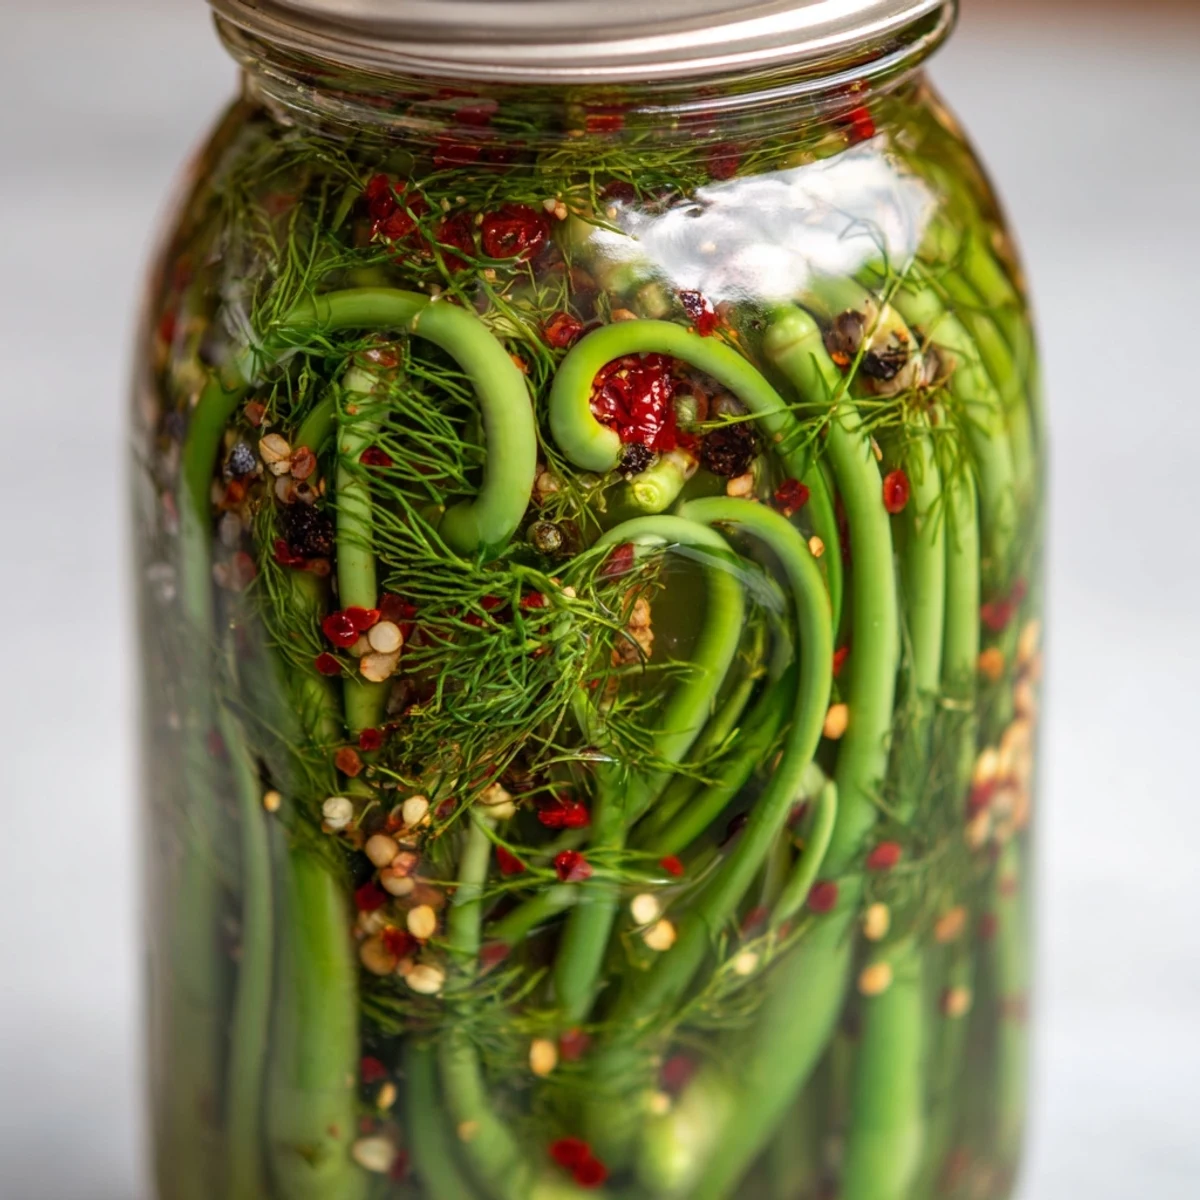
Save Create vibrant, tangy pickled garlic scapes with a kick of heat. Fresh scapes are submerged in a balanced vinegar brine infused with black peppercorns, mustard seeds, coriander, and dried chilies. After just 48 hours of refrigeration, these crunchy curls develop complex flavors that perfect for elevating charcuterie boards, sandwiches, or enjoying straight from the jar. The process is simple, requiring only 25 minutes of active time before letting the brine work its magic.
My farmers market vendor slipped these curly green shoots into my bag one Saturday morning, insisting I try them. I had no idea what garlic scapes were, let alone how to transform them into something that would make my entire kitchen smell incredible.
Last summer I made three batches simultaneously because my garden produced more scapes than I knew what to do with. Friends started requesting jars as birthday gifts, which honestly felt like the best compliment.
Ingredients
- 300 g fresh garlic scapes: These curly flower stalks from garlic plants taste like a milder, sweeter version of garlic bulbs and stay satisfyingly crisp after pickling
- 250 ml distilled white vinegar: The clean sharpness lets the scapes natural flavor shine through without overwhelming them
- 250 ml water: Dilutes the vinegar just enough so the brine remains pleasantly tangy instead of harshly acidic
- 2 tbsp granulated sugar: Balances the brine and helps round out the sharp edges of vinegar and garlic
- 1 tbsp kosher salt: Essential for proper preservation and creating that authentic pickle flavor we crave
- 1 tsp black peppercorns: Adds subtle warmth and complexity that deepens as the scapes pickle
- 1 tsp mustard seeds: Provides gentle heat and a classic pickle aroma that feels familiar and comforting
- 1 tsp coriander seeds: Brings citrusy floral notes that brighten the entire flavor profile
- 1/2 tsp red pepper flakes: Just enough warmth to make things interesting without overwhelming the garlic flavor
- 2 small dried chilies: Whole chilies infuse gentle heat throughout the brine while looking beautiful in the jar
- 2 bay leaves: Earthy undertones that help ground all the bright acidic and spicy flavors
- 4 sprigs fresh dill: Optional but adds that classic dill pickle flavor people instantly recognize and love
Instructions
- Get your jars ready:
- Wash those pint jars and lids with hot soapy water then either boil them for 10 minutes or run them through a hot dishwasher cycle to sterilize completely.
- Prep your scapes:
- Trim the tough ends from your garlic scapes and cut them to fit your jars, curling them like little green snakes so they tuck in neatly.
- Start packing:
- Divide the scapes, fresh dill sprigs if using them, and dried chilies evenly between your sterilized jars, tucking everything in snug.
- Add the spices:
- Split the peppercorns, mustard seeds, coriander seeds, red pepper flakes, and bay leaves between both jars so the flavors distribute evenly.
- Create the brine:
- Combine vinegar, water, sugar, and salt in a saucepan and bring to a boil, stirring until the sugar and salt completely dissolve into the liquid.
- Pour and submerge:
- Carefully ladle the hot brine over your packed scapes, making sure they are completely covered while leaving about half an inch of space at the top.
- Seal and cool:
- Screw on those lids and let the jars cool to room temperature on the counter before popping them into the refrigerator.
- Practice patience:
- Wait at least 48 hours before cracking open a jar, though the flavors get even better and more developed after a full week of pickling.
 Save
Save My sister-in-law initially refused to try them, claiming she hated pickled anything, but now she keeps a permanent jar in her fridge. Watching someone become a convert after one taste is honestly my favorite part of making these.
Making Them Your Own
Sometimes I add sliced carrots or radishes to the jars, which pickles beautifully alongside the scapes and adds lovely color. The brine works wonders on almost any crunchy vegetable you have sitting around.
Serving Ideas
These pickles shine brightest on cheese boards where their bright acidity cuts through rich cheeses and cured meats. I also chop them into potato salad or scatter them across grilled fish for instant flavor and crunch.
Storage And Timing
Properly refrigerated, these keep well for about a month though they never last that long in my house. The flavors continue developing over time, so each week tastes slightly different and more complex than the last.
- Always use clean utensils when removing scapes from the jar
- The brine can be reused for one more quick pickle batch
- Label your jars with the date so you can track flavor development
 Save
Save There is something deeply satisfying about opening the refrigerator to see those jewel bright jars lined up, knowing exactly what deliciousness waits inside.
Recipe FAQ
- → How long do pickled garlic scapes last?
-
These pickled scapes stay fresh for up to one month when stored properly in the refrigerator. Keep them submerged in brine and ensure jars remain sealed for best quality.
- → Can I adjust the spice level?
-
Absolutely. Increase red pepper flakes or add more dried chilies for extra heat. For a milder version, reduce these spices or omit the dried chilies entirely.
- → Where can I find garlic scapes?
-
Look for garlic scapes at farmers markets during late spring and early summer, or check specialty grocery stores and natural food co-ops. They're often available where fresh garlic is sold.
- → What can I serve with pickled garlic scapes?
-
These pair beautifully with grilled meats, cheese boards, and charcuterie. Add them to sandwiches, salads, or enjoy them as a zesty snack on their own.
- → Can I add other vegetables?
-
Yes. Sliced carrots, radishes, or even cucumber rounds work wonderfully alongside garlic scapes. Just ensure all vegetables stay submerged in the brine.