 Save
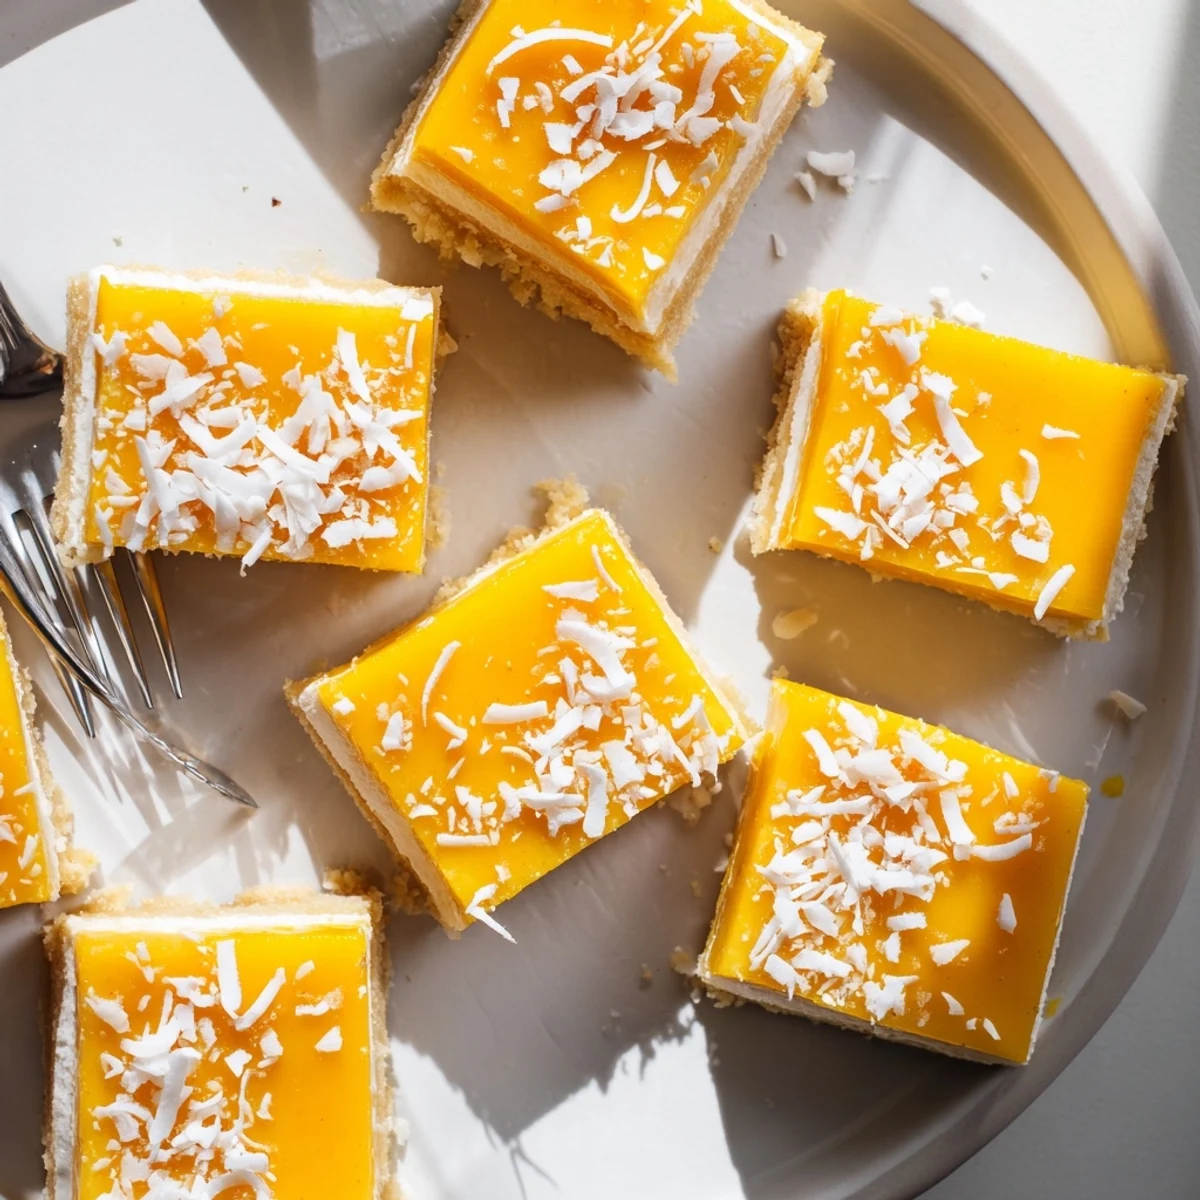
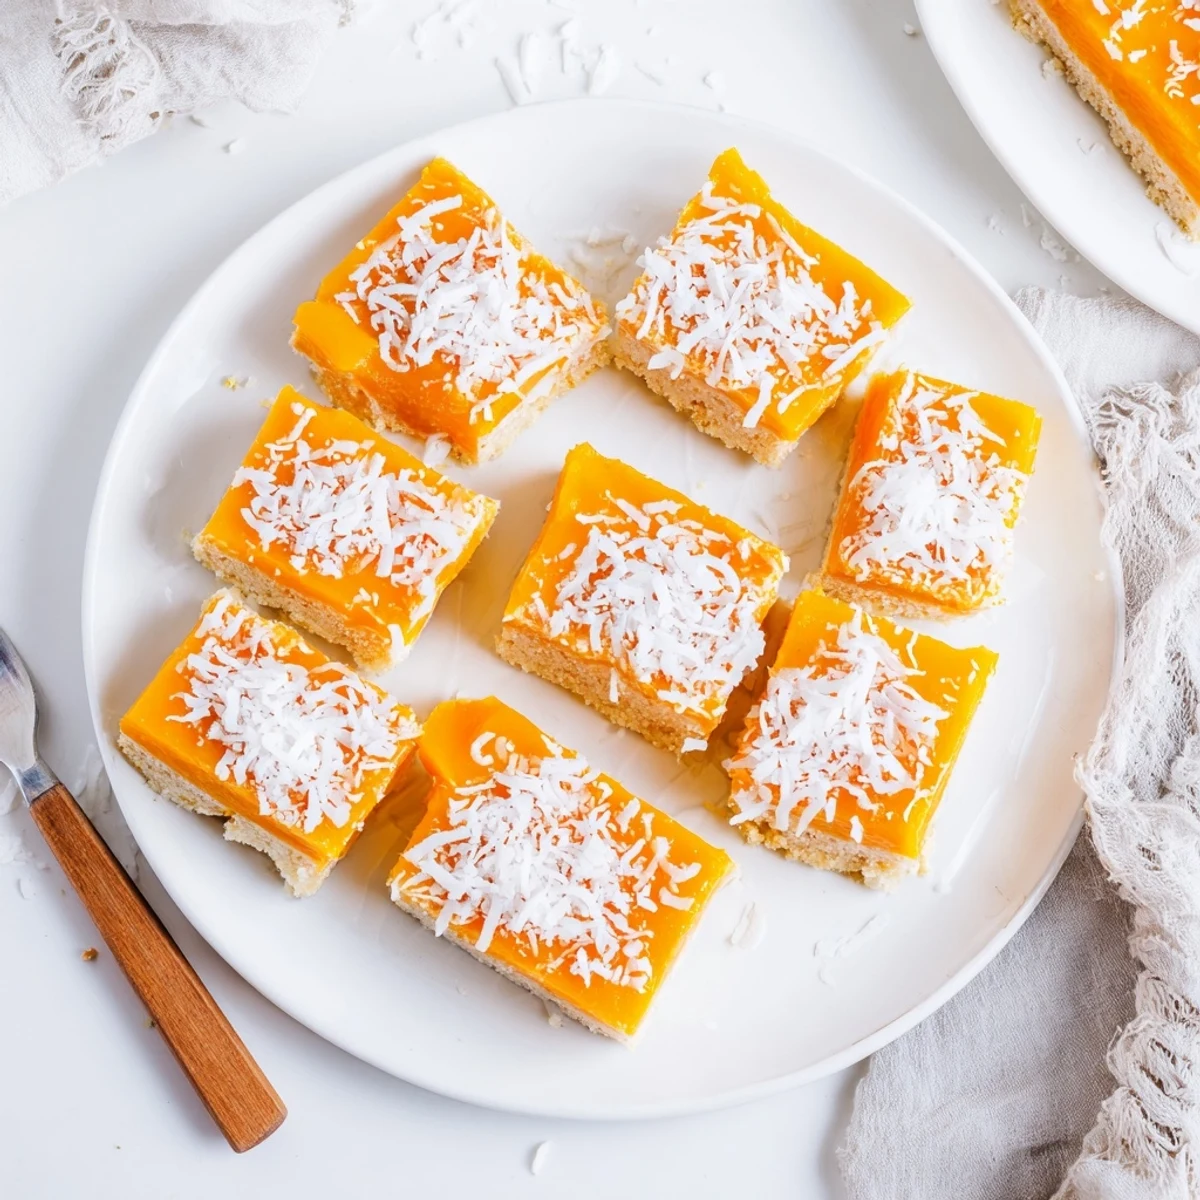
Save These vibrant mango coconut bars combine a buttery shortbread crust with a luscious tropical filling. The sweet mango puree blends perfectly with shredded coconut and coconut milk, creating chewy bars that taste like sunshine. Fresh lime juice adds brightness while vanilla enhances the natural sweetness.
Ready in under an hour, these bars require just 20 minutes of hands-on preparation before baking. The finished bars feature golden edges and a slightly jiggly center that sets beautifully as they cool. For the best texture, serve chilled straight from the refrigerator.
The first time these mango coconut bars appeared at my summer potluck, they vanished within minutes. I had been experimenting with tropical flavors all season, trying to capture something that tasted like vacation but felt like home. My neighbor actually asked for the recipe before she even finished her first square. Now they are the most requested treat whenever the mercury starts climbing.
Last July I made three batches for different gatherings, and each time someone insisted I must open a bakery. The secret is really just using mango at the perfect stage of ripeness. My cousin now texts me every summer asking when mango coconut bar season begins.
Ingredients
- All-purpose flour: The foundation for both crust and filling, providing structure without overpowering delicate tropical flavors
- Powdered sugar: Dissolves beautifully into the shortbread crust for a tender, melt-in-your-mouth texture
- Unsalted butter: Keep this cold for the crust to create those wonderful flaky layers that make shortbread so irresistible
- Ripe mango: Choose fruit that gives slightly to pressure and smells fragrant at the stem for the sweetest puree
- Eggs: Room temperature eggs will incorporate more easily into the filling for a silky smooth custard
- Granulated sugar: Sweetens the filling while helping create that perfect slightly jiggly set
- Unsweetened shredded coconut: Adds texture and intensifies the coconut flavor without making the bars cloyingly sweet
- Coconut milk: Use full-fat canned coconut milk for the creamiest result and most authentic tropical taste
- Lime juice: Brightens the mango and prevents the filling from becoming too rich
- Vanilla extract: Pure vanilla adds warmth that bridges the gap between the coconut and mango
- Baking powder: Just a touch helps the filling puff slightly and set properly
Instructions
- Get your oven ready:
- Preheat to 350°F and line an 8x8-inch pan with parchment, letting the paper hang over opposite sides like handles.
- Make the crust:
- Whisk flour, powdered sugar, and salt, then cut in cold butter until the mixture looks like coarse sand and holds together when squeezed.
- Press and par-bake:
- Firmly press the crust mixture into your prepared pan and bake for 12 to 15 minutes until the edges just start turning golden.
- Prep the mango:
- Peel and dice your mango, then puree it in a blender until completely smooth with no visible chunks.
- Mix the filling:
- Whisk eggs and sugar until pale, then stir in flour, coconut, coconut milk, lime juice, vanilla, baking powder, salt, and that beautiful mango puree.
- Assemble and top:
- Pour the filling over your warm crust and sprinkle the extra coconut across the top like edible confetti.
- Bake until set:
- Bake for 18 to 22 minutes until the edges are golden and the center has a slight wobble, like gelatin does.
- Cool completely:
- Let the bars cool entirely in the pan, then lift them out using the parchment handles and cut into squares.
 Save
Save My daughter now requests these for her birthday instead of cake. There is something about that tropical combination that makes people smile before they even take a bite.
Making Them Gluten Free
I have made these with a gluten-free baking blend and the texture remains remarkably close to the original. The crust becomes slightly more tender, almost shortbread-like in the best way possible. No one at my gluten-free friends dinner party could tell the difference.
Perfecting the Mango Puree
The key is finding mangoes that are fragrant and yield to gentle pressure. I have learned that underripe mango makes the filling taste flat, while overripe ones can make the bars too dense. A ripe Ataulfo mango works beautifully if you can find one.
Storage and Serving Tips
These bars keep exceptionally well in the refrigerator, developing a fudgier texture after the first day. I actually prefer them chilled straight from the fridge. They also freeze beautifully for up to a month if you want to get ahead for parties.
- Let refrigerated bars sit at room temperature for 10 minutes before serving
- Add a dusting of powdered sugar right before serving for extra elegance
- Cut them with a clean knife dipped in hot water for perfect slices
 Save
Save Every time I bring these to a summer gathering, someone asks for the recipe. They are the kind of dessert that makes people feel like they are on vacation.
Recipe FAQ
- → How do I know when the bars are done baking?
-
The bars are ready when the edges turn golden brown and the center appears set but still has a slight jiggle when you gently shake the pan. This usually takes 18–22 minutes. Avoid overbaking, as the center continues to firm up as it cools.
- → Can I use frozen mango instead of fresh?
-
Yes, frozen mango works perfectly for this filling. Thaw it completely and drain any excess liquid before pureeing. Frozen mango actually tends to be sweeter and more consistent in flavor than fresh, depending on the season.
- → How should I store these mango coconut bars?
-
Keep them in an airtight container in the refrigerator for up to 4 days. The cold temperature helps maintain their chewy texture and prevents them from becoming too soft. You can also freeze them for up to 2 months—just thaw overnight in the fridge before serving.
- → What can I use instead of coconut milk?
-
Regular whole milk or heavy cream can substitute for coconut milk, though you'll lose some coconut flavor. Almond milk also works but produces a lighter texture. For the most intense coconut taste, use canned full-fat coconut milk.
- → Can I make these bars gluten-free?
-
Absolutely. Replace the all-purpose flour in both the crust and filling with a high-quality gluten-free baking blend that contains xanthan gum. The texture remains remarkably similar, making these suitable for gluten-free guests.
- → Why is my crust too crumbly or hard?
-
If the crust crumbles apart, you may have overmixed the butter into the flour mixture. Aim for coarse crumbs that hold together when pressed. If the crust is too hard, you likely baked it too long—remove it from the oven as soon as it turns lightly golden.