 Save
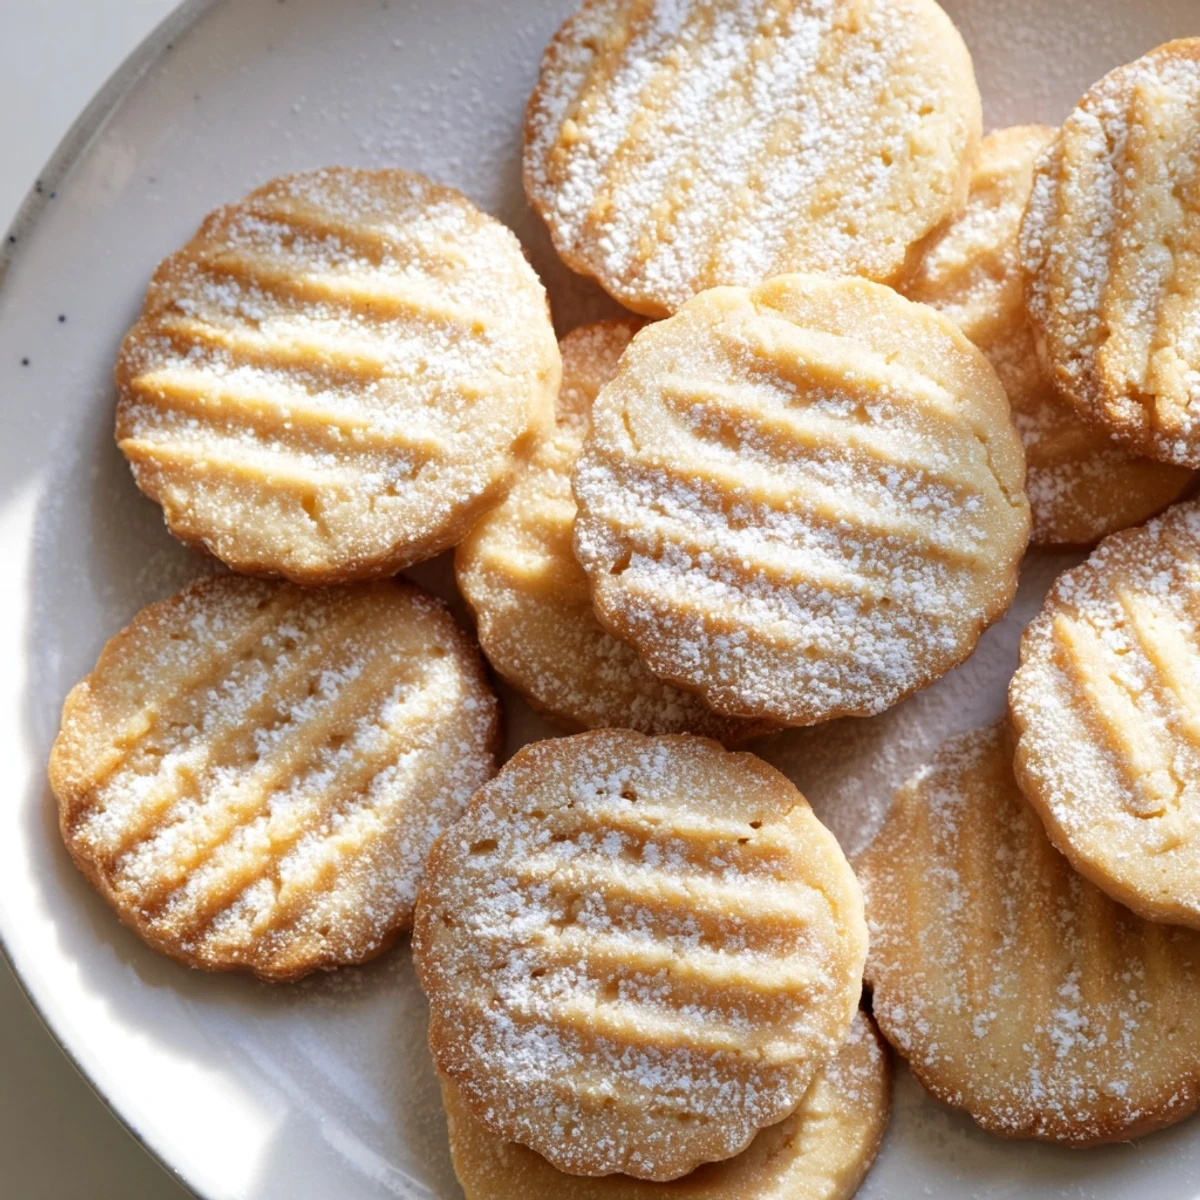
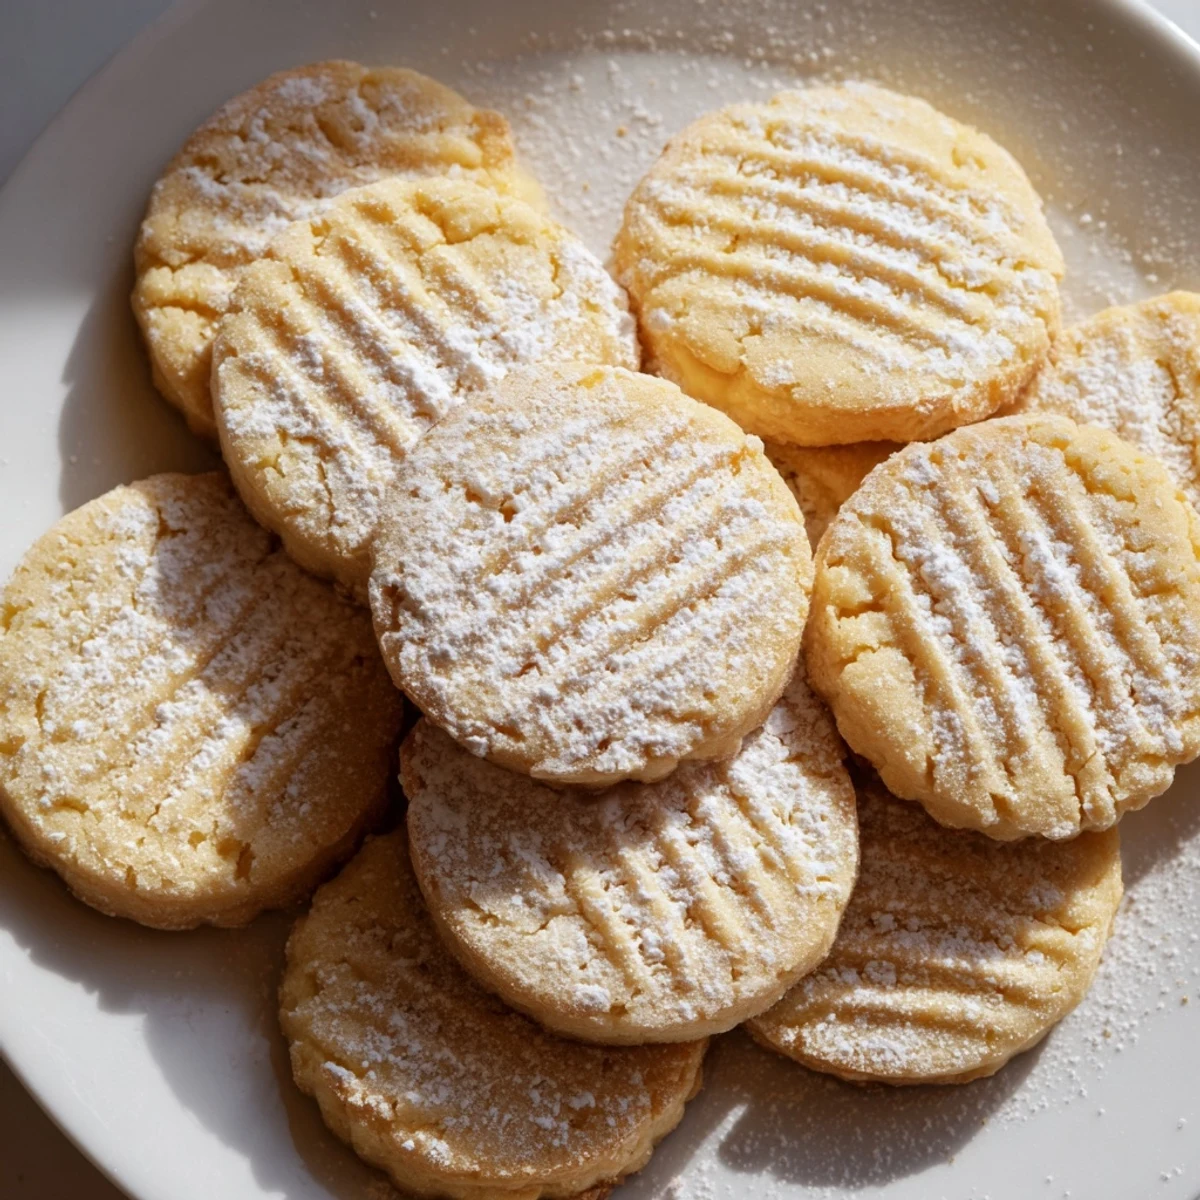
Save These classic butter cookies deliver that perfect tender, melt-in-your-mouth texture everyone loves. With just five simple ingredients and less than 30 minutes from start to finish, you'll have bakery-style treats that rival Grandma's famous batch. The secret lies in properly creaming the butter and sugar until light and fluffy, then gently folding in the flour to create that delicate crumb.
Whether you're serving them with afternoon tea, bringing them to a holiday gathering, or simply enjoying with a glass of milk, these golden-edged cookies never disappoint. The optional powdered sugar dusting adds an elegant finishing touch, while the dough comes together quickly for spontaneous baking sessions.
The smell of butter hitting sugar in the mixer still takes me back to my grandmother's tiny kitchen, where I stood on a step stool just to see into the bowl. She never measured anything exactly, but these cookies came out perfectly every single time, delicate and tender enough to vanish before they even cooled completely.
I made three batches the week before Christmas last year because my neighbor mentioned she'd never had a proper butter cookie, and I watched through the window as her teenage son ate four straight from the tin she took home. Sometimes food is just the easiest way to say welcome to the neighborhood.
Ingredients
- All-purpose flour: The protein structure here creates that signature tender crumb, and sifting it first prevents any dreaded lumps in your dough
- Sea salt: Just enough to wake up all the flavors without making these taste salty—trust me, the tiny pinch matters
- Unsalted butter: Room temperature butter is nonnegotiable here because it needs to grab onto those sugar crystals to create the perfect texture
- Granulated sugar: This creates the crisp edges while the butter keeps the centers soft and yielding
- Egg yolk: Using only the yolk adds extra richness and helps create that signature shortbread texture
- Pure vanilla extract: The real stuff or nothing at all—artificial just can't compete with that warm floral depth
Instructions
- Get your oven ready:
- Preheat to 350°F and line your baking sheets with parchment paper so nothing sticks and cleanup is practically nonexistent
- Whisk the dry ingredients:
- Combine flour and salt in a medium bowl, whisking until they're perfectly blended and aerated
- Cream butter and sugar:
- Beat them together for about 3 minutes until the mixture looks pale and fluffy, scraping down the sides halfway through
- Add the yolk and vanilla:
- Mix until everything disappears into the butter mixture, but don't overwork it or your cookies might toughen
- Bring the dough together:
- Gradually add the flour mixture, mixing just until no dry streaks remain—the dough should be soft but not sticky
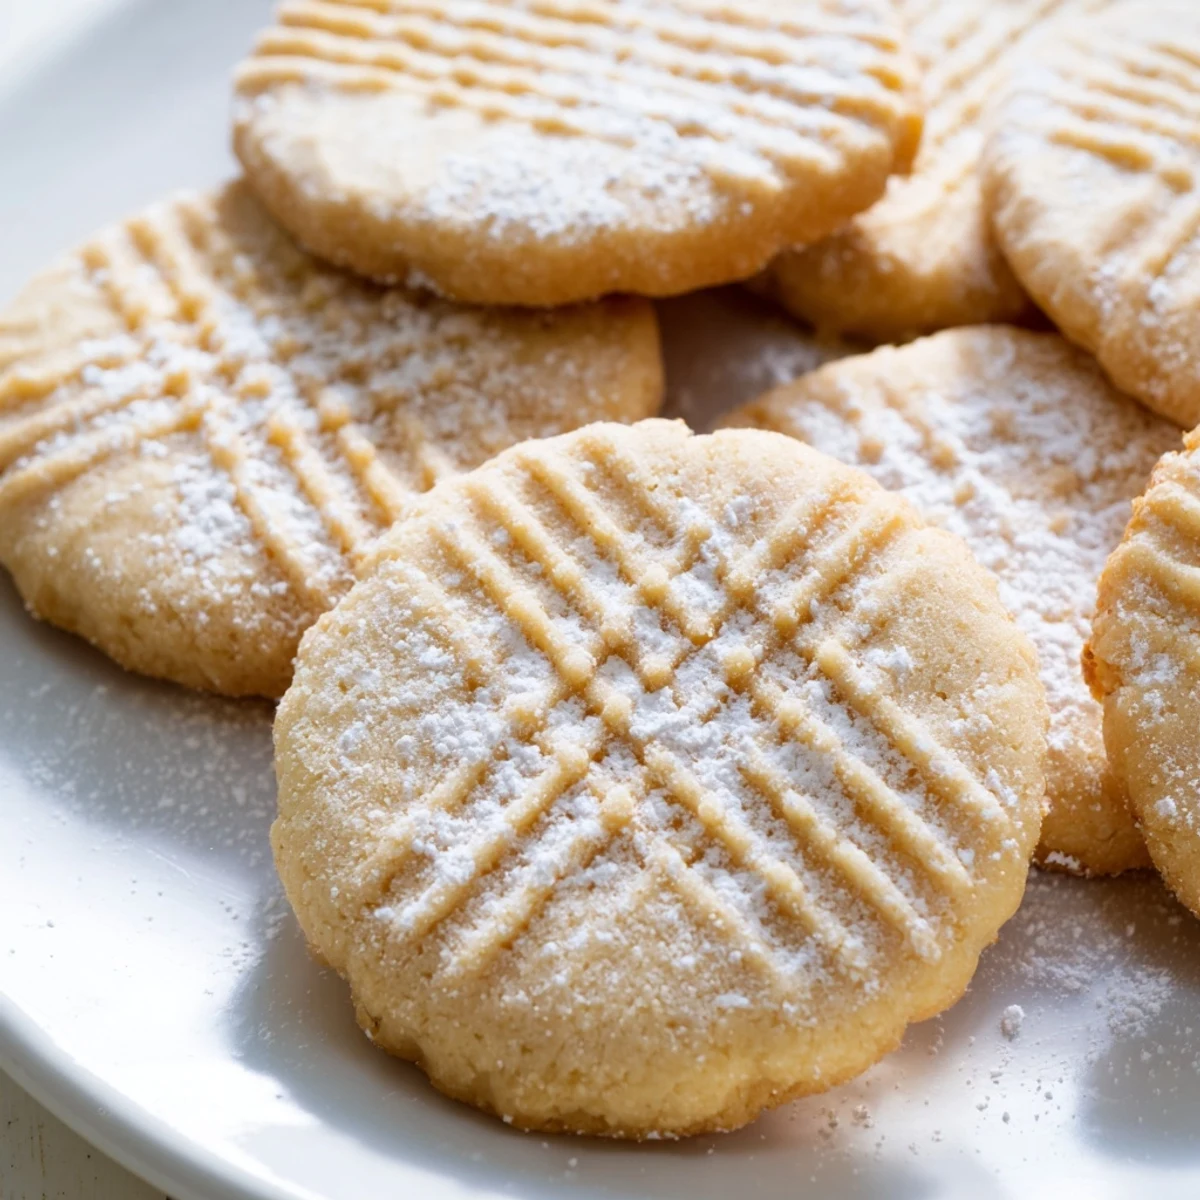
- Shape the cookies:
- Roll tablespoonfuls into balls and place them 2 inches apart on your prepared sheets, then press gently with a fork to flatten
- Bake to perfection:
- Bake for 10-12 minutes until edges are barely golden, then let them cool on the sheet for 5 minutes before moving them
 Save
Save My daughter asked if we could make double batches for her class holiday party because apparently these became the thing her friends actually talked about weeks later. There's something profoundly satisfying about seeing a simple recipe become someone's new favorite memory.
Making Them Your Own
Half dipped in dark chocolate creates this gorgeous sweet and bitter contrast that feels fancy but takes zero extra skill. A sprinkle of flaky salt on the chocolate half makes people think you're secretly a pastry chef.
Storage Secrets
These actually improve after a day in an airtight container, with flavors melding and texture becoming even more tender. I've kept them for a week though they rarely last that long in my house.
Common Questions
Can I freeze the dough? Absolutely, roll it into balls and freeze on a tray before transferring to a bag for up to three months. What if I don't have vanilla? Almond extract creates this completely different but equally delicious cookie. Why only egg yolk? The whites would make these chewy instead of tender and meltingly soft.
- Chill the dough for 30 minutes if it's too soft to work with
- Try dipping the fork in flour between presses to prevent sticking
- These freeze beautifully baked too, just thaw at room temperature
 Save
Save There's something timeless about a recipe that relies on just a handful of basic ingredients to create something utterly magical. These cookies have been making memories for generations, and now they're ready to make some for you too.
Recipe FAQ
- → Why must I chill the dough before baking?
-
Chilling helps the cookies maintain their shape during baking and prevents excessive spreading. It also allows the butter to firm up, which contributes to that tender texture and enhances the overall flavor development.
- → Can I freeze the dough for later use?
-
Absolutely! Roll the dough into balls, place them on a baking sheet to freeze individually, then transfer to an airtight container. They'll keep for up to 3 months. Bake from frozen, adding 1-2 minutes to the baking time.
- → What causes cookies to spread too much?
-
Overly soft butter or warm dough are common culprits. Ensure your butter is at room temperature, not melted. Also, don't skip the step of measuring flour properly—too little flour can cause excessive spreading.
- → How do I know when they're done baking?
-
Look for edges that are just turning golden while the centers appear slightly underdone. They'll continue cooking on the hot baking sheet. Overbaking leads to dry, crunchy cookies rather than tender ones.
- → Can I make these without an electric mixer?
-
Yes, though it requires more effort. Use a sturdy wooden spoon and plenty of elbow grease to cream the butter and sugar until light and fluffy. The texture will still be wonderful, just expect a bit of a workout.