 Save
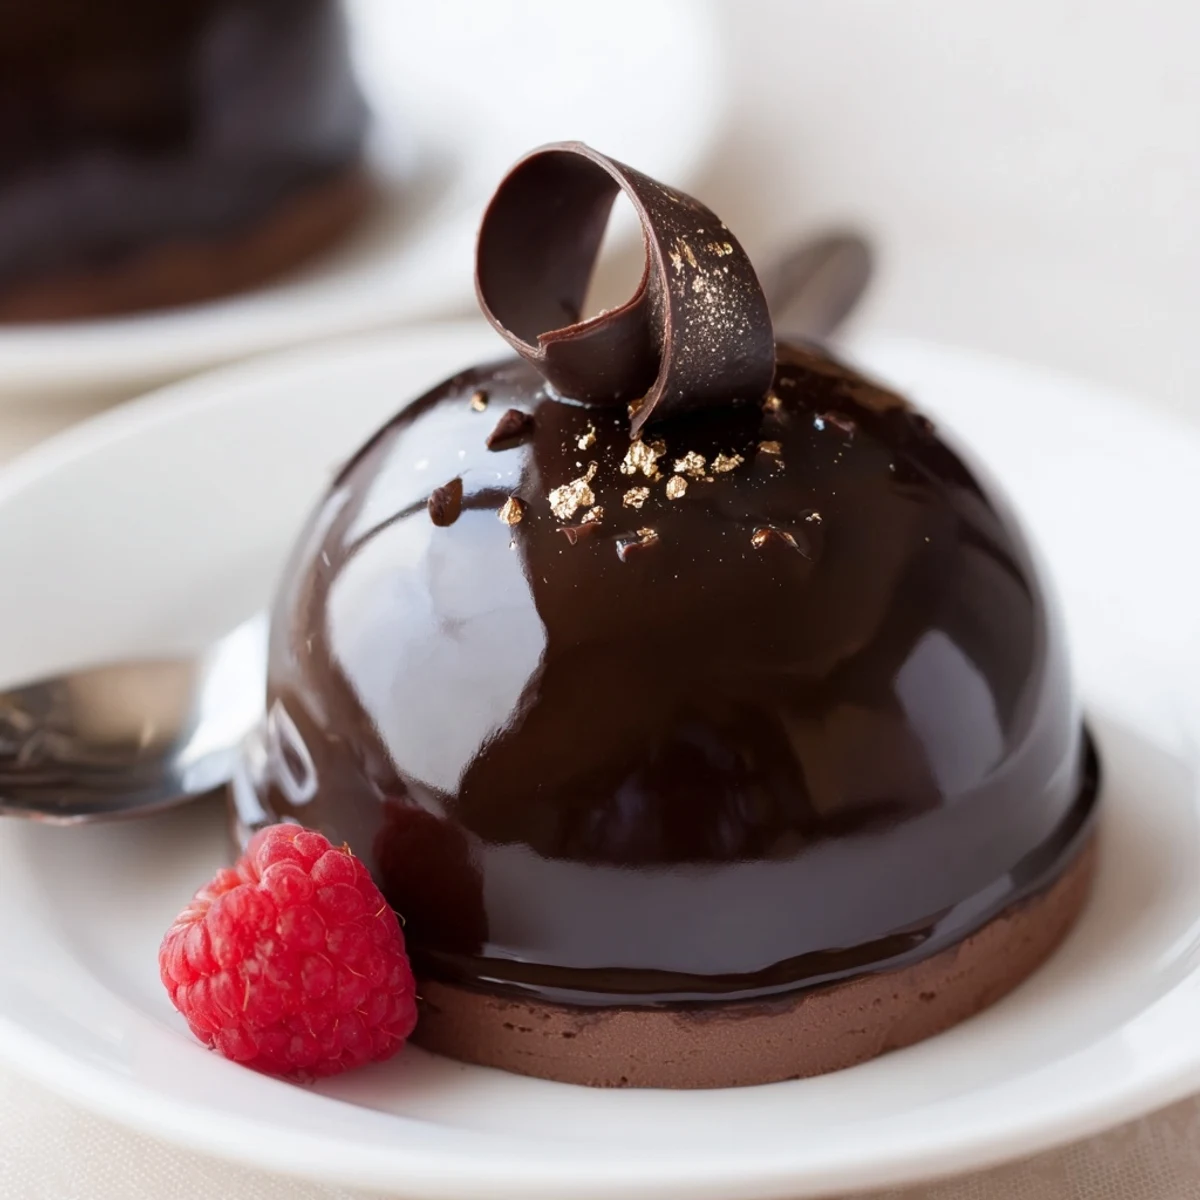
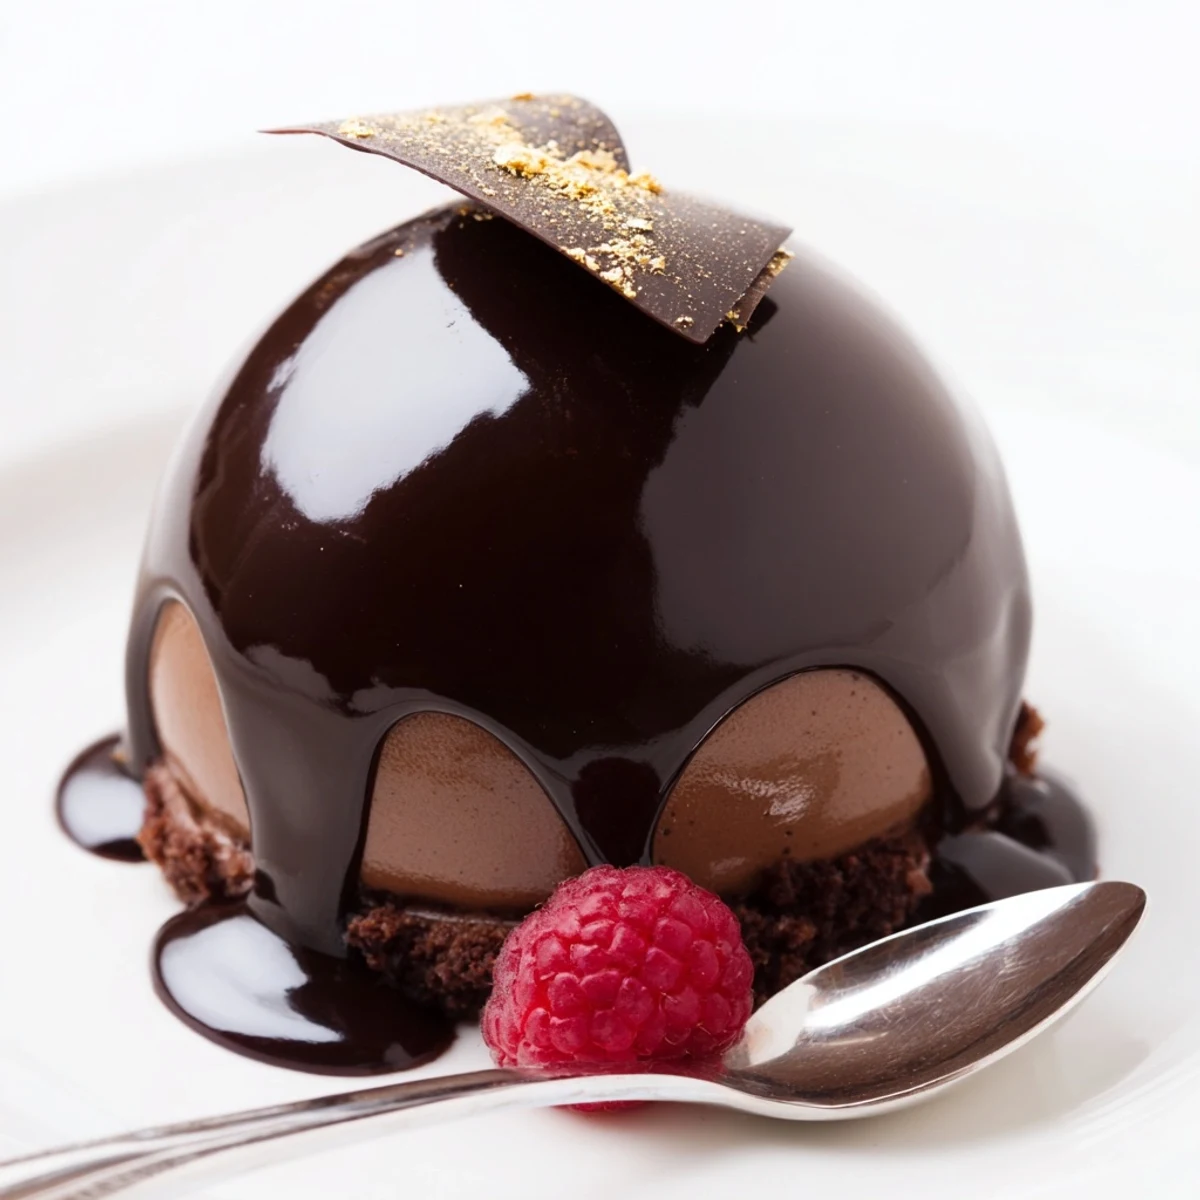
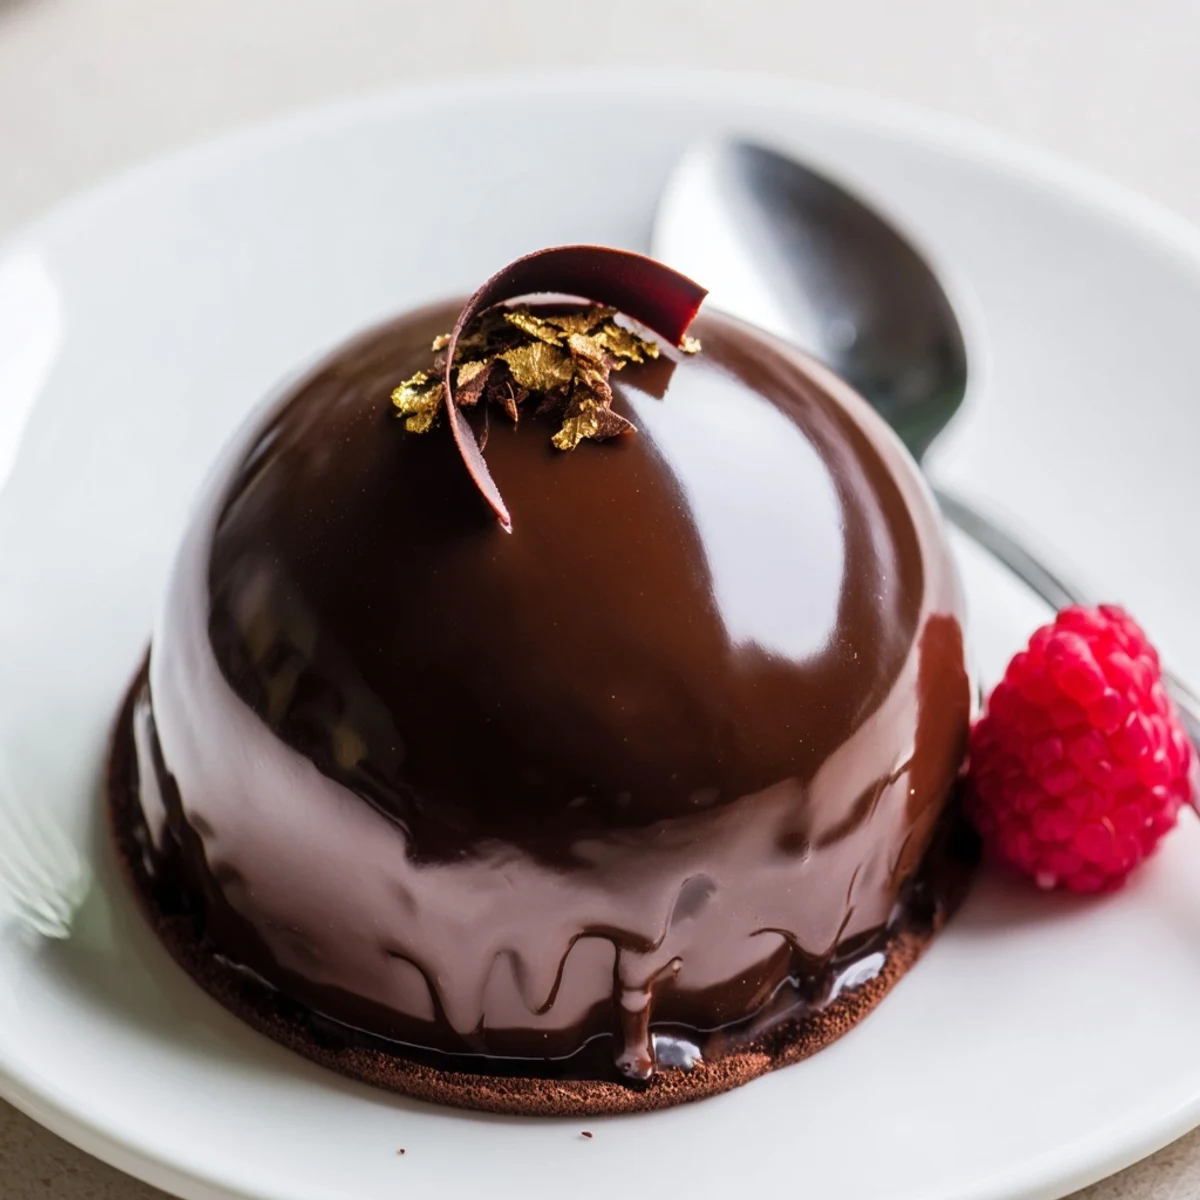
Save This elegant make-ahead dessert layers a silky mascarpone mousse inside crisp dark chocolate domes. Shells are brushed into silicone molds, chilled, then filled with mascarpone mixed with whipped cream and warmed gelatin. After setting, domes are unmolded and coated with a glossy chocolate mirror glaze, then chilled briefly and finished with gold leaf or berries.
The gentle clicking of molds on my counter always signals a more adventurous dessert in the making. On one particular rainy afternoon, I found myself intrigued by the challenge of achieving that high-shine chocolate finish—mesmerized by how a glossy shell could hide such a dreamy, creamy center. The aroma of melted chocolate mingling with sweet vanilla mascarpone immediately lifted my spirits. It felt less like following a recipe and more like orchestrating a little kitchen magic show.
I first made this for a friend’s birthday, after she confessed that 'surprise inside' desserts always made her giddy. There was laughter at my chocolate-splattered apron and applause when the shiny domes emerged—gleaming under the kitchen lights—proof that a little effort really does go a long way in creating moments to remember.
Ingredients
- Dark chocolate (at least 60% cocoa): Choose the best you can find—rich chocolate makes the shell crisp and deeply flavorful.
- Mascarpone cheese: Keep it well-chilled for a mousse that stays light and airy.
- Heavy cream: Whips best when straight from the fridge; this is the secret to a stable, luscious mousse.
- Powdered sugar: Sifts in seamlessly, giving silky sweetness without graininess.
- Vanilla bean paste or extract: Each spoonful adds warmth that balances the chocolate's intensity.
- Gelatin: Whether leaves or powder, blooming first keeps the mousse perfectly set without lumps.
- Cold water: Essential for blooming gelatin; never skip this tiny chill.
- Sugar (for glaze): Helps the glaze set to that coveted mirror shine.
- Cocoa powder: Sifted well for a truly glossy, lump-free finish.
- Decoration (optional: gold leaf, chocolate curls, berries): A touch of gold or a plump berry adds drama and freshness to the plate.
Instructions
- Melt and coat the molds:
- Break the chocolate into pieces and melt gently, stirring until completely smooth and glossy. Paint or spoon the chocolate generously inside each silicone dome mold, making sure the sides are thick enough not to shatter.
- Chill and double coat:
- Slide the molds into the fridge for 10 minutes, then add another layer for good measure. Chill again for at least 30 minutes—patience here means sturdy domes later.
- Create mascarpone mousse:
- Bloom the gelatin in cold water until soft, then melt it carefully so there are no lumps. Whisk mascarpone with sugar and vanilla, fold in softly whipped cream, then swirl in the dissolved gelatin until everything is airy and glossy.
- Fill chocolate shells:
- Spoon or pipe mousse into the chocolate domes, stopping just before the rim, and gently even the tops with a small spatula. Return to the fridge for at least 3 hours to fully set the mousse.
- Unmold the domes:
- Press gently to release each dome from the silicone—slow moves prevent cracks. Place them on a wire rack over a tray in anticipation of their chocolate shower.
- Mirror glaze magic:
- Bloom gelatin in cold water, then heat water, sugar, cream, and cocoa until smooth and slightly thickened. Off the heat, cool just enough before swirling in the gelatin—watch it dissolve into deep, dark silk—then bring the temperature down until pourable but still shiny.
- Glaze and decorate:
- Coat each dome with a generous swirl of glaze, watching excess drip like melted gemstones, and promptly transfer onto serving plates. Finish with gold leaf, curls, or berries for added drama, then chill just another half hour to set the sheen.
 Save
Save There was one evening when we sliced open the glossy domes at the table—everyone paused just to marvel at the stunning contrast inside, and even my most skeptical guest couldn't help but grin. Suddenly, dessert wasn't just sweet—it was a little theatrical and completely worth the lived-in chaos of my kitchen.
What to Do If You Break a Dome
The first time I unmolded a dome, I pressed too hard and cracked the shell—cue a scramble for kitchen patches. If you break a chocolate shell, patch it with a dab of melted chocolate and briefly chill it again; most guests will never notice. Sometimes, I’ll stack up broken shells, layer in mousse, and improvise a trifle—proof that mistakes can still taste luxurious.
Changing It Up for Every Occasion
Once, for a summer gathering, I swapped the dark chocolate for white and tucked in fresh raspberries. A few drops of orange zest in the mousse deliver a little zing; you can even layer a whisper-thin biscuit or cookie underneath for crunch. Knowing how tweakable these domes are makes me want to invent a new version each time celebration calls.
Kitchen Tools That Make This Easy
Having a sturdy silicone mold and an instant-read thermometer changed my dessert game for the better. Whipping cream is a quick job with an electric mixer, and a humble pastry brush makes those shells satisfyingly thick. Cleanup can be intense with all the bowls and utensils, but the admiration at the table always makes it worthwhile.
- Don’t skip the thermometer for mirror glaze—guessing means risking a dull finish.
- Chill your mixing bowl and whisk for best cream peaks.
- Mise en place everything before you begin—it’s worth it.
 Save
Save These domes invite happy gasps and hungry curiosity every time. I hope your kitchen feels a little more enchanted as you unveil yours.
Recipe FAQ
- → How do I make sturdy chocolate shells?
-
Temper or gently melt dark chocolate and apply two to three even layers with a pastry brush into silicone dome molds, chilling between coats to build a firm shell that unmolds cleanly.
- → Can I substitute gelatin for a vegetarian option?
-
Yes — use agar-agar, following package conversion guidelines and heating it thoroughly. Texture will be slightly different, so test a small batch to adjust firmness before filling all domes.
- → What temperature should the mirror glaze be for pouring?
-
Cool the glaze to around 30–32°C (86–90°F) for a smooth pour and even sheen. Too hot will thin the glaze; too cool and it won’t flow evenly over the domes.
- → How long should the domes chill before glazing?
-
Chill filled domes for at least 3 hours, or until fully set. This ensures the mousse is firm enough to support the glaze and avoids collapse when pouring the warm glaze.
- → Any tips for unmolding without cracking the shells?
-
Gently flex silicone molds and tap the base of each mold on the counter while supporting the dome. Keep domes chilled until just before glazing to maintain structure during handling.
- → How can I vary the flavor or presentation?
-
Add a thin layer of coffee-soaked sponge at the base for depth, use white chocolate shells and tinted glaze for contrast, or top with gold leaf and fresh berries for a refined finish.