Save
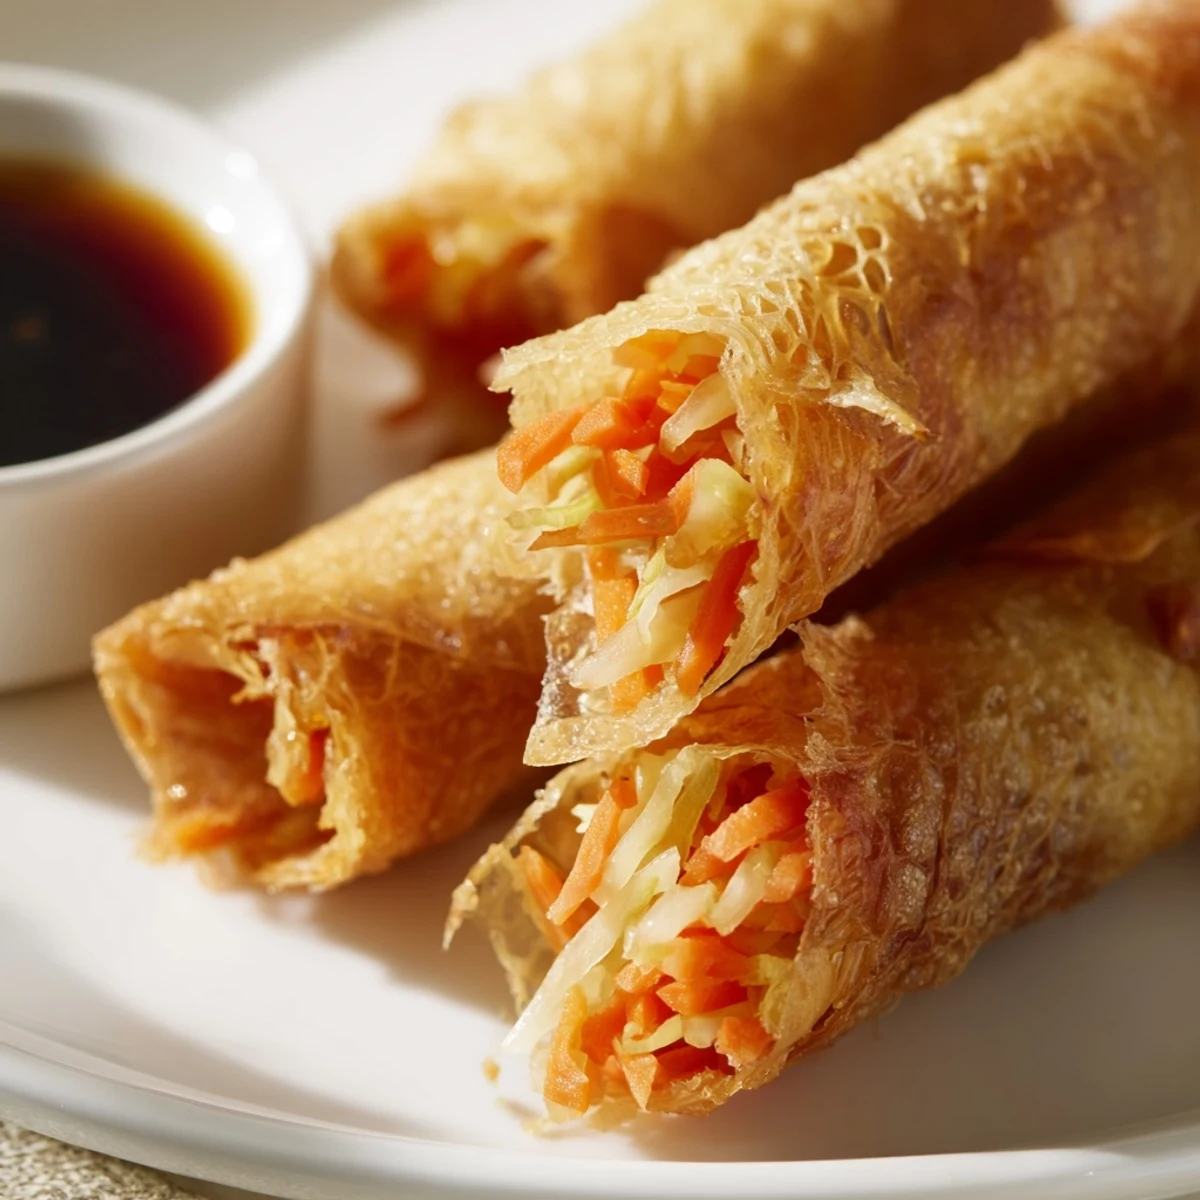
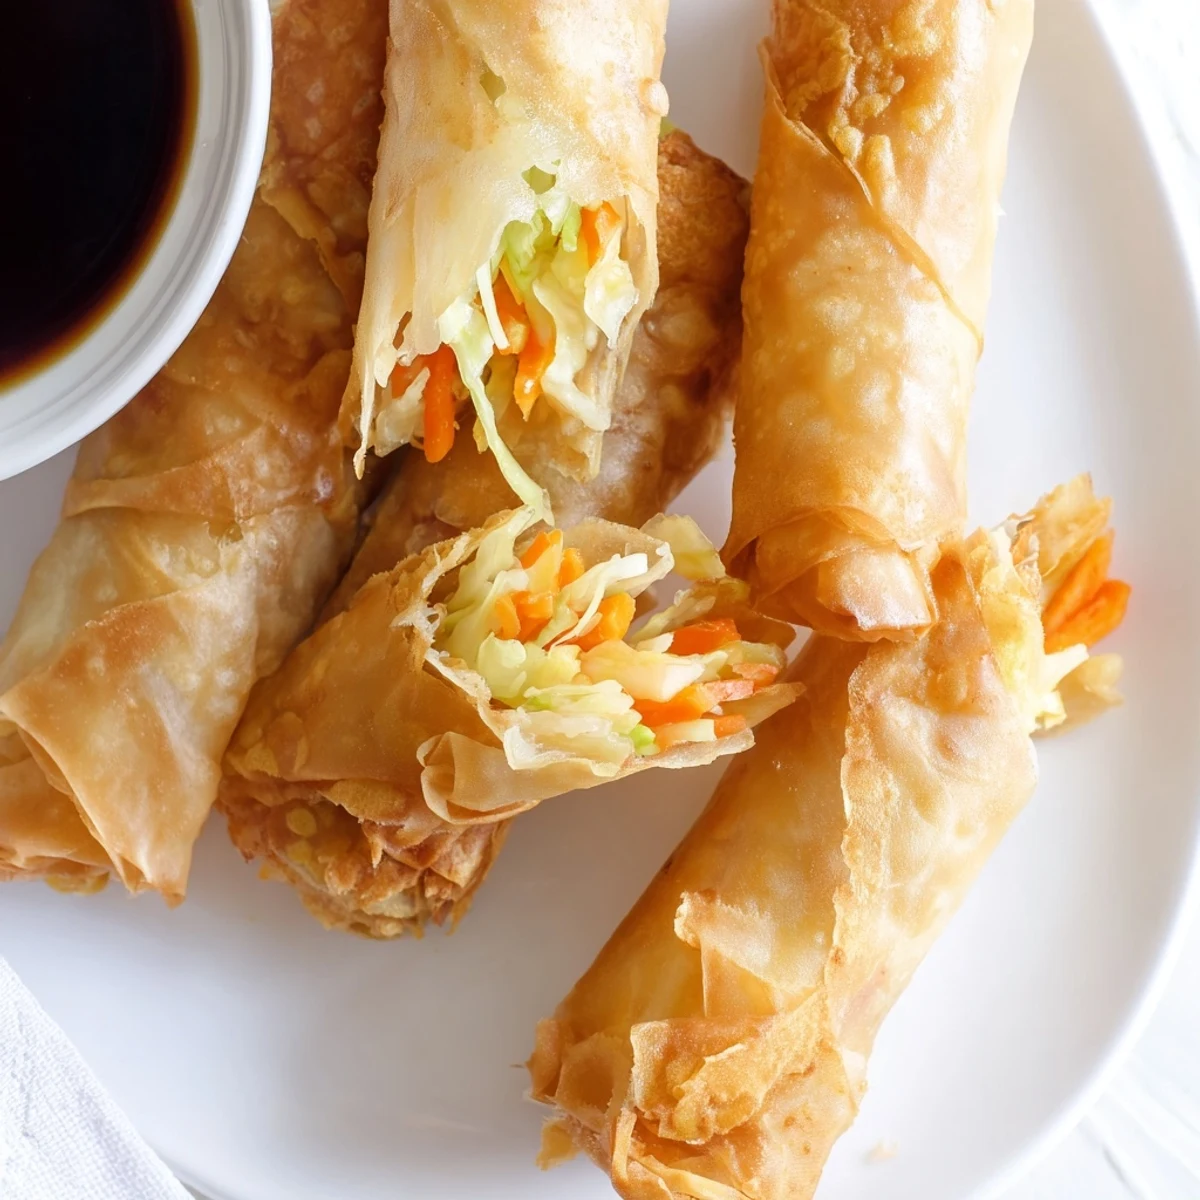
Save These golden rice paper rolls deliver irresistible crunch with a satisfying savory filling of vegetables and your choice of chicken or tofu. The secret lies in the rice paper wrapper that becomes beautifully crispy when baked or air-fried. Perfect for gatherings, meal prep, or casual snacking, each roll offers 80 calories and 4 grams of protein while being completely gluten-free, dairy-free, and nut-free.
The preparation comes together in just 20 minutes of active cooking. Simply stir-fry your filling, soften the rice paper wrappers, roll tightly, and bake until golden. A quick dipping sauce of soy sauce, rice vinegar, honey, garlic, and chili flakes adds the perfect finishing touch.
The kitchen filled with that incredible aroma of garlic and sesame oil, my roommate peeking around the corner to see what magic was happening. These spring rolls came about on a rainy Tuesday when we were craving something crispy but didnt want the heaviness of deep frying. Now they are the most requested snack at every gathering, people hovering near the oven waiting for that first batch to emerge golden and crackling.
I once made fifty of these for a Super Bowl party, watching them disappear in under ten minutes while people asked for the recipe between bites. The air fryer version was a revelation during a hot summer when turning on the oven felt like punishment. Now whether I am cooking for two or twelve, these rolls have become my go-to comfort food that somehow feels fancy enough for company but casual enough for a Tuesday night.
Ingredients
- 200 g ground chicken or tofu: The protein base that holds everything together, tofu creates a lovely texture while chicken brings savory depth
- 1 medium carrot, julienned: Adds essential sweetness and that satisfying crunch in every bite
- 1 cup cabbage, finely shredded: Provides moisture and mild sweetness that balances the seasoned protein
- 1/2 cup shiitake mushrooms, finely diced: These deliver an umami punch that makes the filling taste complex and rich
- 2 scallions, finely chopped: Fresh onion brightness that cuts through the cooked flavors
- 2 cloves garlic, minced: Non-negotiable aromatic foundation that makes your kitchen smell amazing
- 1 tbsp soy sauce or tamari: The seasoning backbone, tamari keeps it gluten-free without sacrificing flavor
- 1 tsp sesame oil: Just enough to add that nutty, warm finish that makes it taste restaurant-quality
- 1/2 tsp ground white pepper: Subtle heat that lingers pleasantly without overwhelming
- 12 sheets rice paper: The secret weapon for that incredibly light, shatter-crisp wrapper
- 1 tbsp vegetable oil: Helps achieve that beautiful golden color and extra crunch
- 3 tbsp soy sauce or tamari: Base for a dipping sauce that pulls everything together
- 1 tbsp rice vinegar: Essential acid that cuts through the richness and brightens each bite
- 1 tsp honey or maple syrup: Just enough sweetness to balance the salty elements
- 1 small garlic clove, minced: Raw garlic kick in the sauce for contrast with the cooked filling
- 1/2 tsp chili flakes: Optional heat for those who like a little warmth with their crunch
Instructions
- Cook your protein base:
- Heat your skillet over medium heat and add the ground chicken or tofu, breaking it apart as it cooks until no pink remains and everything takes on a light golden color, about five minutes.
- Add the vegetables:
- Toss in the carrot, cabbage, mushrooms, scallions, and garlic, stir-frying for four to five minutes until the vegetables soften and release their fragrance.
- Season the filling:
- Pour in the soy sauce, sesame oil, and white pepper, stirring until everything is well coated and fragrant, then set aside to cool slightly so it is easier to handle.
- Prepare the rice paper:
- Fill a large shallow dish with warm water and dip each rice paper sheet for five to seven seconds until it becomes pliable but not mushy, working with one sheet at a time.
- Fill and roll:
- Lay the softened rice paper on a damp towel, place two tablespoons of filling about three centimeters from the bottom edge, fold the bottom over the filling, tuck in the sides, and roll tightly like a burrito.
- Get your heating method ready:
- Preheat your oven to 220°C or set your air fryer to 200°C, letting it come to full temperature while you finish rolling all twelve spring rolls.
- Add the finishing touch:
- Lightly brush or spray each roll with vegetable oil, then arrange them in a single layer on a parchment-lined baking sheet or air fryer basket without overcrowding.
- Crisp them up:
- Bake or air-fry for fifteen to eighteen minutes, flipping halfway through, until they are deeply golden and audibly crispy when you tap them.
- Make the dipping sauce:
- Whisk together the soy sauce, rice vinegar, honey, minced garlic, and chili flakes in a small bowl until the honey dissolves completely.
- Serve immediately:
- Bring the hot rolls to the table with the dipping sauce alongside, watching everyone reach for that first perfectly crunchy bite.
 Save
Save My grandmother watched me make these once, skeptical that anything baked could match her traditional fried version, then proceeded to eat three in a row while nodding with approval. These rolls have become the bridge between my love for crunchy appetizers and my desire to keep things lighter, proving that you do not need deep frying to achieve that satisfying texture everyone craves.
Making Them Ahead
The filling can be prepared up to two days in advance and stored in the refrigerator, actually developing deeper flavor as it sits. You can also roll all the spring rolls, layer them between parchment paper, and refrigerate for several hours before baking, though they are at their absolute crispest when baked within an hour of rolling.
Customization Ideas
I have added water chestnuts for extra crunch, swapped in ground pork or shrimp for different flavor profiles, and made completely vegetarian versions that satisfied even the meat lovers at the table. The basic technique is so forgiving that once you master the rolling method, you can stuff these with whatever vegetables and proteins you have on hand.
Serving Suggestions
While the dipping sauce is perfect on its own, I love serving these with fresh lettuce leaves, mint, and cilantro so people can create their own fresh rolls. A side of quick-pickled vegetables adds acidity and crunch that makes the whole meal feel more substantial and restaurant-worthy.
- Set up a small assembly station with fresh herbs and let guests build their own bites
- Pair with a light Asian-inspired slaw for a complete appetizer spread
- Keep extra dipping sauce on hand because everyone will want seconds
 Save
Save There is something universally appealing about food that comes in handheld form, especially when it delivers that perfect contrast of hot, savory filling and shatter-crisp exterior. These spring rolls have earned their permanent place in my regular rotation, and I suspect they will find their way into yours too.
Recipe FAQ
- → How do I prevent rice paper rolls from getting soggy?
-
Dip rice paper sheets in warm water for only 5-7 seconds until just pliable—over-soaking makes them too soft. Pat dry with a damp towel before filling, and roll tightly to eliminate air pockets. Bake or air-fry immediately after rolling for maximum crispiness.
- → Can I make these spring rolls ahead of time?
-
Prepare the filling up to 24 hours in advance and store refrigerated. For best results, assemble and bake the rolls just before serving. If you need to prep ahead, roll them and store separated by parchment paper in the refrigerator for up to 4 hours before baking.
- → What's the best protein for vegetarian rolls?
-
Firm tofu works exceptionally well—crumble it and cook like ground meat, allowing it to brown slightly for texture. You can also use tempeh, lentils, or additional vegetables like diced bell peppers and water chestnuts for extra protein and crunch.
- → Do I need to deep fry these rolls?
-
No deep frying required. Brushing or spraying with oil and baking at 220°C (425°F) or air-frying at 200°C (390°F) yields perfectly crispy results with significantly less oil. Flip halfway through cooking for even golden color and crunch.
- → Can I freeze uncooked spring rolls?
-
Yes, freeze uncooked rolls in a single layer on a baking sheet until firm, then transfer to an airtight container. Bake from frozen at 200°C for 20-25 minutes—no need to thaw. Avoid refrigerating uncooked rolls for more than a few hours as the rice paper becomes tough.