 Save
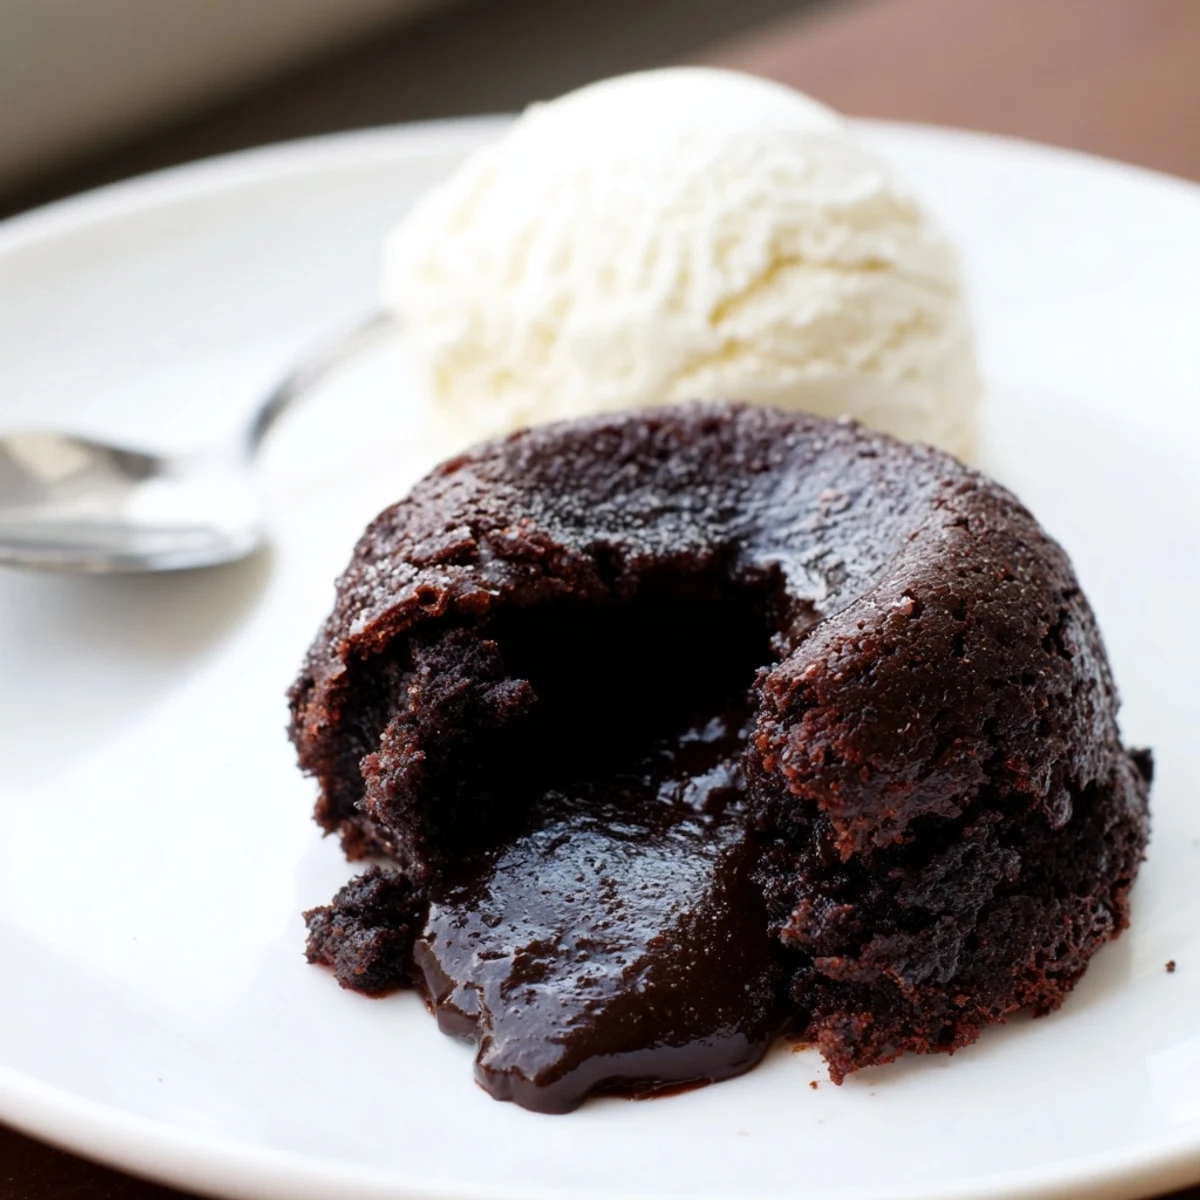
Save These individual desserts feature a rich, molten center achieved by baking the batter for just the right amount of time. Served warm, the gooey chocolate interior pairs perfectly with cold, creamy vanilla bean ice cream. It requires simple ingredients like butter, eggs, and high-quality chocolate. Preparation is quick, taking only about 20 minutes before a short bake, making it an elegant yet manageable treat for entertaining or a special night in.
There's a moment right before you bite into a chocolate lava cake when anticipation peaks—you can see the steam rising, smell that deep cocoa richness, and know that in seconds you'll hit that warm, gooey center that makes the whole dessert sing. I discovered these cakes almost by accident, rushing to put together something impressive for dinner guests with only basic ingredients on hand. What started as improvisation became the dessert I've made more times than I can count, each time watching people's faces light up when they break through that chocolate shell.
I'll never forget the dinner party where my roommate's very quiet uncle actually said, "Wow, this is incredible," after tasting his first forkful, and suddenly everyone was trading bites off each other's plates like kids. That's when I knew these cakes had become my secret weapon, the thing I'd reach for whenever I needed to turn an ordinary meal into something memorable.
Ingredients
- Semisweet or bittersweet chocolate, 115 g (4 oz), chopped: The quality here genuinely matters—good chocolate melts silkily and tastes like actual chocolate, not waxy disappointment.
- Unsalted butter, 115 g (1/2 cup): Paired with chocolate, it creates that luxurious richness that defines the whole dessert.
- Large eggs and egg yolks, 2 eggs plus 2 yolks: The yolks add incredible richness and help create that signature molten center.
- Granulated sugar, 100 g (1/2 cup): Whipped with eggs, it aerates the batter and keeps the centers from cooking solid.
- All-purpose flour, 30 g (1/4 cup): Just enough to hold everything together without making the cake dense.
- Fine sea salt, 1/4 tsp: A tiny pinch brightens the chocolate and deepens its flavor.
- Butter and cocoa powder for ramekins: These coatings prevent sticking and add a hint of cocoa bitterness at the edge.
- Vanilla bean ice cream, 500 ml (2 cups): Cold, creamy vanilla balances the warm chocolate intensity—use something good, since it's the final note.
Instructions
- Prep Your Ramekins:
- Butter each ramekin generously, then dust with cocoa powder while the butter's still soft, tapping out the excess so they're evenly coated. This step takes 2 minutes but saves you from cake sticking to the sides.
- Melt Chocolate and Butter Together:
- Set a heatproof bowl over barely simmering water—the bowl shouldn't touch the water—and stir the chocolate and butter until completely smooth and glossy. The gentle heat prevents the chocolate from seizing, which would ruin the whole thing.
- Whisk Eggs and Sugar Until Pale:
- In a separate bowl, whisk the eggs, egg yolks, and sugar for about 2 to 3 minutes until the mixture is thick, pale, and leaves a ribbon trail when you lift the whisk. This aeration is what keeps the centers from baking solid.
- Fold Everything Together Gently:
- Pour the slightly cooled chocolate mixture into the egg mixture and fold with a spatula using broad, gentle strokes—don't overmix or you'll deflate all that aeration you just created. Add the flour and salt on top of the chocolate and fold until just barely combined, with no flour streaks visible.
- Fill and Arrange Ramekins:
- Divide the batter evenly among your prepared ramekins, filling each about three-quarters full. Set them on a baking sheet so they'll bake evenly and you can move them in and out of the oven without juggling.
- Bake Until Set Edges and Soft Centers:
- Bake at 220°C (425°F) for 10 to 12 minutes—the edges should look set and slightly risen, but the very center should jiggle slightly when you gently shake the ramekin. This timing is everything; a minute too long and you lose the molten center.
- Turn Out Onto Plates:
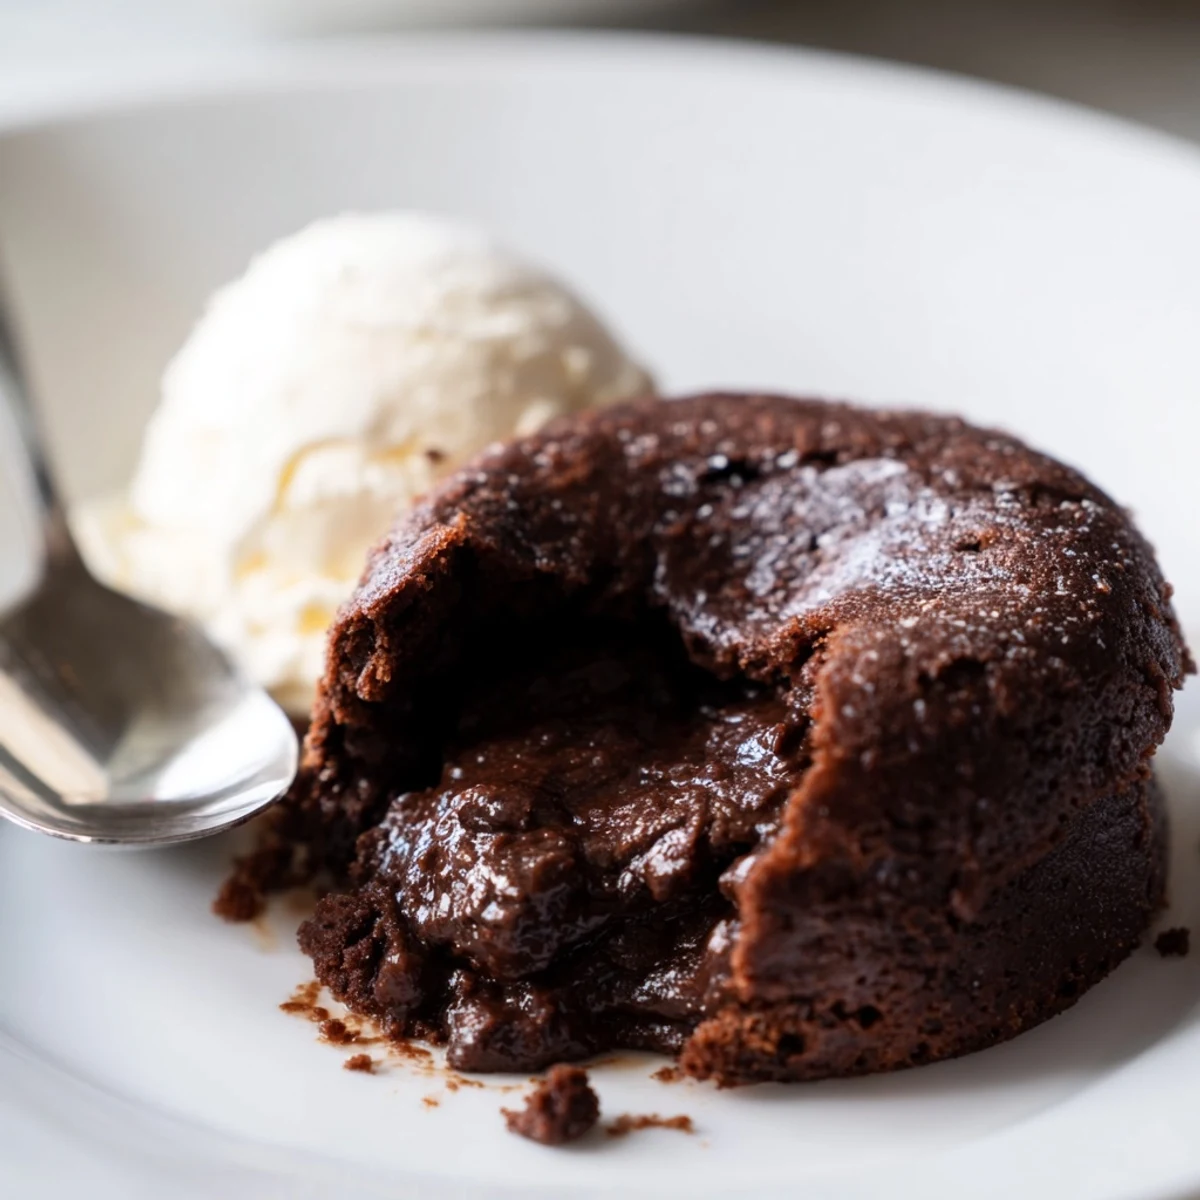
- Let the cakes rest for just 1 minute, then run a small knife around the inside edge of each ramekin and invert onto a serving plate. They should slide out cleanly, leaving a warm cake with that glorious runny center.
- Serve Immediately:
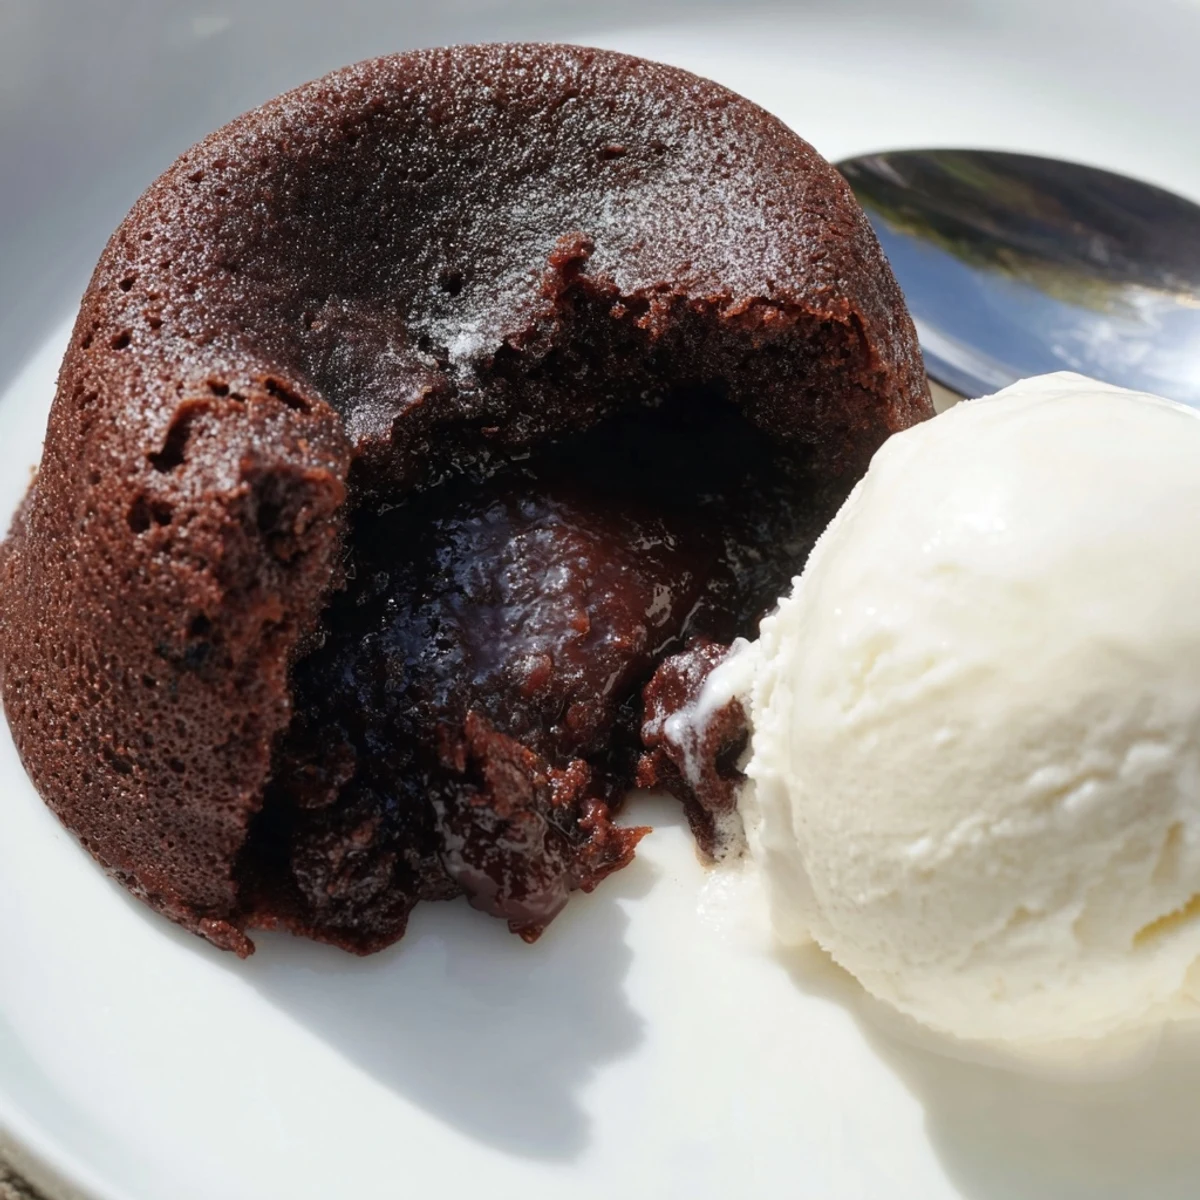
- Top each cake with a generous scoop of cold vanilla bean ice cream and serve right away, while the chocolate is still warm and the contrast is at its peak.
 Save
Save I learned the hard way one evening that these cakes don't like shortcuts—I tried to speed things up by skipping the cooling step, and the whole thing split and scrambled as I folded. Now I'm patient about it, and those 30 seconds of waiting are worth every molten bite.
Building the Flavor
Chocolate lava cakes taste even better with a subtle depth underneath the main chocolate flavor. The cocoa powder dusting the ramekins adds a whisper of bitterness, and a tiny pinch of salt makes the chocolate sing instead of just sitting flat on your tongue. If you want to get creative, stir a teaspoon of espresso powder into the melted chocolate or add a tablespoon of Grand Marnier for an elegant kick—these additions make people ask for your recipe.
Making Them Ahead
One of the best things about this dessert is how well it handles being made in advance—you can prepare the batter in the morning, cover each ramekin, and refrigerate until about an hour before dinner. The batter actually gets better as it sits, the flavors marrying together. Just pull them out and bring them to room temperature before popping them into the oven; a cold ramekin will throw off your timing.
Finishing Touches and Variations
These cakes shine with simple garnishes that let the chocolate take center stage, but a light dusting of powdered sugar or a few fresh raspberries scattered on the plate make them look restaurant-worthy. Sometimes I'll whip a tiny dollop of crème fraîche to dollop alongside the ice cream, the slight tang playing beautifully against the richness. The joy of these cakes is how naturally they work as is, but there's always room to play.
- If fresh berries are in season, arrange a small pile next to each cake—the tartness cuts through the richness perfectly.
- A sprinkle of fleur de sel on top adds a sophisticated touch that even non-dessert people appreciate.
- Keep your ice cream slightly soft when serving so it melts into the warm chocolate instead of sitting in a hard lump.
 Save
Save These cakes have become my go-to dessert for the moments when I want to feel like a real baker without spending hours in the kitchen. There's something magical about serving someone a warm, flowing chocolate cake in less time than it takes to order dessert at a restaurant.
Recipe FAQ
- → How can I tell when the cakes are baked perfectly?
-
The edges should look firm and set, while the center remains soft and jiggly. Avoid overbaking to maintain the molten texture.
- → Can the batter be prepared in advance?
-
Yes, you can fill the ramekins and refrigerate them for a few hours. Let them come to room temperature before baking.
- → What chocolate works best for the batter?
-
Semisweet or bittersweet chocolate is ideal, providing a rich flavor that balances the sweetness of the sugar and ice cream.
- → How do I ensure the cakes release easily?
-
Generously grease the ramekins with butter and dust them with cocoa powder, tapping out any excess to prevent sticking.
- → What variations can I add to the flavor?
-
Consider adding espresso powder for depth or a tablespoon of liqueur like Grand Marnier to enhance the chocolate notes.