 Save
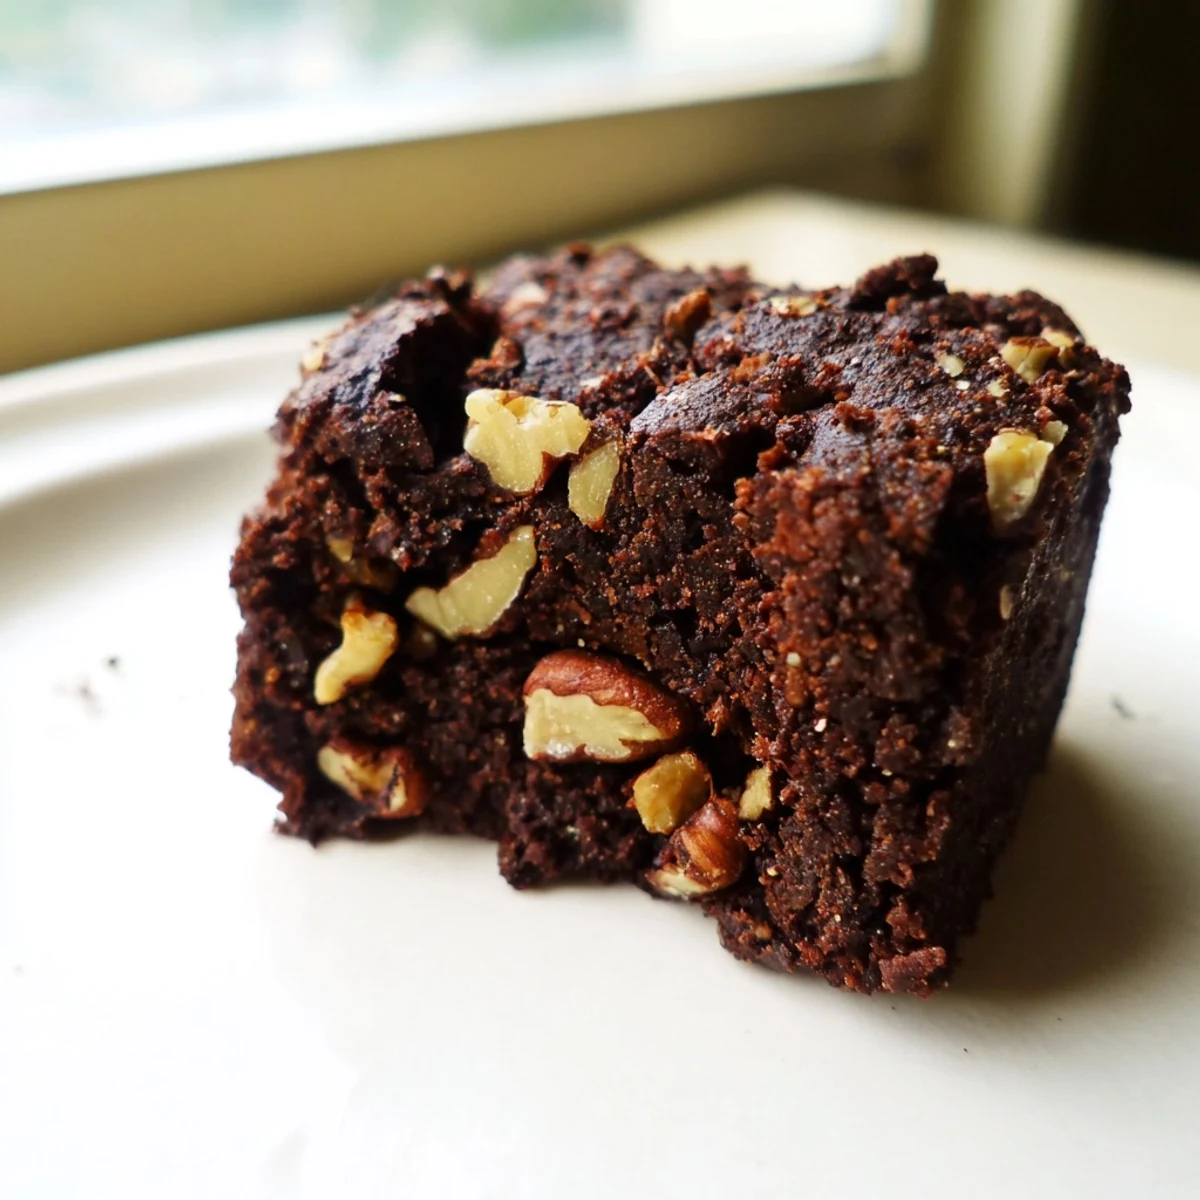
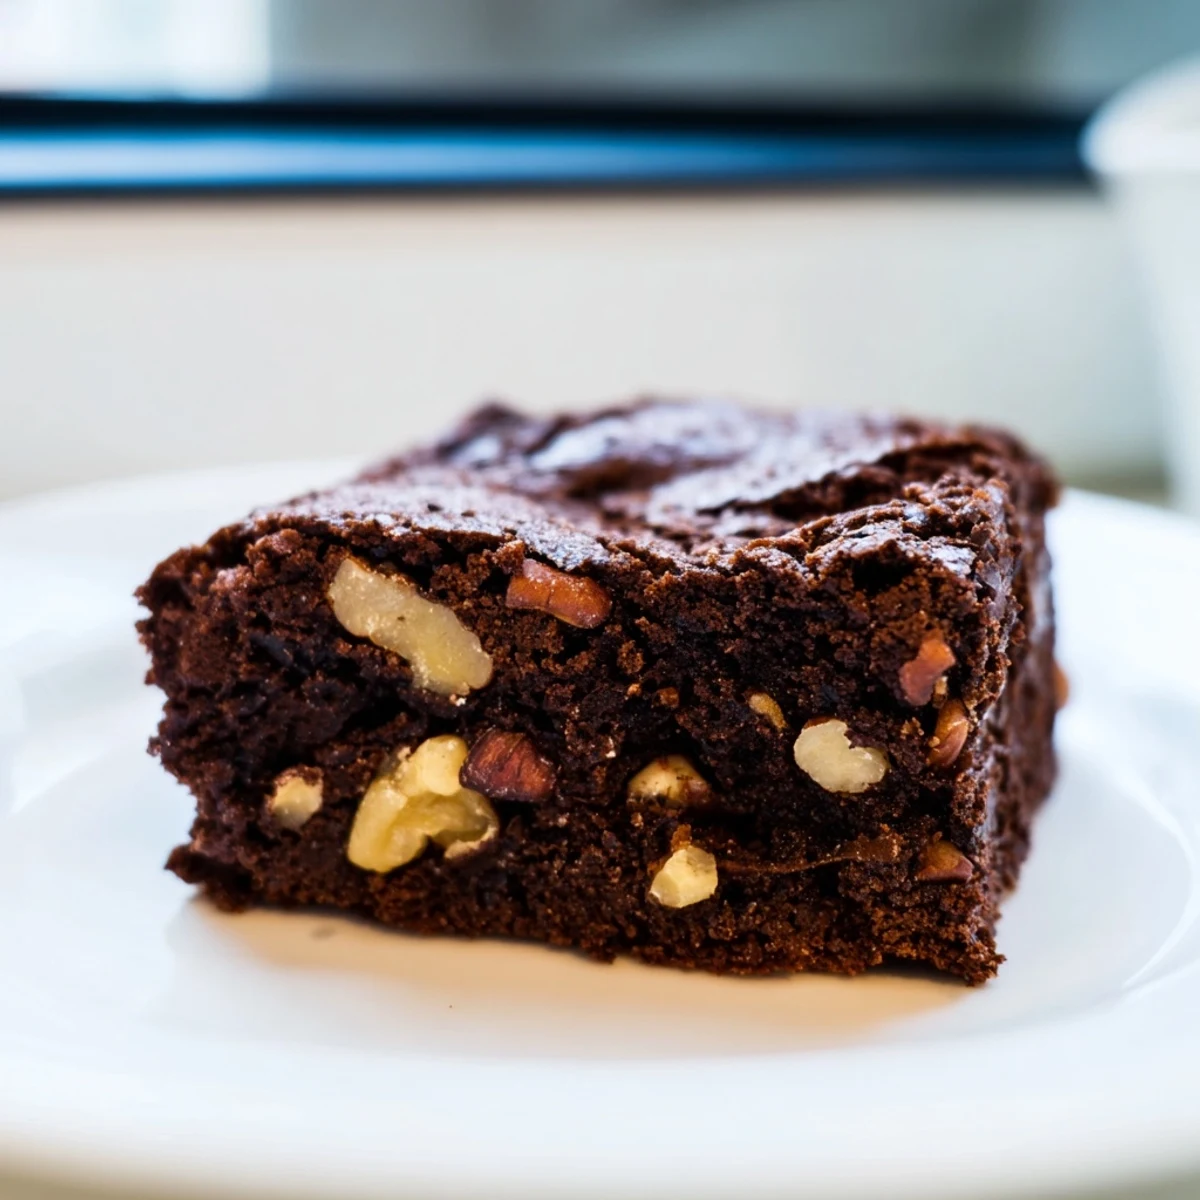
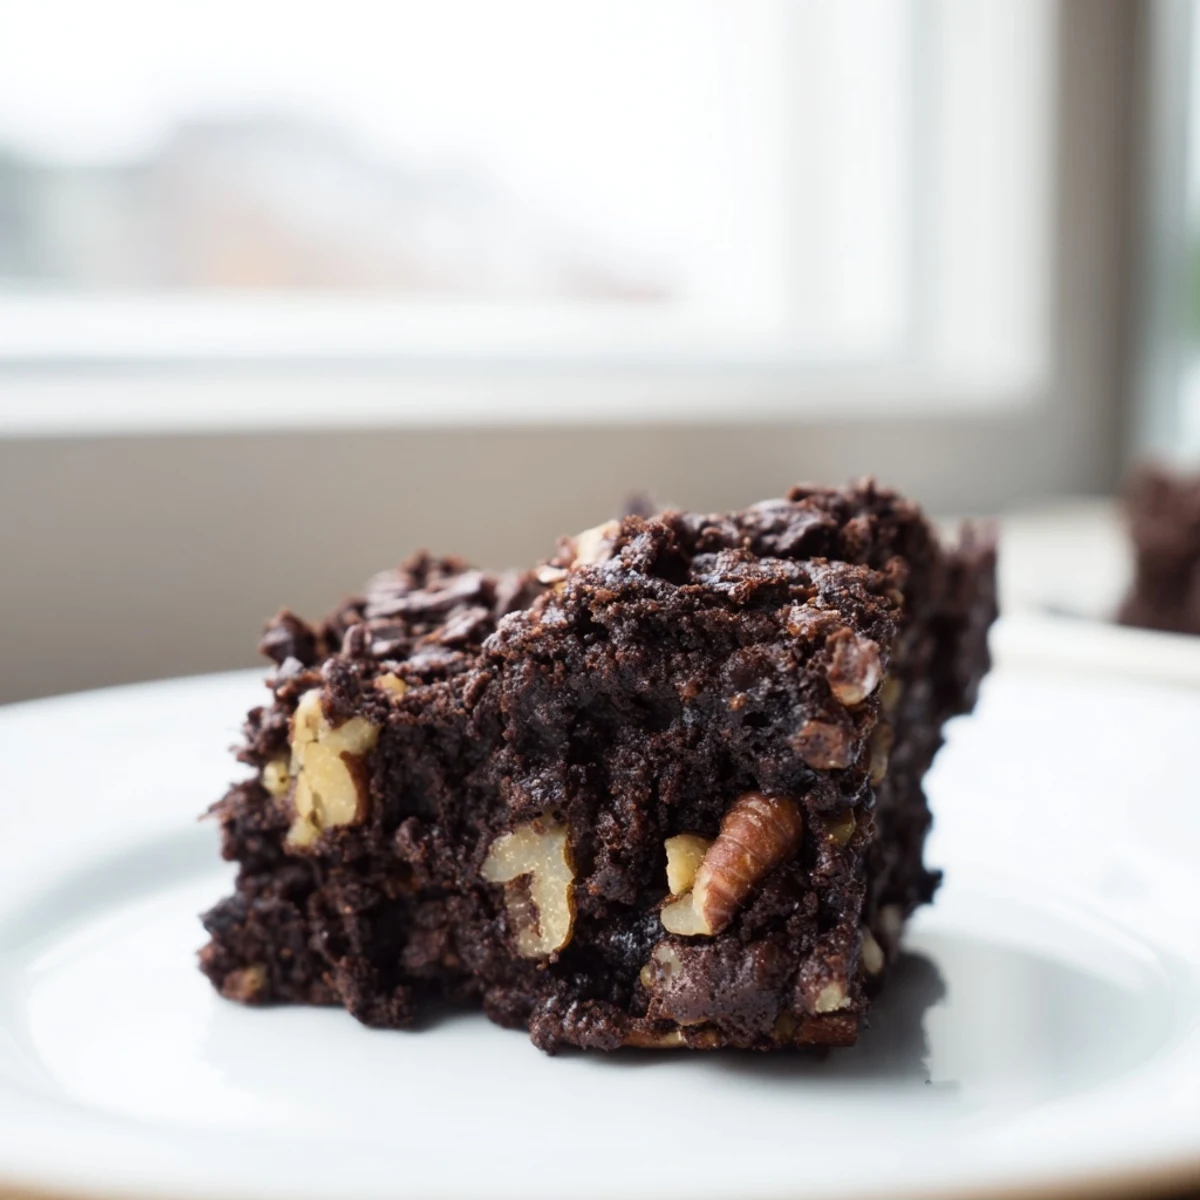
Save These decadent chocolate brownie bites combine melted butter, cocoa powder, and eggs into a tender crumb studded with mixed nuts and optional chocolate chips. Baked in a mini muffin tin until the edges set while the centers remain fudgy, they take just 20 minutes in a 350°F oven. Each bite delivers deep chocolate flavor and satisfying crunch from walnuts, pecans, or hazelnuts. Perfect for gatherings or personal indulgence.
The first time I made these chocolate brownie bites, I was rushing to prepare something for an impromptu book club meeting at my house. The rich cocoa aroma filled my kitchen as I frantically chopped nuts, and somehow, these tiny morsels of chocolatey goodness became the unexpected star of our gathering. My friend Sarah still texts me whenever she's having a bad day, hoping I'll drop off a batch.
Last winter during a power outage, I mixed these up by flashlight while my kids held their phone lights over the counter. We huddled around our gas stove to bake them, counting down the minutes until they were done. That night of eating warm brownies by candlelight somehow turned a minor disaster into one of our favorite family memories.
Ingredients
- Unsweetened cocoa powder: I splurge on Dutch-processed cocoa for these because the deeper, less acidic flavor creates that bakery-quality richness that makes people ask for your recipe.
- Mixed nuts: The contrast between the soft brownie and crunchy nuts creates this magical texture experience—I learned that roughly chopping them leaves some larger pieces that create delightful pockets of crunch.
- Unsalted butter: Melting it completely and whisking until glossy with the sugar creates that crackly top that makes brownies instantly recognizable and irresistible.
- Vanilla extract: It might seem minor, but that teaspoon of vanilla balances the intense chocolate and enhances the overall flavor profile—I once forgot it and immediately noticed something was missing.
Instructions
- Prep your workspace:
- Preheat your oven to 350°F and grease that mini muffin tin until it gleams. I find the paper liners adorable but sometimes they stick to the brownies, so a light spray of cooking oil works wonders.
- Create your foundation:
- Whisk those dry ingredients with purpose—the cocoa and flour should be completely blended with no sneaky lumps hiding. This ensures each bite has that consistent chocolate flavor we're after.
- Build the batter:
- When you're whisking the butter and sugar, look for that moment when it transforms from separated to silky and glossy. Add each egg slowly, incorporating completely before adding the next for the smoothest possible texture.
- The gentle fold:
- Use a light hand when combining wet and dry mixtures—I sweep my spatula around the bowl's edge and through the center, turning the bowl slightly with each fold. You'll know it's ready when you just stop seeing flour streaks.
- Add the magic:
- Scatter your chopped nuts and chocolate chips across the batter before folding them in with just 4-5 strokes. This prevents overmixing while ensuring even distribution throughout your brownie bites.
- Fill with care:
- I use a small cookie scoop to portion the batter evenly, filling each cup about 3/4 full. This gives them room to rise without spilling over the edges.
- Watch for perfection:
- The 18-minute mark is when I start checking with a toothpick. Look for moist crumbs rather than wet batter—these will continue cooking slightly after removal from the oven.
- The patience game:
- Those 5 minutes of cooling in the tin are crucial, as they firm up just enough to remove without breaking. I run a butter knife gently around each one before transferring to the wire rack.
 Save
Save My neighbor rang the doorbell one afternoon while these were cooling on my counter. She had stopped by to borrow sugar, but ended up staying for coffee and brownie bites, eventually confessing through tears about her recent divorce. Sometimes I think these little chocolate treats have witnessed more honest conversations in my kitchen than my dining room table ever has.
Storage Tips
These brownie bites develop an even richer flavor profile after 24 hours, assuming they last that long in your house. I store them in an airtight container with a slice of bread tucked in the corner—the bread keeps them mysteriously moist for days and becomes rock-hard as it sacrifices its moisture to the brownies.
Flavor Variations
One rainy Sunday, I discovered that swapping the vanilla extract for almond extract creates this incredible cherry-like undertone that pairs beautifully with the chocolate. Another happy accident occurred when I mixed in a tablespoon of instant espresso powder, which intensified the chocolate flavor without making them taste like coffee at all.
Serving Suggestions
The humble dusting of powdered sugar makes these look professionally finished, but my friends go wild when I serve them slightly warmed with a tiny scoop of vanilla ice cream melting over the top. During holiday gatherings, I arrange them on a tiered platter with fresh berries scattered between for a simple yet stunning presentation.
- For an elegant touch, press a single nut into the top of each brownie bite before baking to create a beautiful pattern.
- A dollop of peanut butter pressed into the center of each cup of batter before baking creates a molten surprise inside.
- Serve in mini cupcake liners for portable party treats—I use seasonal colors to match the occasion.
 Save
Save These brownie bites have become my signature bring-along dessert, requested at every gathering and celebration. There's something deeply satisfying about watching someone close their eyes with that first bite, knowing you've created a tiny moment of chocolate perfection in their day.
Recipe FAQ
- → How do I know when the brownie bites are done baking?
-
Insert a toothpick into the center of a bite. It should come out with a few moist crumbs, not completely clean. This indicates a fudgy center with set edges. Bake for 18–20 minutes at 350°F.
- → Can I make these without nuts?
-
Absolutely. Omit the nuts entirely, or substitute with the same amount of dried fruit like cranberries, raisins, or chopped dates for a different texture and flavor profile.
- → How should I store leftover brownie bites?
-
Cool completely and store in an airtight container at room temperature for up to 3 days. For longer storage, freeze in an airtight container for up to 2 weeks. Thaw at room temperature before serving.
- → Can I use dark chocolate chips instead of semi-sweet?
-
Yes, dark chocolate chips will give you a richer, more intense cocoa flavor. Use the same quantity. You can also skip chocolate chips and let the cocoa powder be your main chocolate element.
- → Is there a gluten-free option?
-
Replace the all-purpose flour with a 1:1 gluten-free flour blend in equal quantities. Verify all other ingredients are certified gluten-free, especially chocolate chips and baking powder.
- → What's the best way to fill the muffin tin?
-
Use an ice cream scoop or spoon to distribute batter evenly, filling each cup about 3/4 full. This allows room for brownie bites to rise slightly while maintaining a fudgy center.