 Save
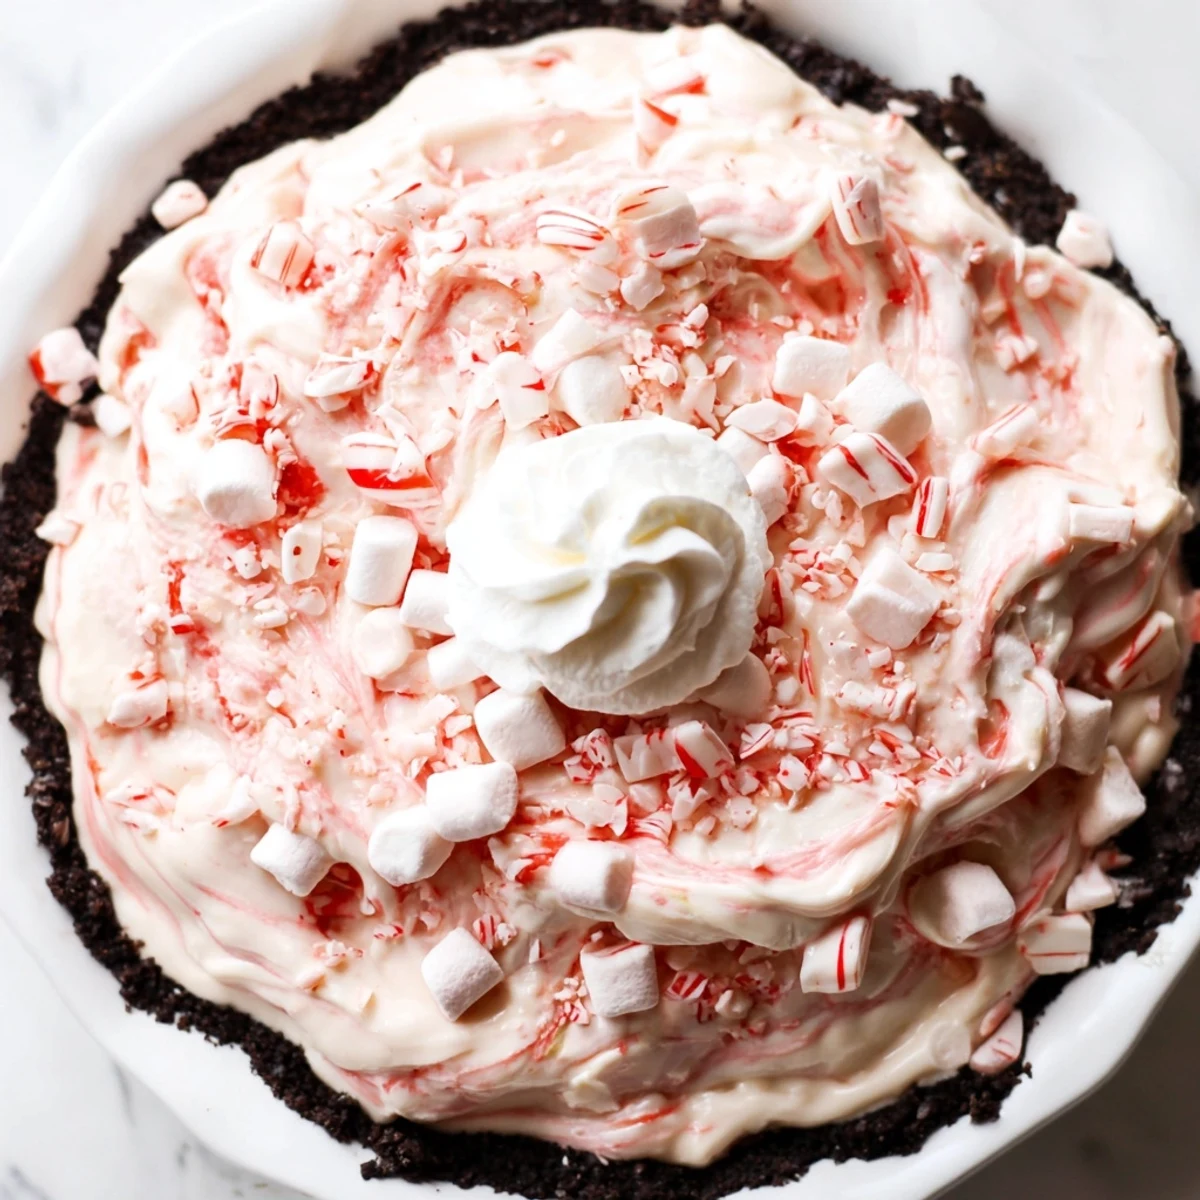
Save This no-bake candy cane pie layers a pressed chocolate cookie crust with a cool peppermint cream filling studded with mini marshmallows and crushed candy cane pieces. Whip cold heavy cream to stiff peaks, beat softened cream cheese with powdered sugar and extracts, then fold in the whipped cream, marshmallows and peppermint pieces. Spoon into the chilled crust, refrigerate at least 4 hours to set, and finish with whipped cream and extra crushed candy canes before serving.
There& 39;s something about hearing the clink of candy canes in a bowl, shards tumbling over chocolate crumbs that signals the holidays in my kitchen. One cloudy December afternoon, crimson wrappers littered the countertop as I tried to decide if I could pull off a no-bake pie—without setting off the smoke alarm as I& 39;d done with the oven the week before. Candy Cane Pie was born from an urge for something festive, quick, and chilled that didn& 39;t involve another trip to the crowded bakery. The result was creamy, minty bliss with merry little crunches in every bite.
The first time I brought this to a neighbor& 39;s cookie swap, the pie disappeared before I could even sneak a second piece. I still remember the chorus of “who made this?” from the other room as everyone tried to spot the culprit for the cheerful, pink-speckled slices. One friend confessed she& 39;d never liked peppermint until this pie convinced her otherwise. It& 39;s become what I make when I want the table to erupt in happy, chocolate-minty chatter.
Ingredients
- Chocolate cookie crumbs: They bring the rich, fudge-like base that tastes like eating the best part of an Oreo; whiz them up in a food processor for super-fine crumbs.
- Unsalted butter: This is the glue that binds your crust—melt it gently for easy mixing and pressing.
- Heavy whipping cream: Whip it when cold for those billowy peaks; it& 39;s what makes the filling melt-in-your-mouth dreamy.
- Cream cheese: Softened cream cheese gives body and tang—set it out early to prevent any lumps.
- Powdered sugar: This blends in silkily and leaves no grit in the filling.
- Vanilla extract: Just a small splash deepens the flavor behind the peppermint zing.
- Peppermint extract: This is your holiday magic—add gradually, tasting as you go, since too much can overpower.
- Mini marshmallows: They melt into sweet pockets for a playful, chewy surprise in every forkful.
- Crushed candy canes: I use a rolling pin in a freezer bag to break them up—some fine powder, some chunky bits for the best texture.
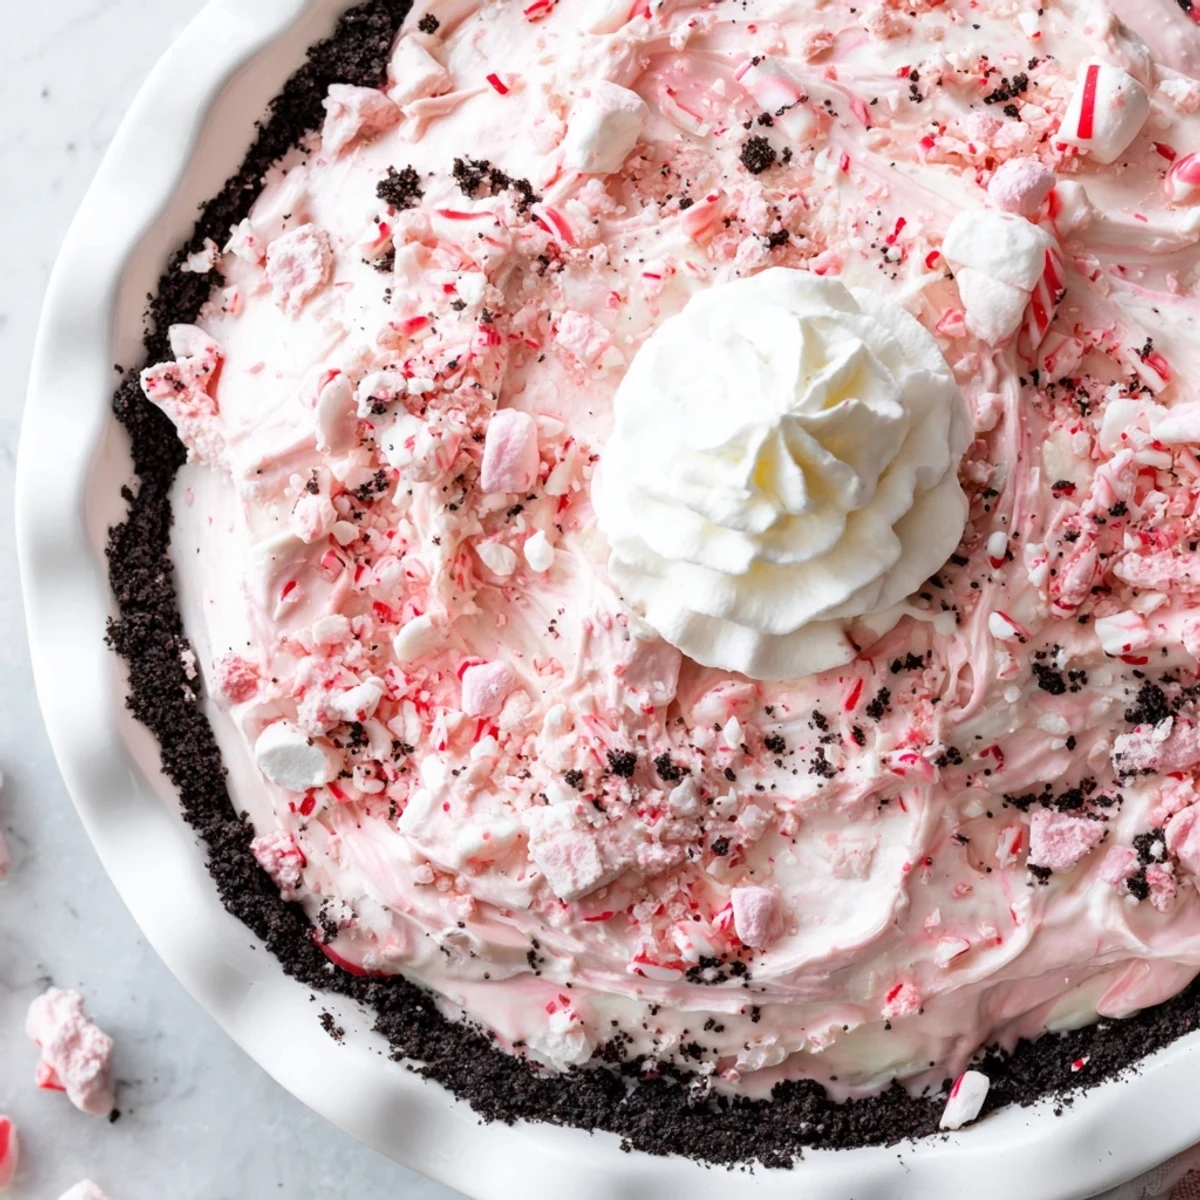
- Red food coloring (optional): A drop or two adds a jolly pink swirl, but go easy or you& 39;ll have neon pie.
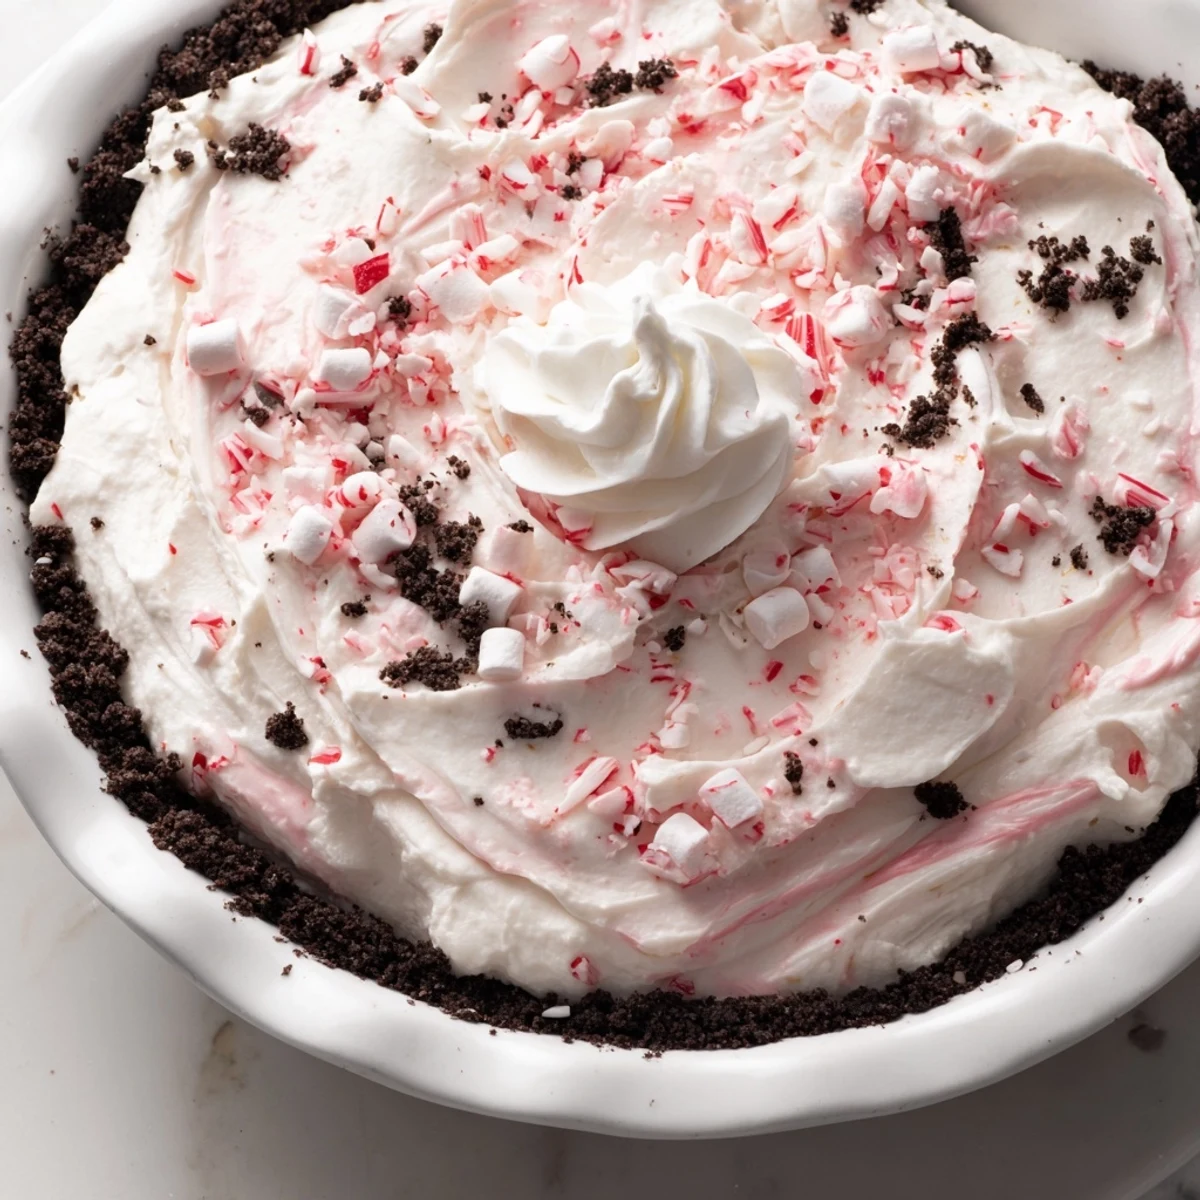
- Whipped cream: For finishing, airy clouds on top set everything off—wait until just before serving to spoon it on.
- Extra crushed candy canes: The crowning crunch, right before bringing pie to the table—don& 39;t skip this, it& 39;s the final sparkle.
Instructions
- Get the crust ready:
- Stir together your fine chocolate crumbs and melted butter in a mixing bowl, letting the chocolate aroma fill the kitchen. Use a spatula (or your hands) to press the mixture firmly into your pie dish, packing the sides nice and tight—then slide it into the fridge so it sets up while we work on the filling.
- Whip the cream:
- Pour the cold heavy cream into a chilled bowl and whisk with an electric mixer until you see stiff peaks—when the whisk leaves little mountains that stand tall, it& 39;s ready.
- Mix the creamy base:
- In another large bowl, beat the softened cream cheese with powdered sugar, vanilla, and peppermint extract; keep going until it& 39;s fluffy and smooth, scraping the sides as you go.
- Bring it all together:
- Gently fold your whipped cream into the sweet cream cheese until just blended, then scatter in the mini marshmallows and crushed candy canes; if you& 39;re feeling playful, swirl in a drop of food coloring for a festive pink hue.
- Fill and set:
- Spoon the filling into the chilled crust, smoothing the top like frosting on a cake, then cover and pop it back into the fridge for at least four hours until it firms up.
- Garnish and serve:
- Just before serving, add clouds of whipped cream and a snowy sprinkle of more crushed candy canes for the grand holiday finish.
 Save
Save I once walked into the living room with the whole pie in hand, ready for dessert, and the collective gasp from friends is still stuck in my memory. That moment taught me dessert can really be the centerpiece of a gathering—all I had to do was show up with a chilled Candy Cane Pie and the room felt instantly festive.
How to Crush Candy Canes Without the Mess
If you& 39;ve ever tried chopping candy canes directly on a board, you know they scatter everywhere and stick to the knife. My lazy trick is to pop them inside a thick zip-top bag, then obliterate them with a rolling pin—no cleanup required except for a few pink crumbs. You can decide if you love them in bigger shards or ground up fine, but a mix of sizes makes the texture in the pie far more fun. Don& 39;t worry if some bits look like dust; that help flavors disperse into the filling.
Making It Ahead of Time
One of my favorite things is that this pie is completely make-ahead friendly. I often assemble it early in the morning (or even the night before a party) and let the flavors meld overnight for an even richer taste. Hold off on the whipped cream and final candy cane sprinkle until just before serving so the topping stays crisp and bright. If you make it ahead, the marshmallows soften just right and each slice lifts neatly from the pan.
Serving Secrets and Simple Swaps
This pie is so adaptable—swap the crust for a gluten-free cookie and everyone can enjoy, or try leaving out the red food coloring for a snowy white look. To change things up, mini chocolate chips or chopped chocolate mints also work in the filling if you& 39;re out of candy canes. For the fanciest finish, briefly freeze the pie before slicing for perfect, clean cuts.
- Garnish right before presenting for the crunchiest top.
- Add a drop of green food coloring to whipped cream for extra holiday flair.
- If it’s a really warm day, serve slices on a chilled plate to slow down melting.
 Save
Save Happy holidays and may your dessert table be as merry (and minty) as you hope. The laughter and color this Candy Cane Pie brings will linger long after the last crumb disappears.
Recipe FAQ
- → How do I keep the crust from getting soggy?
-
Press the chocolate cookie crumbs firmly and chill the crust before adding the filling to help it set. Using well-drained cookie crumbs and a thin layer of melted butter prevents excess moisture from seeping in.
- → Can I reduce the peppermint intensity?
-
Yes. Start with half a teaspoon of peppermint extract and taste the filling before adding more. Peppermint extracts vary in strength, so go slowly to avoid overpowering the cream cheese base.
- → Will the marshmallows stay soft after chilling?
-
Mini marshmallows will soften slightly during chilling but still add chew and volume. If you prefer more texture contrast, fold in only a portion of the marshmallows and reserve some to sprinkle on top just before serving.
- → How long can the pie be stored?
-
Keep the chilled pie covered in the refrigerator for up to 3 days. For best texture, add the extra crushed candy canes and whipped cream topping just before serving to keep them crisp.
- → How can I make a gluten-free version?
-
Substitute gluten-free chocolate cookies for the crust and confirm that any candy canes used are certified gluten-free. The filling ingredients are typically gluten-free, but always check labels.
- → How do I get a pink swirl without affecting texture?
-
Use a few drops of red food coloring and gently fold it into a small portion of the filling to create swirls. Avoid overmixing to maintain the light, airy texture from the whipped cream.